How To Properly Install A Cotter Pin
Installing a cotter pin prevents parts from backing out of or slipping off other parts. Standard, straight cotter pins, also called split cotter pins, have two straight prongs that are spread apart to keep other fasteners, such as bolts and nuts, in place. It is essential to properly install a cotter pin — it can mean the difference between life and death when working with machinery or structural assemblies.
 Michelle Lee Photography/iStock/GettyImages
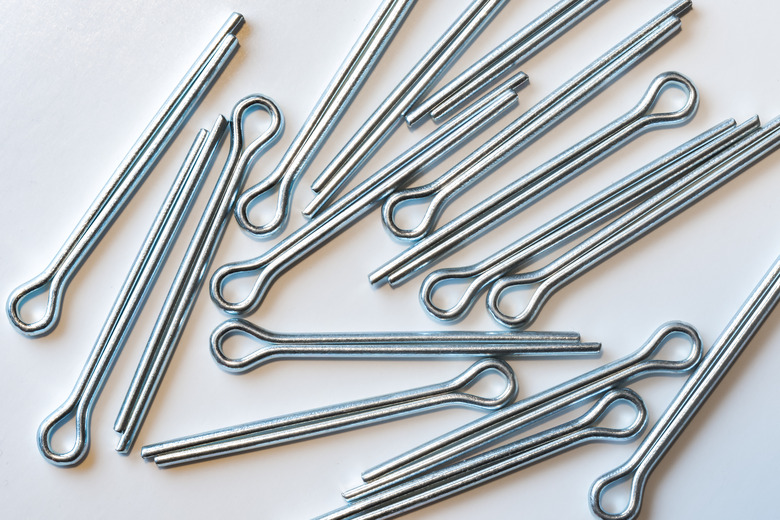
Selecting the Right Cotter Pin
Selecting the Right Cotter Pin
Always buy new cotter pins whenever you need to install or adjust them. Never reuse cotter pins, because the metal weakens when bent and can break off if bent repeatedly.
Cotter pins are sold with different diameters (sized for the hole in the bolt or other part that needs securing), head sizes (the head is the loop at one end of the pin) and prong lengths. The usable length of the cotter pin is measured from beneath the head to the end of the shorter prong. It is acceptable to use a pin that's too long because you can trim the prongs to an appropriate length, but a pin that is too short may not perform its job properly.
Cotter pins come in a variety of materials including steel, stainless steel and copper. Select the correct cotter pin material for your project. For instance, when installing a cotter pin where corrosion is a problem, you may need to use stainless steel. Also choose the size of the cotter pin according to the size of the hole. The pin should be the largest size possible for the hole, with the head of the pin slightly larger than the hole to ensure that the pin will not wiggle in the bolt.
Installing a Cotter Pin
Installing a Cotter Pin
Insert the cotter pin into the hole of the bolt until the head of the pin rests against the bolt. Secure the cotter pin by spreading the prongs in opposite directions, using pliers if desired.
Use diagonal cutters to cut excess length from either prong, according to your application standards. Cutting the prongs to the correct length helps when it is time to replace the pin. Leaving excess prong length can lead to snagging injuries. However, the prongs must be long enough to prevent the pin from slipping back out through the bolt.
If the cotter pin has a curve on one side rather than two straight prongs, ensure that the bolt rests firmly between the "v" on the cotter pin.