Self-Cleaning Oven Instructions
We may receive a commission on purchases made from links.
It's easy to know when you need to clean your oven. Food drips are burned and then caked on, causing the oven to start smoking and stinking up your whole house. Although cleaning the oven was once considered one of the most difficult chores that required stinky, harsh chemicals, self-cleaning ovens have changed the game, making the process as easy as turning on the self-cleaning cycle.
Preparing to Clean
Preparing to Clean
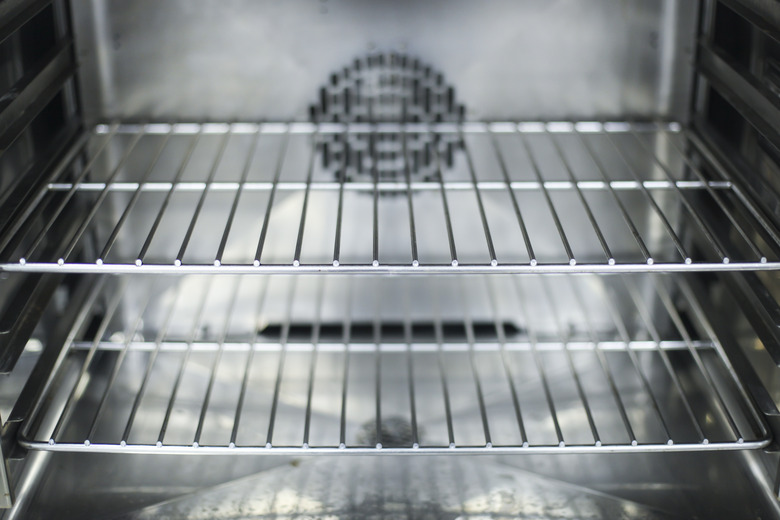
Remove any pans, baking sheets mats or tin foil you keep in the oven. Most oven racks need to be removed and cleaned by hand unless they are labeled as "self-clean" in your owner's manual. Although most racks can survive self-cleaning, those not approved for the process will warp, discolor and become harder to remove. Do not remove the light or light cover, though.
Before turning on the self-cleaning cycle, wipe down the interior with a wet cloth or sponge to remove any spills that have not yet been baked on. But do not use any cleaners.
Use the Self-Cleaning Cycle
Use the Self-Cleaning Cycle
Some models require you to manually lock your oven first by sliding a mechanism to one side, while others will lock as soon as you turn on the self-cleaning cycle. If you aren't sure how to start the cycle on your oven, you may need to look up an owner's manual prior to running the cycle.
Open Up Your Home
Open Up Your Home
Self-cleaning ovens take between one and five hours, at temperatures of up to 900 degrees Fahrenheit, to turn the debris inside into ash. The process will usually leave your home warm and, more importantly, will result in smoke build-up. That means you will need to open your windows and turn on your exhaust fans to let air out. As a result, it is also a good idea to perform the cycle during the middle of the day during winter or in the early morning or evening during the summer.
After the Cleaning Process
After the Cleaning Process
The self-cleaning cycle will always stop on its own when it is ready, although you can always stop the process part way through. Before you do, consult your owner's manual for instructions. Always wait at least one hour to open your oven after running the self-cleaning cycle. Most models will continue to be locked during this period, but if yours is locked manually, wait until it is entirely cooled before opening.
Once the oven has cooled, remove the remaining ash with a water and vinegar solution using a sponge or cloth.
Safety Concerns
Safety Concerns
Never run your oven, whether for cooking or cleaning, while you are away from home. If you see any flames, turn off the self-cleaning cycle immediately. Do not touch the exterior of the oven while it self-cleans as the temperature can be extremely hot.
It is generally a good idea to avoid running the air conditioning at the same time as the self-cleaning cycle because both use a lot of electricity — particularly if your air conditioning is fighting the heat from the oven. You do not want to blow a fuse during the process.
Self-Cleaning Frequency
Self-Cleaning Frequency
Your owner's manual may have specific instructions on how frequently to run your self-cleaning oven, but generally, you should run it as needed. If you use your oven a lot or have a lot of spills, you will need to use it more frequently. If you only use your oven a few times a year, you might want to run it once every few years or when you notice a particularly bad spill. If you notice fumes and smoke coming from your oven, this can be a good indication that it is time to clean it.
