How To Repair A Clay Chiminea
Things Needed
-
Sandpaper
-
Automotive filler putty or high temperature epoxy adhesive
-
Putty knife (optional)
-
Clamp
-
Paint
-
Spray lacquer
Tip
You can also substitute a heat-resistant concrete repair filler in place of the car putty; it's available at most home improvement stores.

Made from clay, chimineas consist of a bulb-shaped base that narrows upward into a tubular chimney. Despite being designed to withstand the heat from fires, many still crack over time. They can also crack easily if dropped or bumped. Depending on the severity of the crack, it is possible to repair the crack instead of replacing the entire unit.
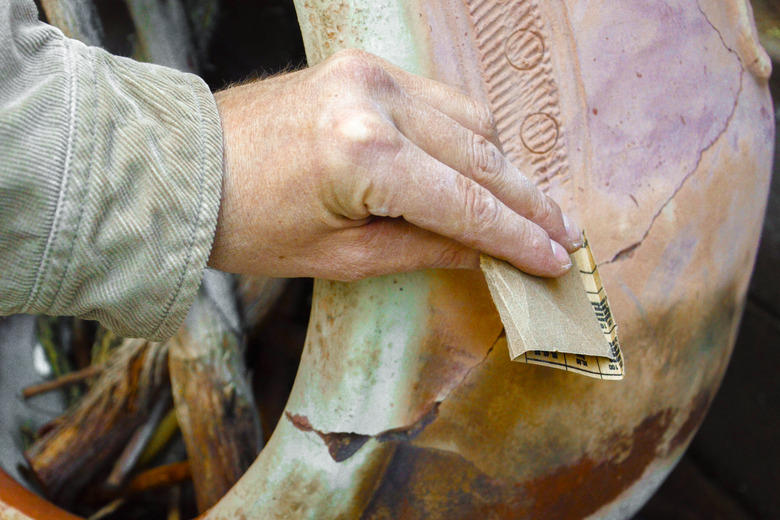
Step 1
Sand the outside of the broken or cracked area of the chiminea with a medium grit sandpaper. Use light pressure to sand the clay surface until it is smooth. Keep sanding painted surfaces until all of the paint has been removed from around the crack or break.
Step 2
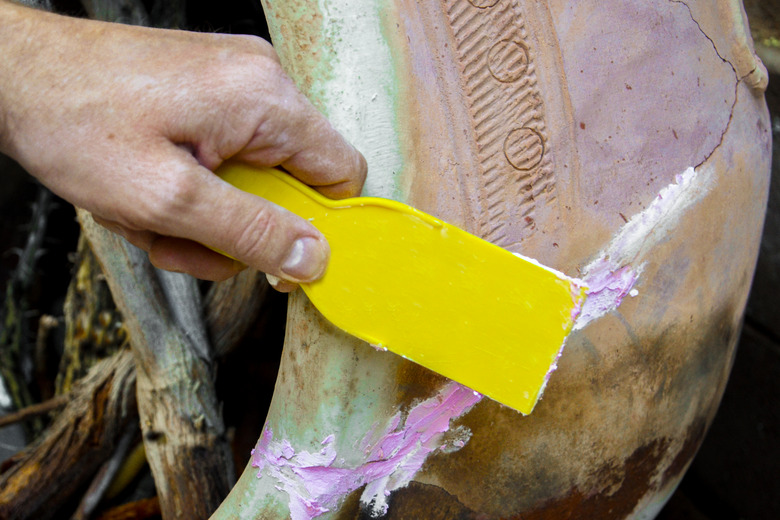
Apply the automotive repair putty or high temperature epoxy adhesive to the cracked or broken part of the chiminea. Apply enough putty or adhesive that it mounds up slightly on the surface of the clay. Use a clamp to clamp any broken pieces onto a firm section of the clay before applying the putty or epoxy adhesive.
Step 3
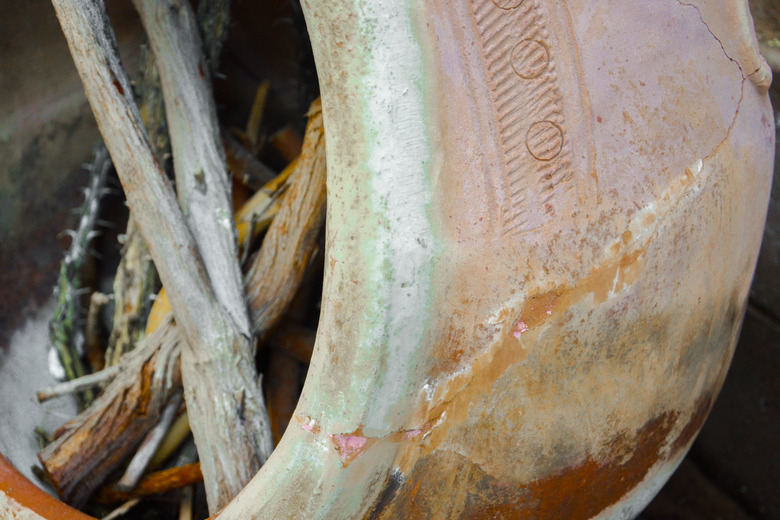
Allow the putty or epoxy to dry until it changes to a lighter color and is completely dry to the touch.
Step 4
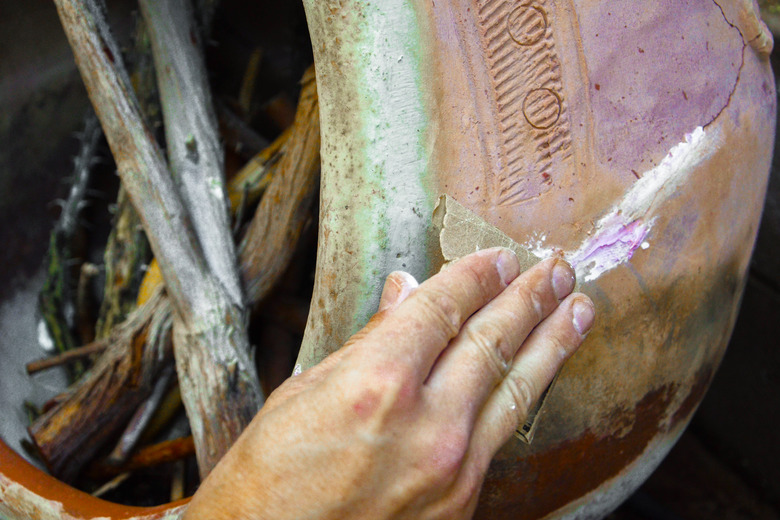
Sand the surface of the putty or epoxy with medium grit sandpaper until the surface of the repair material is level with the surface of the chiminea.
Step 5
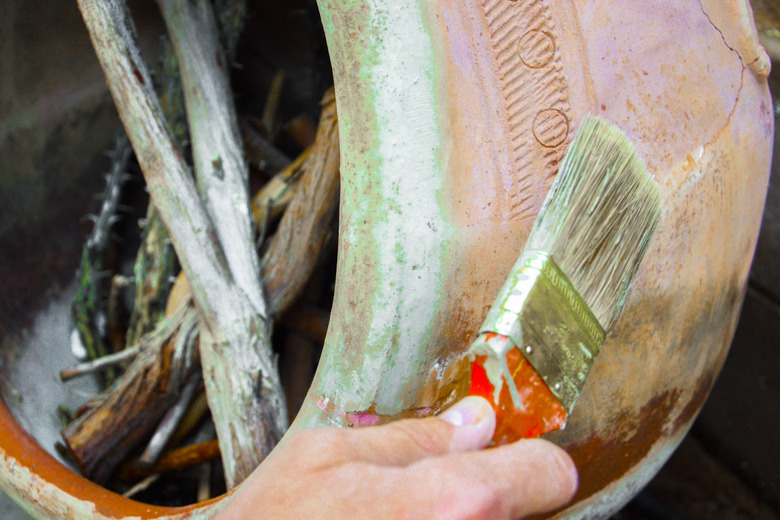
Paint the exterior of the chiminea, if desired, using any standard paint followed by a clear top coat of lacquer.