How To Fix A Bad Light Socket
There are various ways that a light might malfunction. Fortunately, for every one of these problems, there is a handy solution. Be aware, though, that many of these remedies involve coming into contact with metal or electrical components, meaning that it's imperative to always remember to unplug the object from the wall outlet or whichever other power source might be in use. Also, having a non-contact voltage tester on hand is helpful.
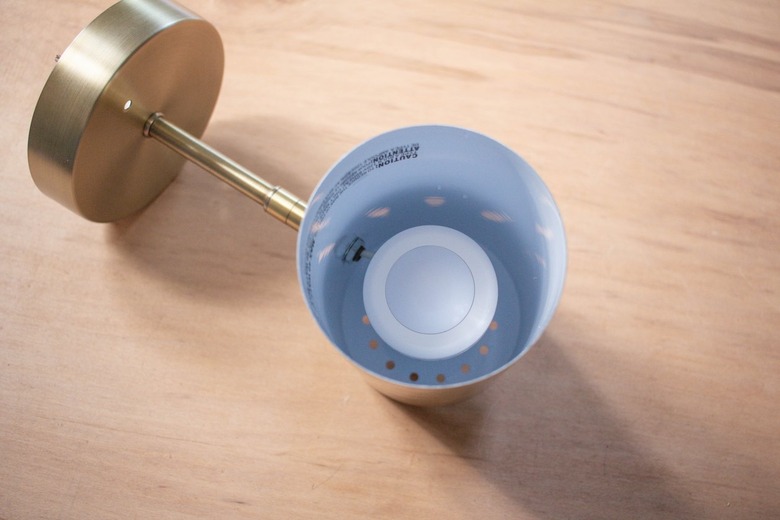
Determine the Problem Area
Determine the Problem Area
When confronted with a light bulb socket that doesn't appear to be working, it's important to first ascertain which part of the lamp might actually be causing the problem. One of the most common culprits is the tab that rests at the bottom of the socket. Unscrew the light bulb and look inside the socket. If the tab is lying flat against the bottom, that means it's not coming into enough contact with the bulb to produce light. Accumulated rust on the tab might also interfere with its potency. A quick fix is possible for either of these hindrances. If the tab is flat, simply take a flathead screwdriver and use that to turn the tab upward. If the tab is rusted, then use the screwdriver to scrape the debris away.
Damage to the Cord
Damage to the Cord
Other possibilities for the lack of illumination include a loose connection, damage to the cord, a short somewhere in the fixture or simply a broken switch. In these cases, the problem isn't necessarily with the socket itself, meaning it's time to order a new cord, a new switch or whichever other component is causing the problem.
The Socket Itself May Be Damaged Itself
The Socket Itself May Be Damaged Itself
In many instances, though, the fault rests with the socket itself. If the socket is damaged or merely not functioning correctly, then it will be necessary to replace it. It's fairly easy to remove the socket from the surrounding metal casing simply by squeezing. Sockets will frequently have the word "Press" labeled on the areas where it's best to push on the casing. After separating the socket from the casing, use a screwdriver to remove the screws connecting the socket to the base, making sure to note which wires were attached to which terminals. Replace the old socket with a newly purchased one that closely matches the shape and style of the original, taking care to reattach the right wires to the right terminals. Place the new socket back into the metal casing, reconnect to the outlet or power source and prepare to have your day brightened.