How To Use A Router To Trim Countertop Laminate Edges
We may receive a commission on purchases made from links.
Things Needed
-
Whiskbroom
-
2-inch wide masking tape
-
Router
-
Straight flush-cut bit
-
Bevel flush-cut bit
-
Safety glasses
-
Hearing protection
Tip
Keep the router moving while you cut. Stopping or holding the router in one place can burn the laminate or leave a slight notch.
Depth adjustment is critical when using a beveled bit. Check your setting on a piece of scrap before routing your finished piece.
Always use sharp bits and tools when working with laminate. Dull tools will chip the edges of your work.
Warning
Unplug your router before you insert, remove or adjust a bit.
Wear appropriate safety equipment like safety glasses and hearing protection when using any power tool.
 Jupiterimages/Creatas/Getty Images
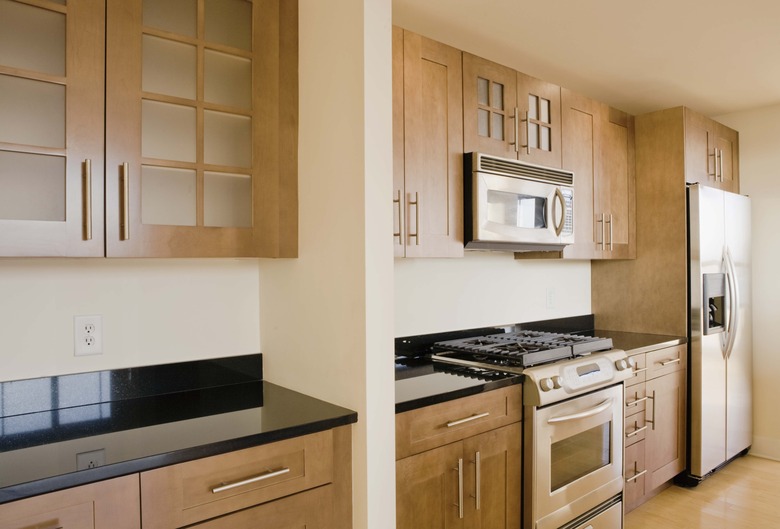
It is no secret that kitchens and bathrooms sell houses, and a kitchen remodel can add quite a bit of value to your home. You can save a substantial amount of money by updating your kitchen yourself, if you feel up to the task. New laminate countertops are a fairly inexpensive way to freshen up a tired kitchen but it is important to get the installation right. The edges of newly installed laminate countertop must be trimmed and can easily and quickly be done with a router. It is important to use the proper technique, however, to avoid damaging your new laminate.
Step 1
Clean the countertop with a whiskbroom. Brush off the router's base plate as well. The router's base must move smoothly across the top of the laminate to maintain a straight edge.
Step 2
Place a single layer of masking tape on the surface of the laminate along the router's path to prevent the router's base from scratching the laminate as you trim the edge.
Step 3
Unplug the router. Insert your flush-cut bit. Use a straight bit for the bottom lip of the counter. Use a bevel bit for the top edge where the laminate pieces for the face and top join. A beveled edge will reduce the risk of edge chipping on the finished countertop.
Step 4
Adjust the cutting depth on your router. The top of the bit's guide bearing should be 1/16 inch below the bottom edge of the laminate surface you are trimming.
Step 5
Turn the router on. Place the router base flat against the laminate surface. Hold the router firmly against the edge of the cabinet, and move it against the bit's direction of travel. Trim the entire edge with one continuous cut.