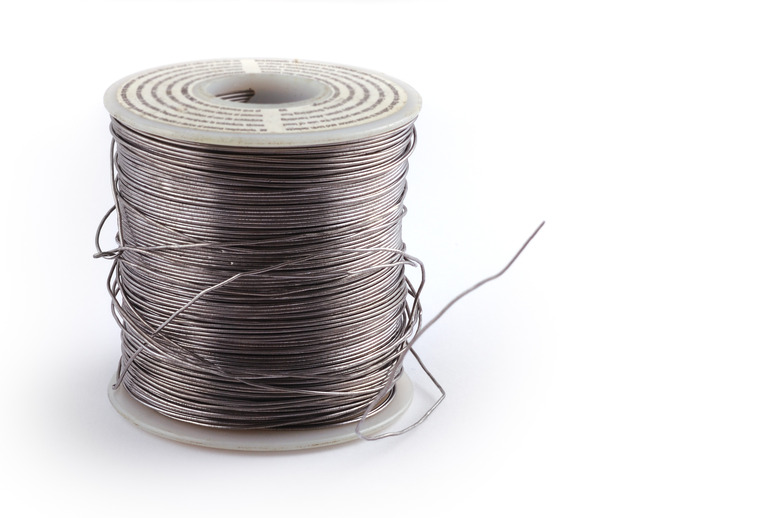
How To Solder Copper Wire
There are many electronics projects that require soldering skills. Soldering can also be used to create metal-work objects or forms of art. Perhaps you have a small electronic device, such as a toy, with one broken wire. You can fix it using a soldering iron, as long as you follow the basic rules of soldering copper wire and make sure you're careful and attentive during the process.
Getting Started with Soldering
Whether you're soldering copper jewelry or soldering circuit boards, the basics of soldering are the same. Set out all your parts to solder before doing anything else. Because the soldering iron is extremely hot, don't lay it down while you are looking for the next part to solder. You can buy a soldering kit, which includes a soldering gun and base, sponge and solder, which will generally be tin or silver and work fine with copper. Or you may already have some components such as the soldering iron.
Put on all necessary protective gear, making sure to protect your eyes. Once you're prepared, plug in the soldering iron and place the soldering iron in the stand. The iron will take a few minutes to heat up, but only heat it up when you are ready to begin. This prevents accidental burns or fires. Get your sponge wet and then wring out the water. The idea is to have a damp sponge, not one soaking in water.
If working with electronics, check the manufacture's instructions for the appropriate wattage for your specific electronics project. Electronic components require a certain amount of heat. Too much heat can melt the part you're trying to solder. Soldering irons come in different wattage outputs, so check for proper wattage rating.
Soldering With Copper Wire
Apply the tip of the soldering iron to the wet sponge to make the tip clean. Cleanliness is a must for good solder joints. When working with large amounts of copper wire, outside of electronics, it may be beneficial to apply solder flux, either purchased or made at home from rosin and alcohol, before proceeding.
When ready, hold the soldering iron to the part you are soldering. Avoid any contact with the tip or heat shield; both can reach 400 degrees in temperature. Hold the solder to the joint you are trying to solder. Place the tip of the solder at the point where the solder iron tip and part you are soldering meet. Hold the solder in place for a few seconds until solder starts to flow. Think of holding a pen or pencil, holding the soldering iron at an angle so that the heat will make it flow in a steady stream.
Remove the soldering iron before you apply too much heat. Inspect your joint. The joint should look like a dome and be shiny. It not, then apply a bit more solder to build up the joint. Don't forget to clean your soldering iron often on the wet sponge.
