How To Prepare Metal Surfaces For Painting
Before painting on metal, prepare the surface so it's clean and rust-free. It should appear dull rather than shiny. The basic steps for surface prep are:
- cleaning
- removing rust
- sanding and priming.
Before you begin, read the labels on all products you're using, making sure they are suitable for the type of metal and compatible with each other. Also, take note of and follow the manufacturer's safety procedures.
Cleaning and Rust Removal
Cleaning and Rust Removal
Wash the metal thoroughly with a degreasing agent such as trisodium phosphate. Rinse, and let the metal dry. Inspect the surface for rusty areas and remove all rust down to the bare metal, using tools appropriate to the extent of the rust. For light rust and small areas, use steel wool and 80- to 120-grit sandpaper. For moderate amounts of rust, use a scraper and wire brush. If the rust is extensive, use a drill with a wire brush wheel, and then finish with sandpaper.
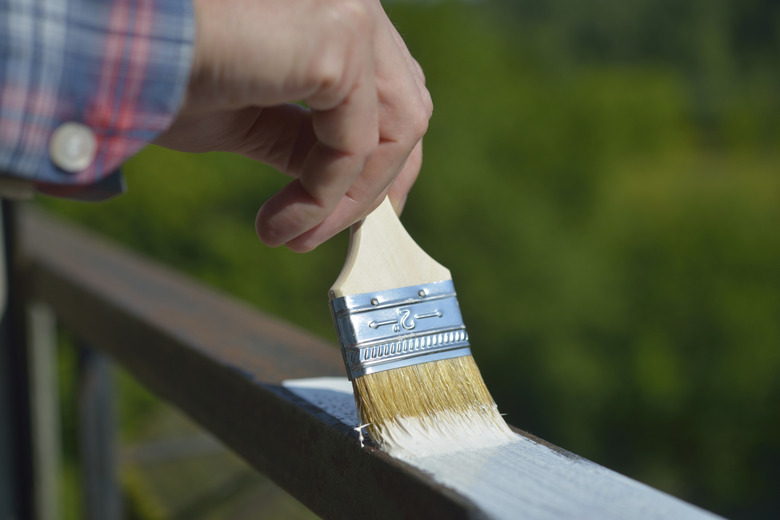
Sanding and Applying Primer
Sanding and Applying Primer
With the rust removed, sand the entire surface to smooth out uneven areas and dull the surface so the primer and paint can adhere. Start with 120-grit sandpaper and work to finer grade sandpapers, ending with 320-grit. For large, flat surfaces, use a sanding block to get even pressure. Wipe the surface with a tack cloth to remove the dust. Follow immediately with the first coat of primer. Primers may be applied with a roller or paintbrush, or from a spray can. For best results, use two coats of primer, allowing it to dry and sanding lightly after each, or according to product directions.