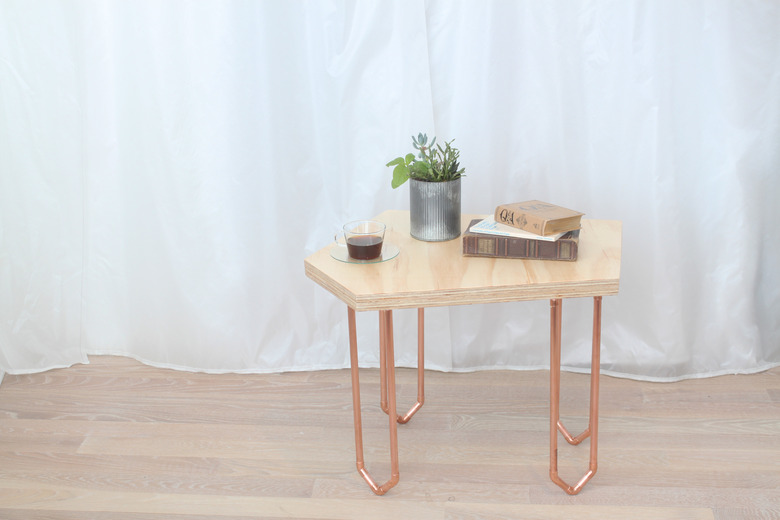
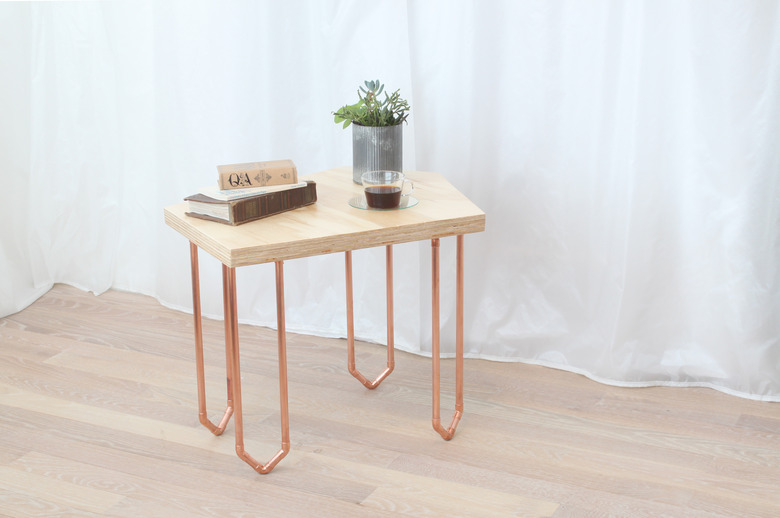
How To Make A Coffee Table With Copper Legs
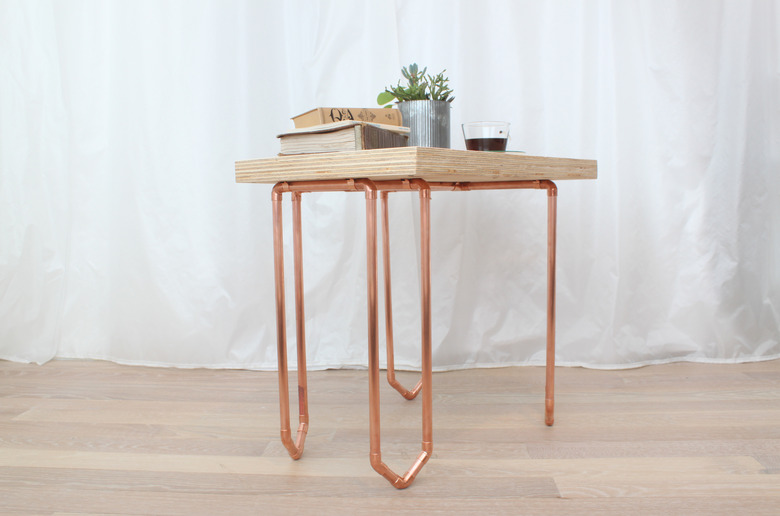
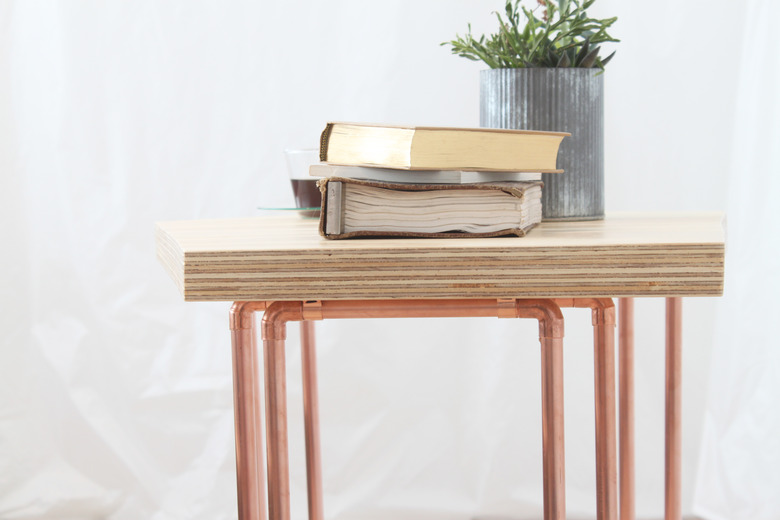
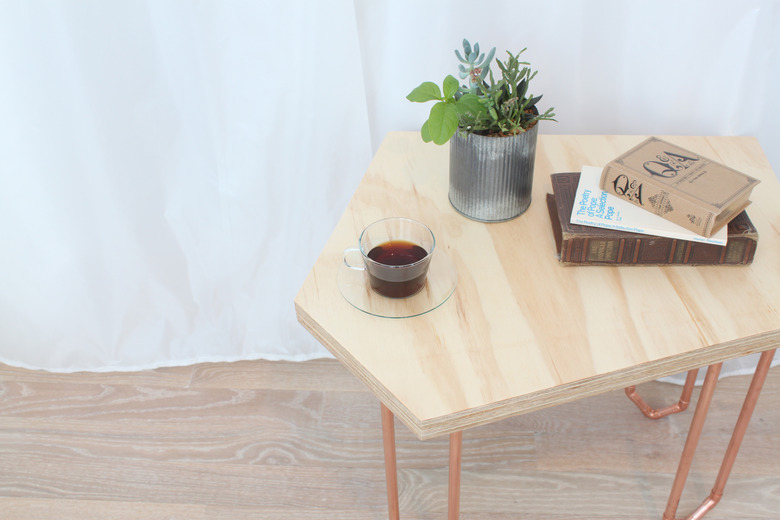
A coffee table is a coffee table... or is it? Why not have a fun, unconventional place to hold your books and coffee and—dare I say it—your feet? This plywood and copper coffee table can be bright and shiny or tarnished and weathered, depending on what your personal space requires aesthetically. There is no set pattern, so every table will come out a bit different. Need a bigger table? No problem! Build a second and third table and they will fit together like puzzle pieces. How many will you build?
 HomeMade Modern
Things Needed
-
3/4 inch thick plywood, 44 inches x 30 inches
-
Tape measure
-
Pencil
-
Straightedge
-
Circular saw
-
Power drill
-
1 1/4 inch wood screws or drywall screws
-
Orbital sander
-
Sanding pads (80-grit and 220-grit)
-
220-grit sandpaper
-
Dusting cloth
-
Polycrylic finish (or other protective coating )
-
Applicator brush
-
1/2 inch copper pipe (17 feet), cut as follows:
-
8 pieces at 16 inches long
-
1 piece at 12 inches long
-
1 piece at 11 1/2 inches long
-
3 pieces at 7 inches long
-
2 pieces at 4 3/4 inches long
-
8 pieces at 2 inches long
-
1/2 inch copper T fittings (2)
-
1/2 inch copper 90° elbow fittings (12)
-
1/2 inch copper 45° elbow fittings (8)
-
1/2 inch copper tube straps (10)
-
Tubing cutter
-
Steel wool pad
-
Protective gloves
-
Gorilla Multi-Purpose Glue
Tip
The plywood I used for this project was a piece that I had leftover from another project. The dimensions I used for the table came straight from the size of the piece of plywood. You can scale the dimensions to fit your own plywood scrap or pick some up from your local hardware store.
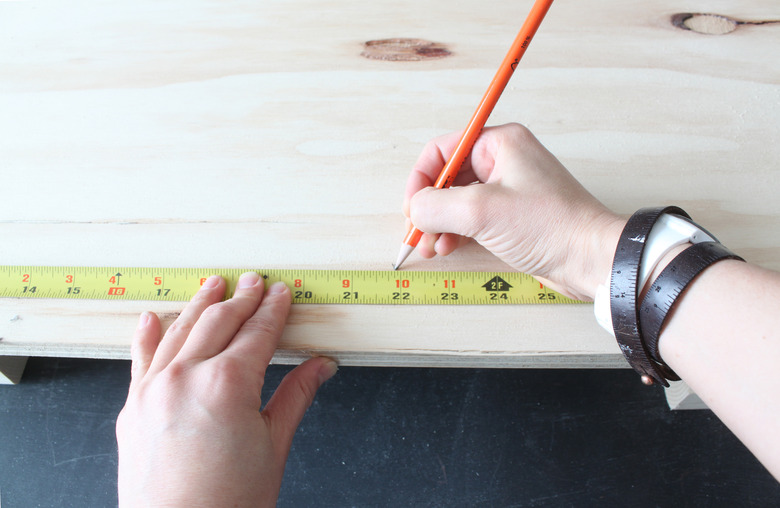
Step 1
Use a tape measure to find the midway point of the plywood along one edge. Mark it with a pencil.
 HomeMade Modern
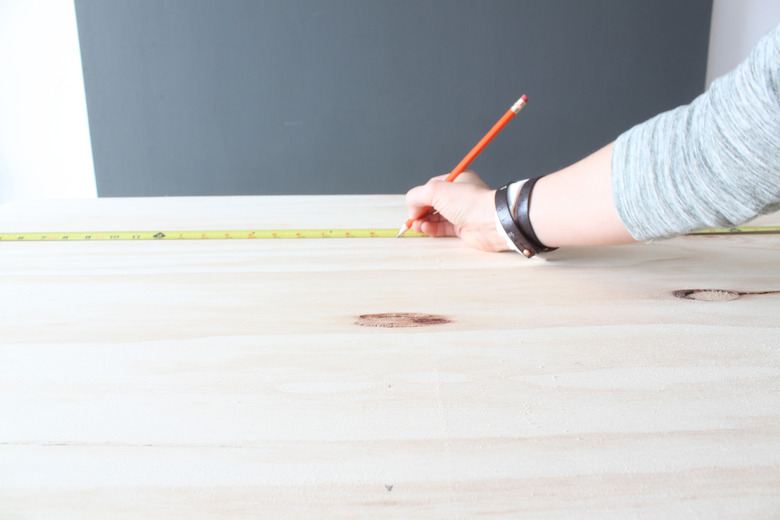
Step 2
Find the midway point along the opposite edge, and mark it, as well.
 HomeMade Modern
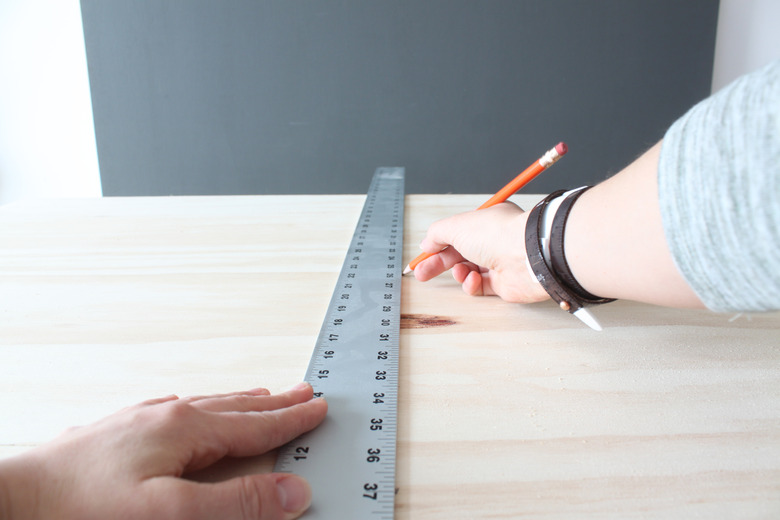
Step 3
Use a straightedge to connect the two marks with a cut line.
 HomeMade Modern
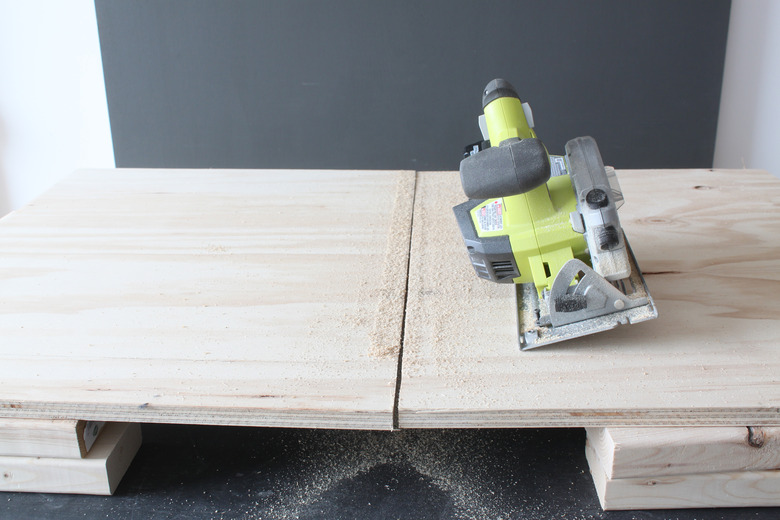
Step 4
With the cut line as your guide, cut the plywood in half with a circular saw.
 HomeMade Modern
Set aside one of the pieces for later.
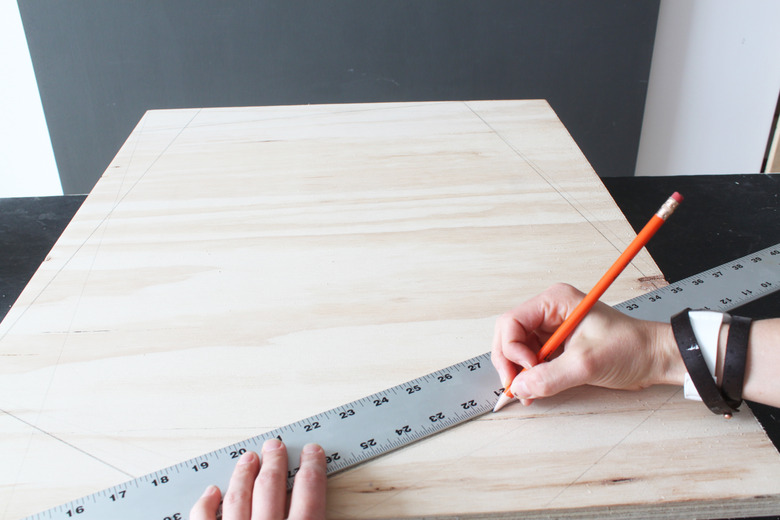
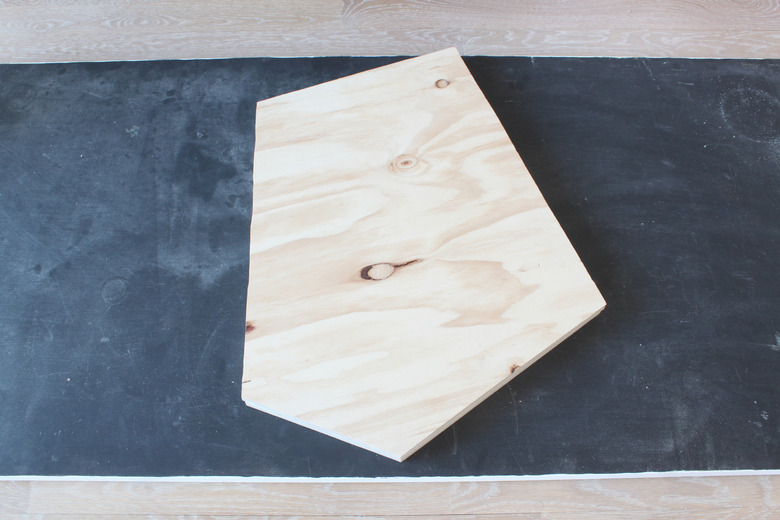
Step 5
Decide on the shape you would like your table to be, and mark angled cut lines accordingly on the first piece of plywood.
 HomeMade Modern
Tip
There is no right or wrong way to do this. I just started making lines and if I didn't like one then I would redraw it. Seriously, don't overthink it—just start making lines.
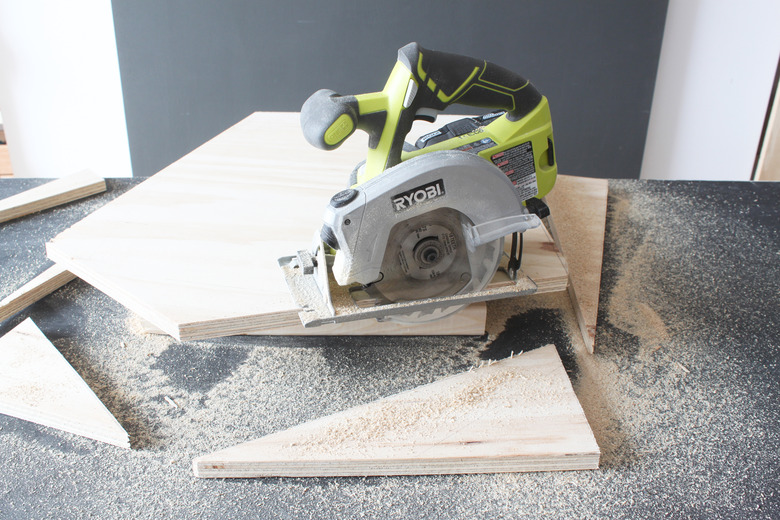
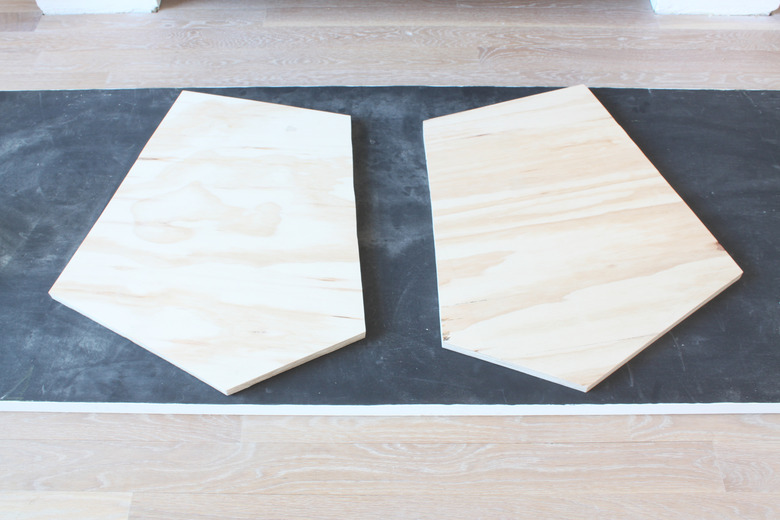
Step 6
Using these lines, cut off all the excess with a circular saw.
 HomeMade Modern
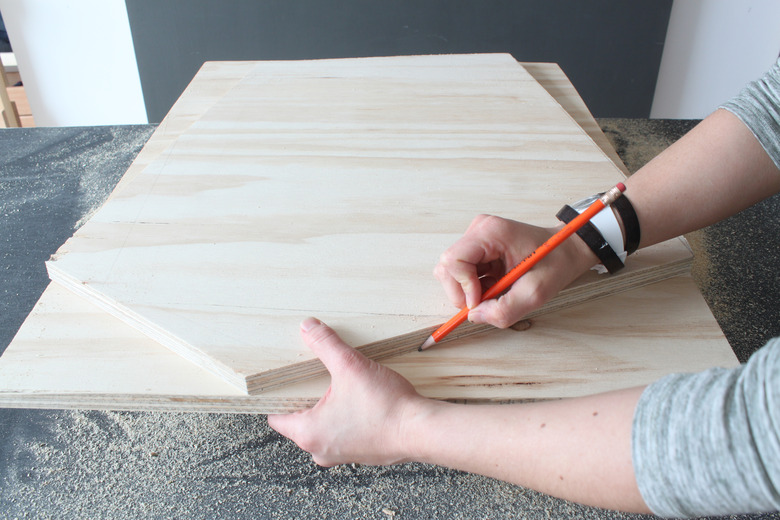
Step 7
Place the first piece of plywood atop the second piece and use it as a template to mark the new cut lines on the second piece.
 HomeMade Modern
Cut off excess with a circular saw.
 HomeMade Modern
Step 8
Place one piece atop the other, and line up the edges.
 HomeMade Modern
Tip
The two pieces will almost certainly not be even. It's not easy to keep a straight line with a circular saw. Don't fret! Just do your best and whatever sticks out can be sanded off, as shown in step 11.
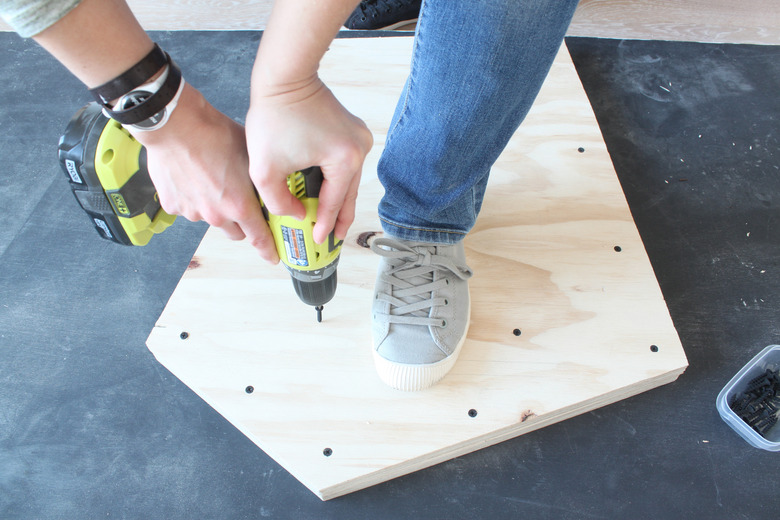
Step 9
Once you've aligned your two halves, screw them together with 1 1/4 inch screws.
 HomeMade Modern
Tip
These pieces need to be really squeezed together. Clamps are always a good option. Whenever possible, I stand atop my piece. This not only holds the pieces together, but also gives me better leverage.
Step 10
Lightly sand the tabletop with an orbital sander and 220-grit paper.
 HomeMade Modern
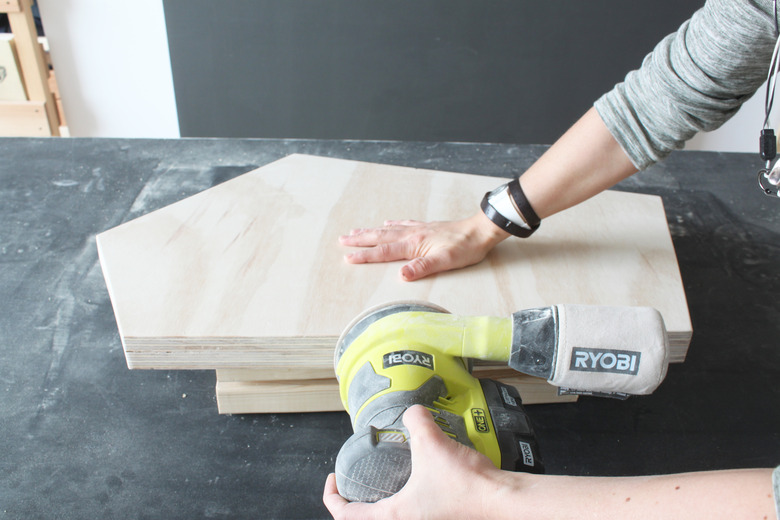
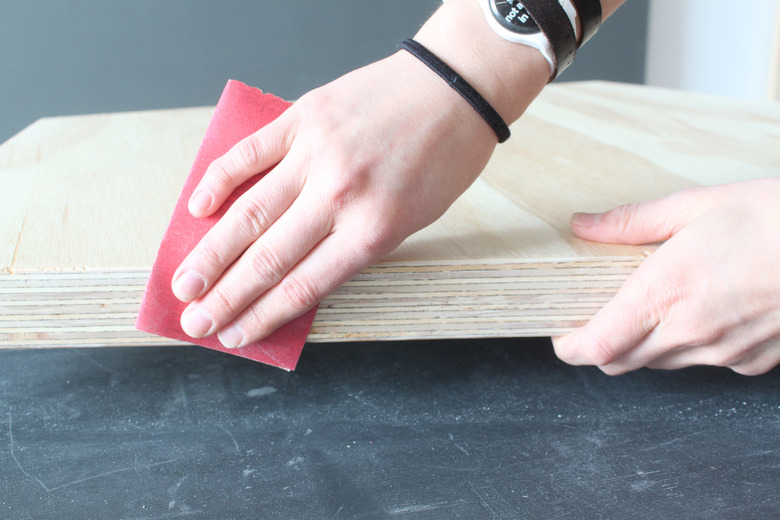
Step 11
The sides will be significantly rougher thank the top. Use an 80-grit paper to sand the sides until they are fairly even. Then, switch to 220-grit to finish-sand to full smoothness.
 HomeMade Modern
It should come out soft to the touch. You may also want to "break," or soften, the hard, sharp edges. This can be done with the orbital sander or with a piece of sandpaper.
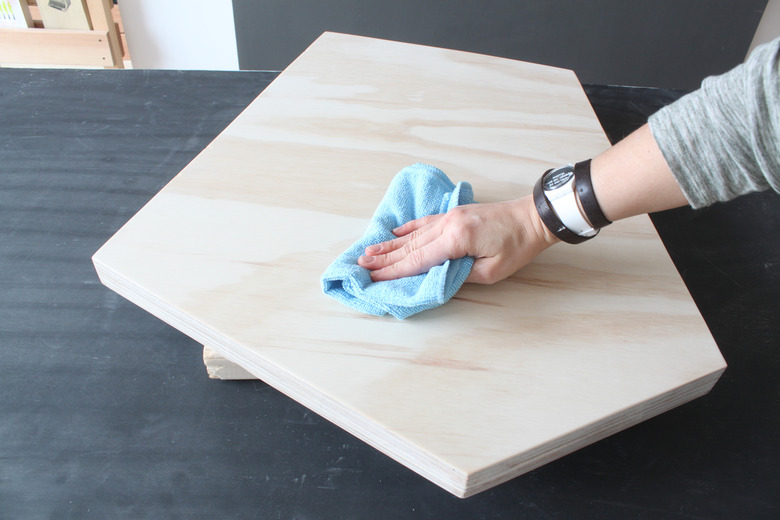
Step 12
Make sure your tabletop is sawdust-free before moving on to the next step, by wiping it down with a dusting cloth.
 HomeMade Modern
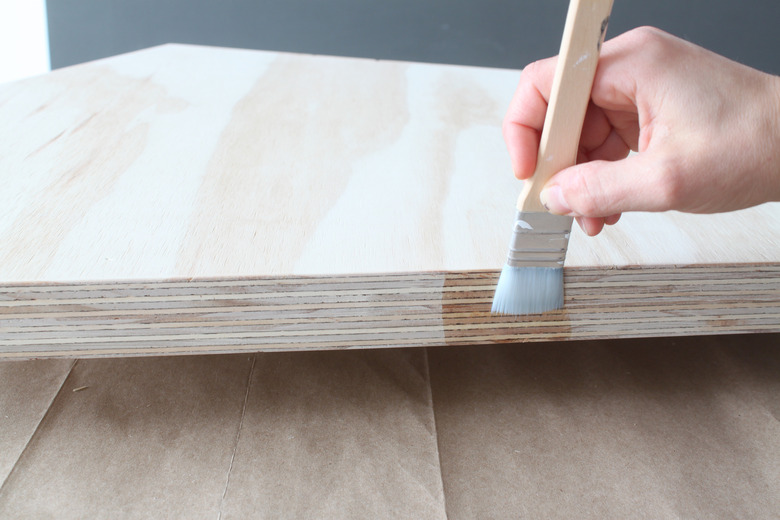
Step 13
Apply one coat of polycrylic finish, using a applicator brush.
 HomeMade Modern
Step 14
Once the polycrylic finish is fully dry, give it a VERY light sanding with 220-grit paper.
 HomeMade Modern
An orbital sander is fine for the tabletop, if you don't exert any pressure. Just let it glide across the top. The sides are better suited for sandpaper.
Step 15
After ridding the tabletop of any new dust, apply a second coat of polycrylic finish.
 HomeMade Modern
The tabletop is now finished. Set it aside for now and move on to the copper legs.
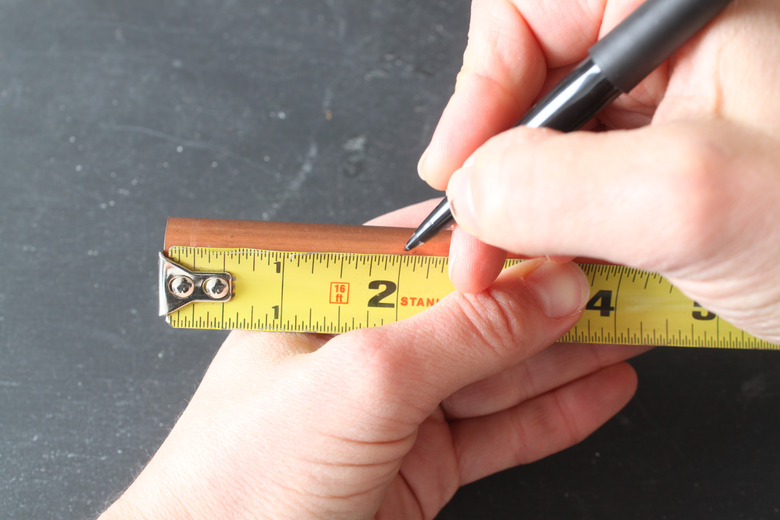
Step 16
Use a tape measure and a pencil to mark cut lines on the copper pipe.
 HomeMade Modern
Tip
Because each tabletop will be slightly different dimensions, some of the necessary lengths of the copper are hard to predict. Draw an imaginary rectangle on the underside of the tabletop and factor those dimensions into your cut list.
Step 17
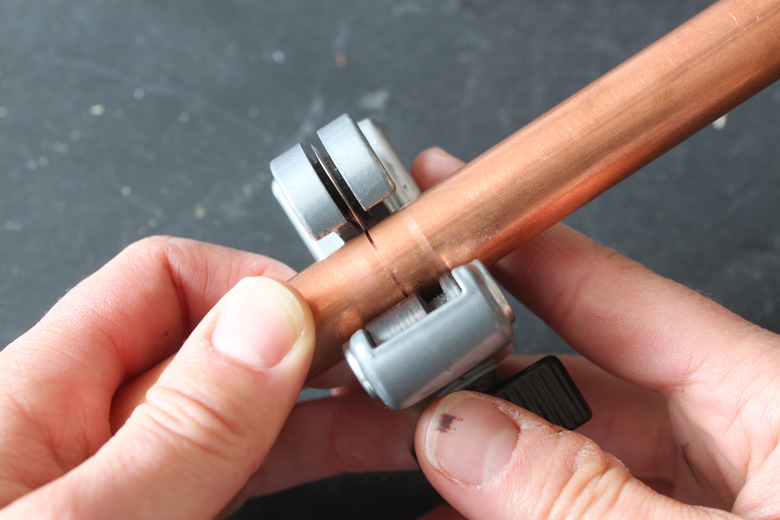
If you have never used a tubing cutter before, the next few steps detail how it is done.
Line up the cutting wheel on the tubing cutter with the cut line you made in the previous step. Tighten the knob at the bottom of the cutter until there is a medium pressure on the tube. There should be just enough pressure where you can feel the resistance yet still rotate the cutter all the way around the tube.
 HomeMade Modern
Step 18
Each time the cutter does a complete revolution, tighten the knob a half turn. You should see this scoring mark begin to emerge.
 HomeMade Modern
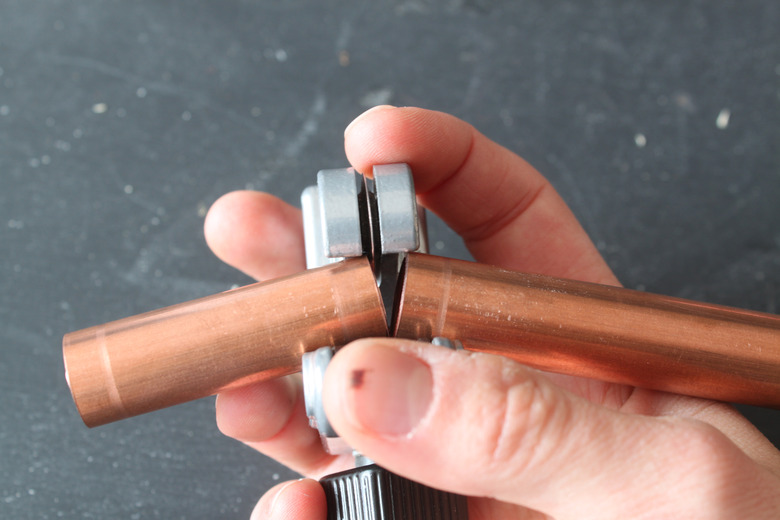
Step 19
After several revolutions, the copper will break in two.
 HomeMade Modern
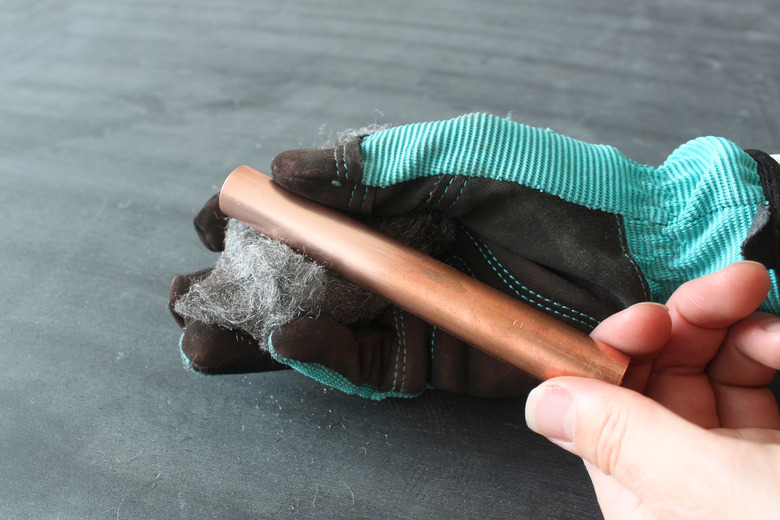
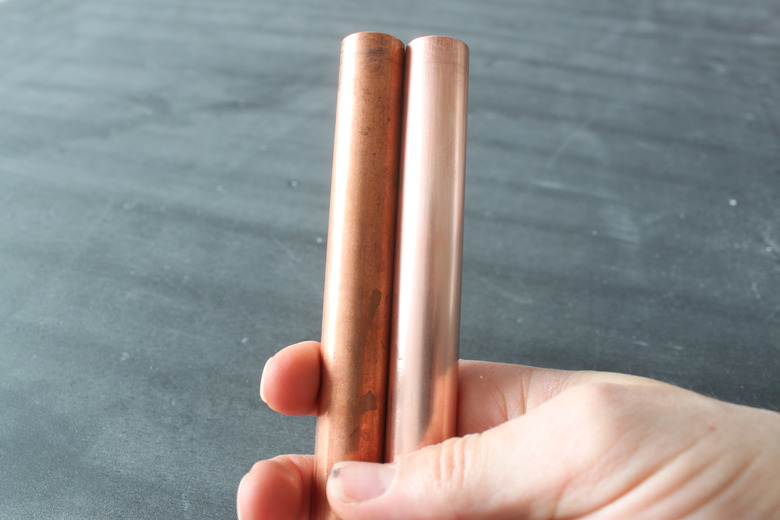
Step 20
Shine the copper with a steel wool pad.
 HomeMade Modern
Tip
This is not a necessary step, but I like the copper to be super shiny when the project is first completed. After that, I let it tarnish naturally. A benefit to using steel wool is that it rubs off all the factory writing on the pipe. Wear gloves if steel splinters aren't your style.
 HomeMade Modern
Step 21
Apply the glue in a thick coating to the inside of the fittings before attaching them to the pipes.
 HomeMade Modern
Step 22
As you connect the pipes and the fittings, give the pipe a couple turns in order to disperse the glue evenly.
 HomeMade Modern
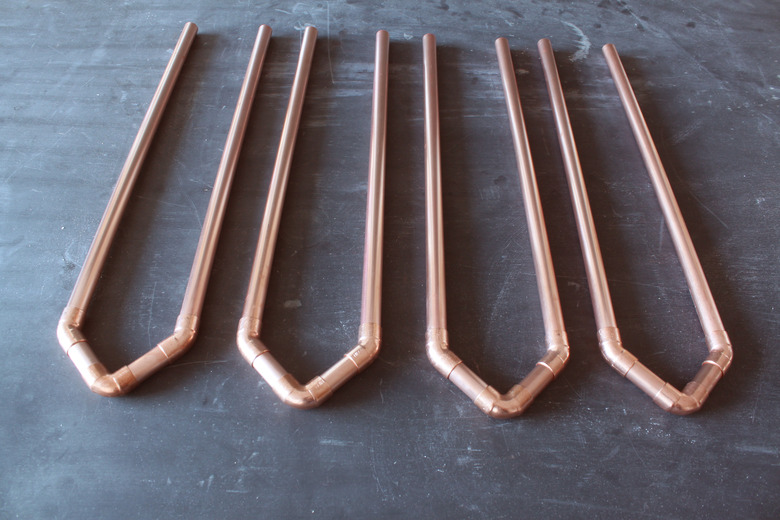
Step 23
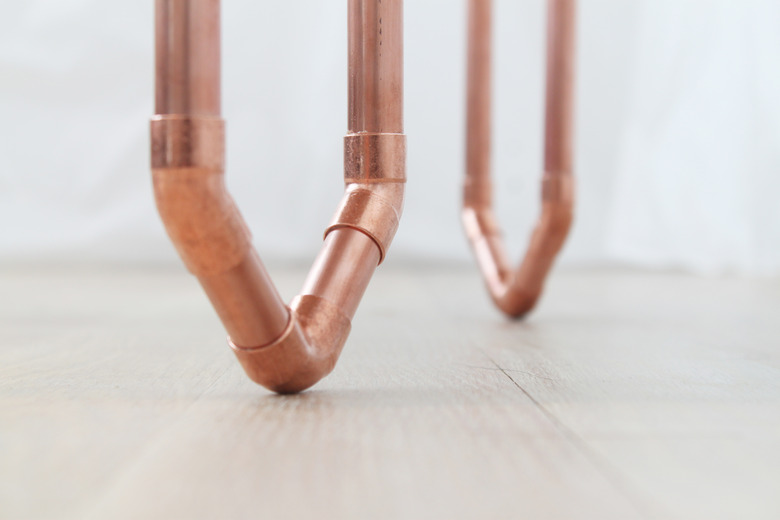
Use eight pieces at 16 inches, eight pieces at 2 inches, eight 45° elbow fittings, and four 90° elbow fittings to assemble the legs, as shown here.
 HomeMade Modern
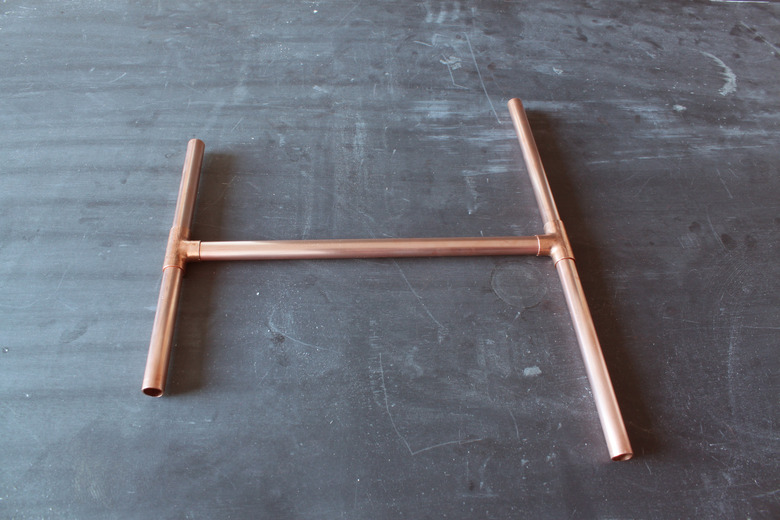
Step 24
Use two pieces at 4 3/4 inches, two pieces at 7 inches, two T fittings, and connect them with a 12-inch long piece, as shown here.
 HomeMade Modern
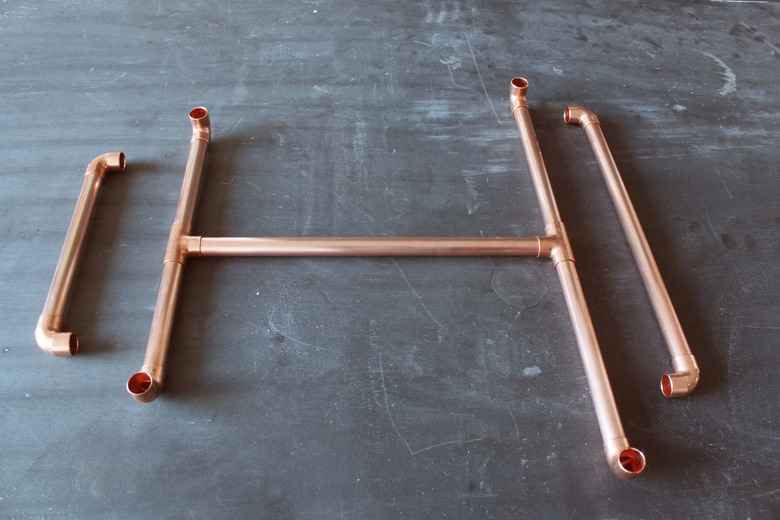
Step 25
Add four 90° elbow fittings to the ends and four 90° elbow fittings to the ends of one piece at 7 inches and one piece at 11 1/2 inches, as shown here.
 HomeMade Modern
Step 26
Add the four legs to the supports.
 HomeMade Modern
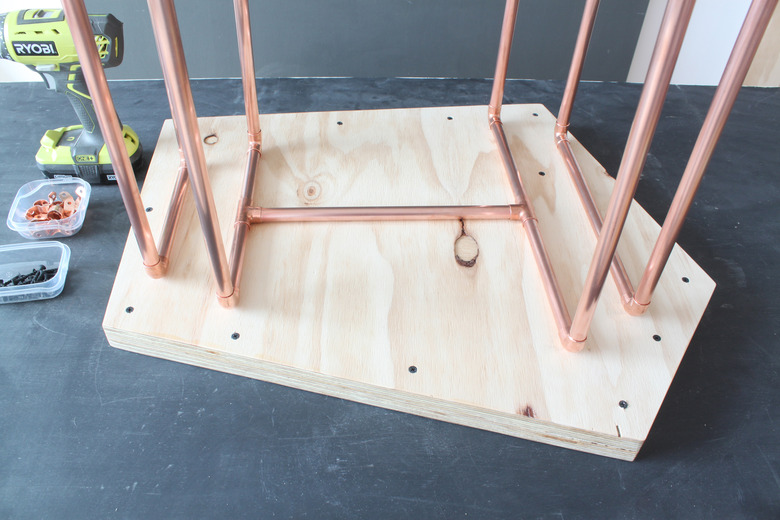
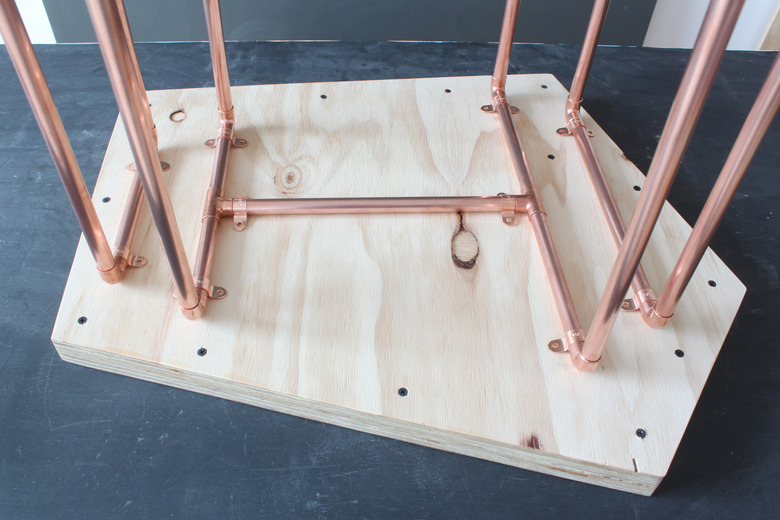
Step 27
Lay the tabletop flat on your work surface, bottom side up. Center the legs on the underside of the tabletop, as shown.
 HomeMade Modern
Step 28
Attach pipe straps over the pipes, near the elbows and T-fittings.
 HomeMade Modern
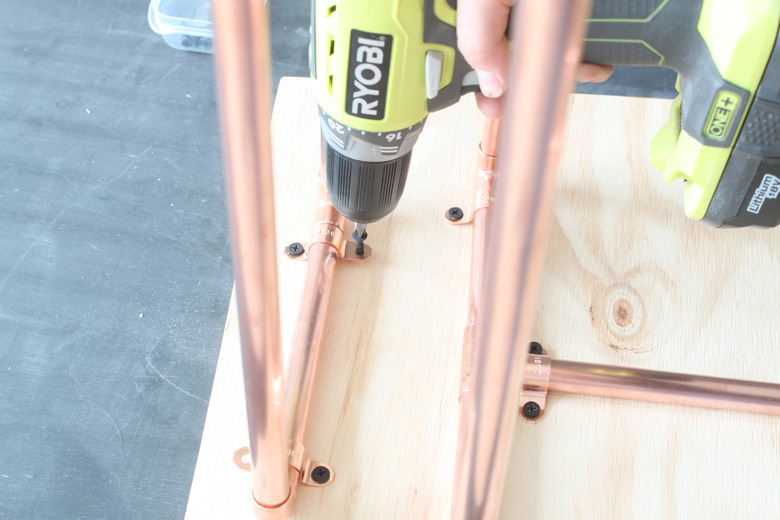
Step 29
Attach the straps to the tabletop with 1 1/4 inch screws.
 HomeMade Modern
Flip your table... and you're finished!
 HomeMade Modern
 HomeMade Modern
 HomeMade Modern
 HomeMade Modern
 HomeMade Modern