DIY Raised Copper Pipe Plant Stand
We may receive a commission on purchases made from links.
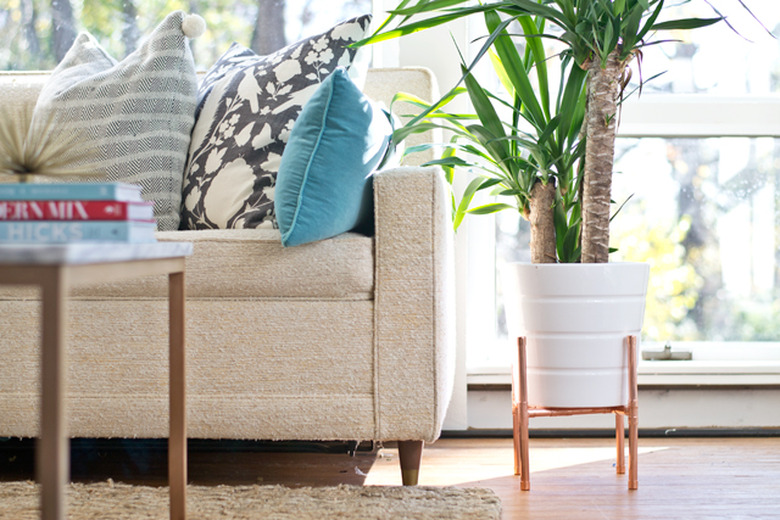
When decorating a space, a room isn't complete until a plant is added — it brings so much texture and life to a space (pun intended). Elevated plant stands have been popping up everywhere, and for good reason: It's like jewelry for your plant. With a few simple materials, and a little time, you can easily make your own copper plant stand.
 Sarah Dorsey
 Sarah Dorsey
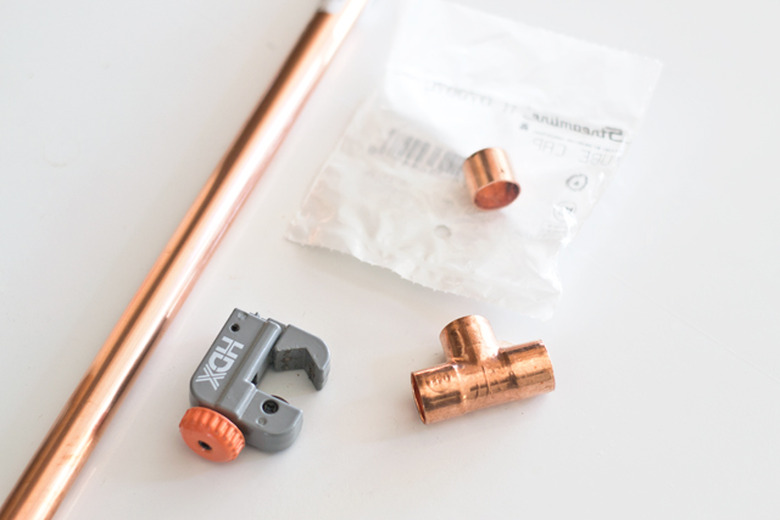
Things Needed
-
1/2-inch copper tee, (8)
-
1/2-inch copper cap, (8)
-
Scrap wood
-
Ceramic pot
-
Ketchup (optional, for polishing)
1. Measure Pipe Sections
Measure your 1/2-inch copper pipes and mark at 3 1/2 inch increments (qty 4).
 Sarah Dorsey
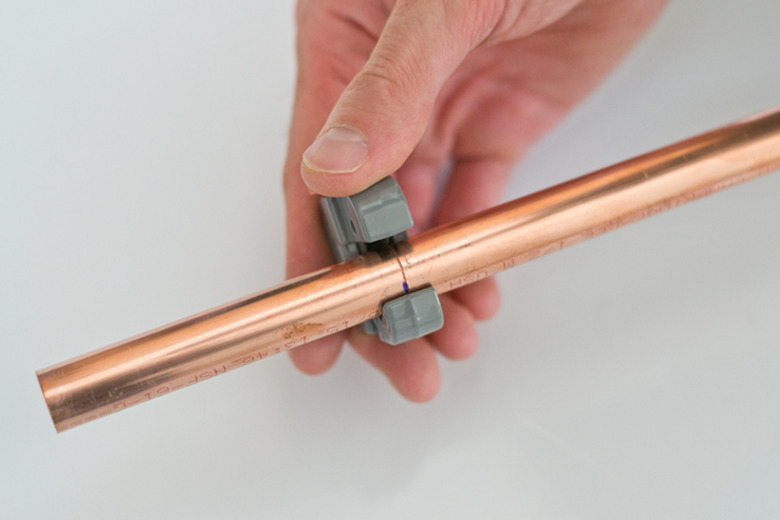
2. Cut the Pipe
Using the pipe cutter, cut the pipe along the measured marks. Tighten the screw until tight, turn, tighten again, and repeat until the pipe breaks off.
 Sarah Dorsey
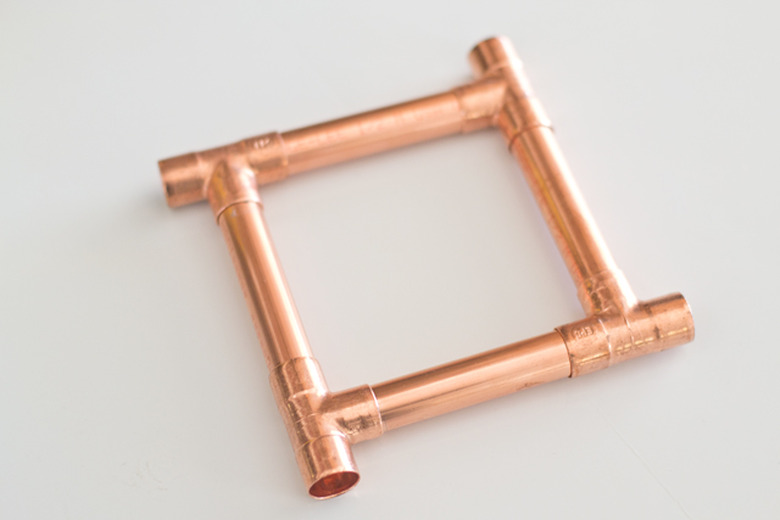
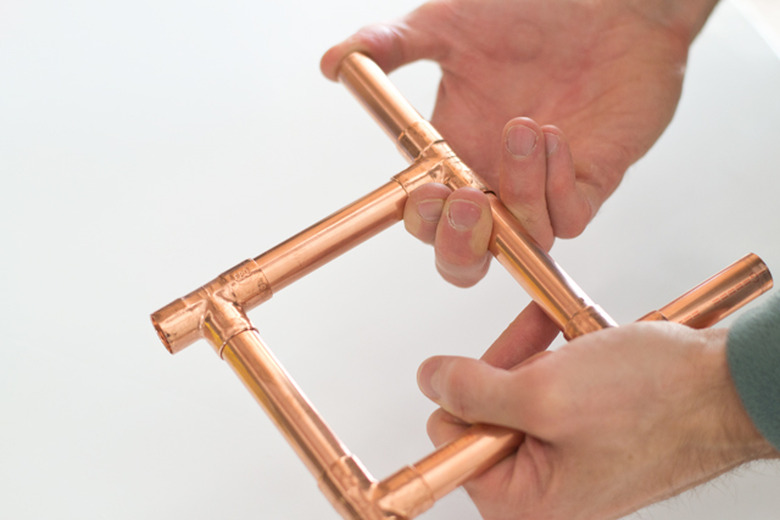
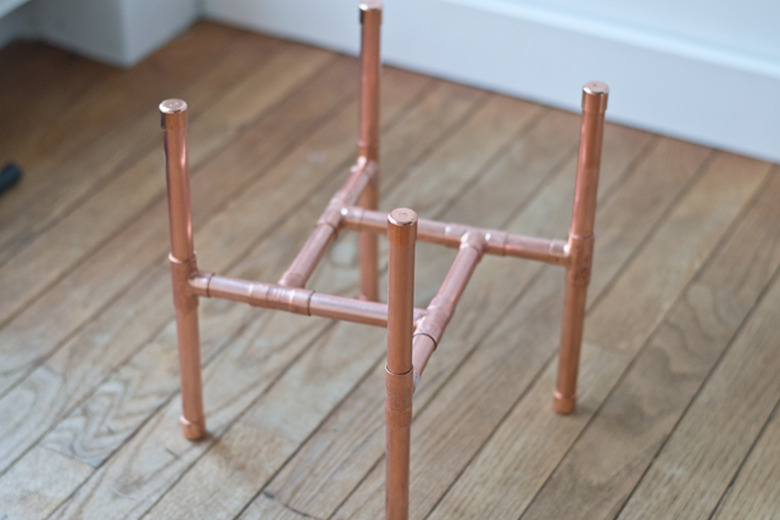
3. Form the Square Base
Insert the 3 1/2 inch sections of pipe into four copper tee pieces to form a square.
 Sarah Dorsey
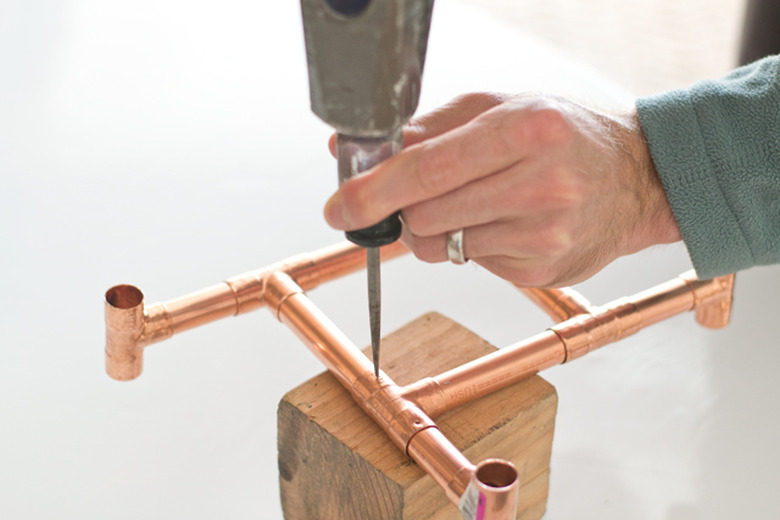
4. Fasten the Copper Pipe to Secure
If any of the fittings are loose, secure them by punching a small dent into the copper with an awl and hammer where the sections meet. Place a piece of scrap wood underneath to protect the pipe. Repeat this step as you go, as needed.
 Sarah Dorsey
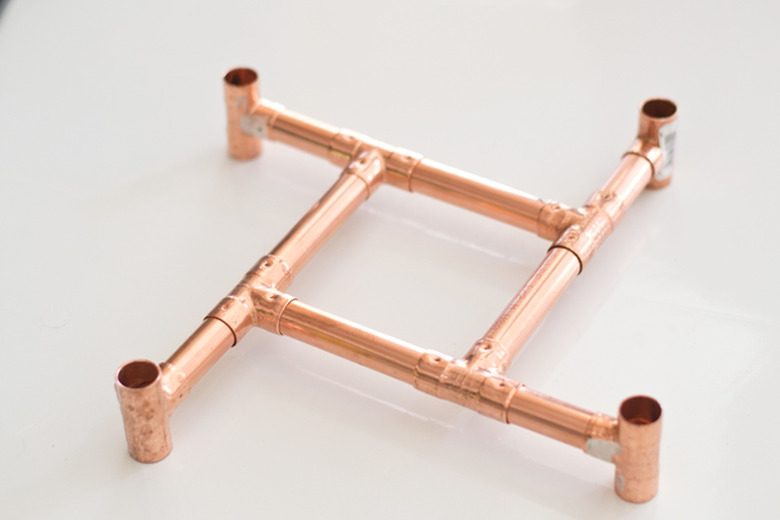
5. Add the Next Row of Copper Sections
Cut four 2-1/4 inch copper pipe sections. On the end of the tee, add the 2-1/4 inch sections.
 Sarah Dorsey
6. Add Copper Tees to the Ends
On the end, add copper tees on the end of the 2-1/4 inch sections. Cut eight 5-inch sections of pipe, and insert into the top and bottom of the tees.
 Sarah Dorsey
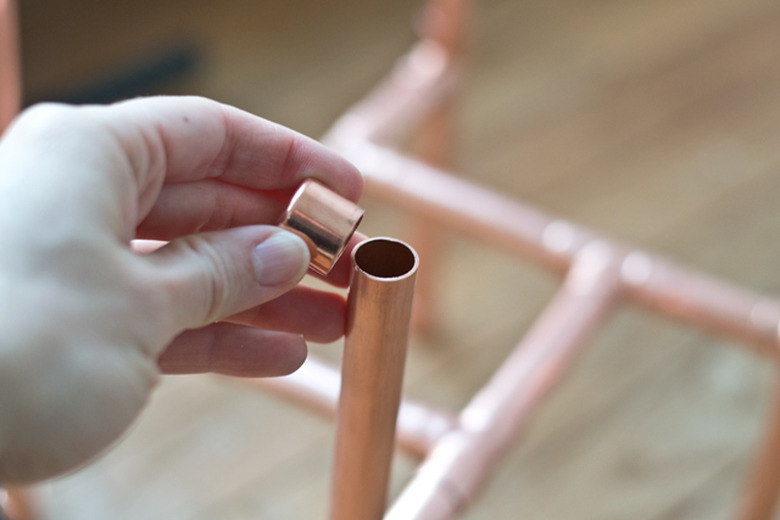
7. Add Copper Caps
Place the 1/2-inch copper caps on all exposed ends of the copper pipe. There should be eight in total.
 Sarah Dorsey
8. Remove Red Text and Polish Copper
Finally, remove any red text with nail polish remover. With a tissue, rub the text off. Polish the copper with ketchup, rub on and off with a tissue.
 Sarah Dorsey
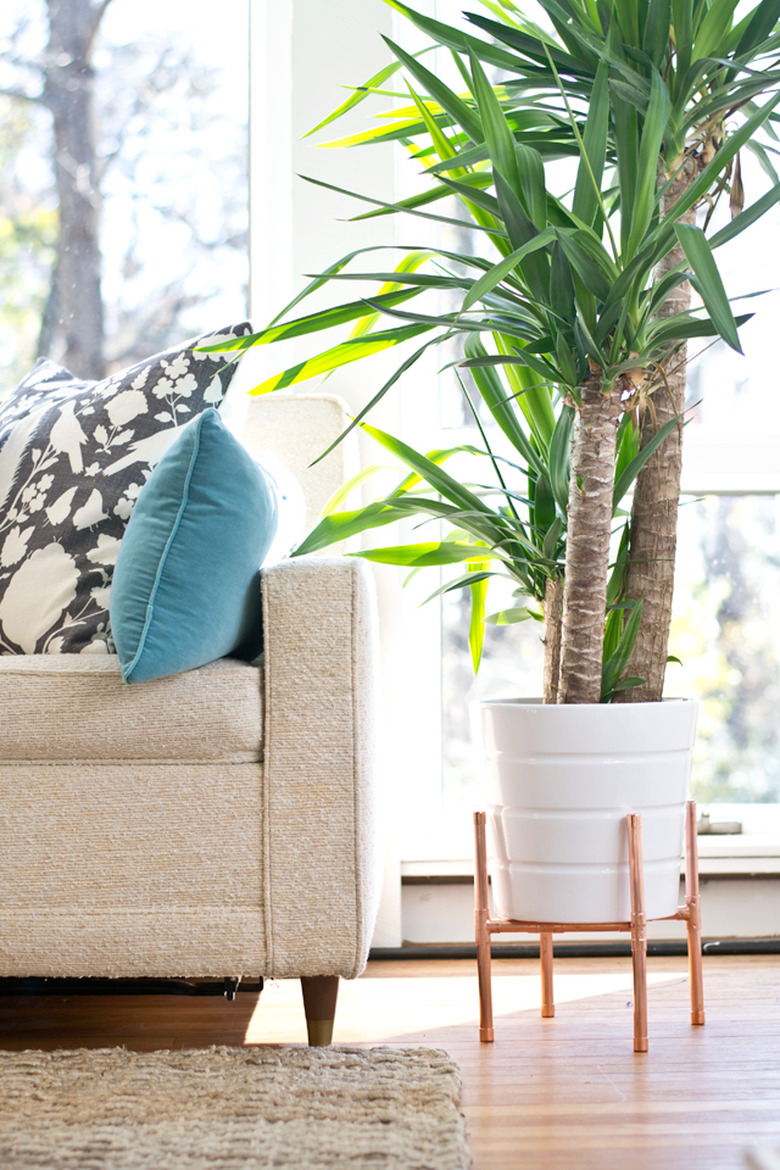
9. Insert a Potted Plant
Insert the ceramic pot inside the copper arms and place in your favorite spot. With about just an hours time and a little money, I'd consider this a DIY success!
 Sarah Dorsey