How To Make Pavers With Leaves
Things Needed
-
Tape measure
-
Plywood
-
Pencil
-
Chalk snap line
-
Circular saw with finish blade
-
1-by-3 framing lumber
-
Power drill
-
Deck screws
-
Concrete mix
-
Wheelbarrow
-
Water
-
Mortar hoe or flat-nosed shovel
-
Concrete release agent
-
Spray bottle
-
Leaves
-
Masonry finishing trowel
-
Hammer
Tip
Smaller pavers, such as 12-inch square pavers, are easy to transport and install. Using 1-by-3 lumber limits the pavers' thickness to roughly 2 ½ inches — a sturdy thickness that's not too heavy. Vegetable oil is a suitable release agent for small projects. Forms only require a light coating of release agent; too much release agent causes the concrete's surface to pit and bubble.
Warning
Never use motor oil as a release agent; the oil will leach from your pavers and seep into the surrounding landscape.
 Comstock/Comstock/Getty Images
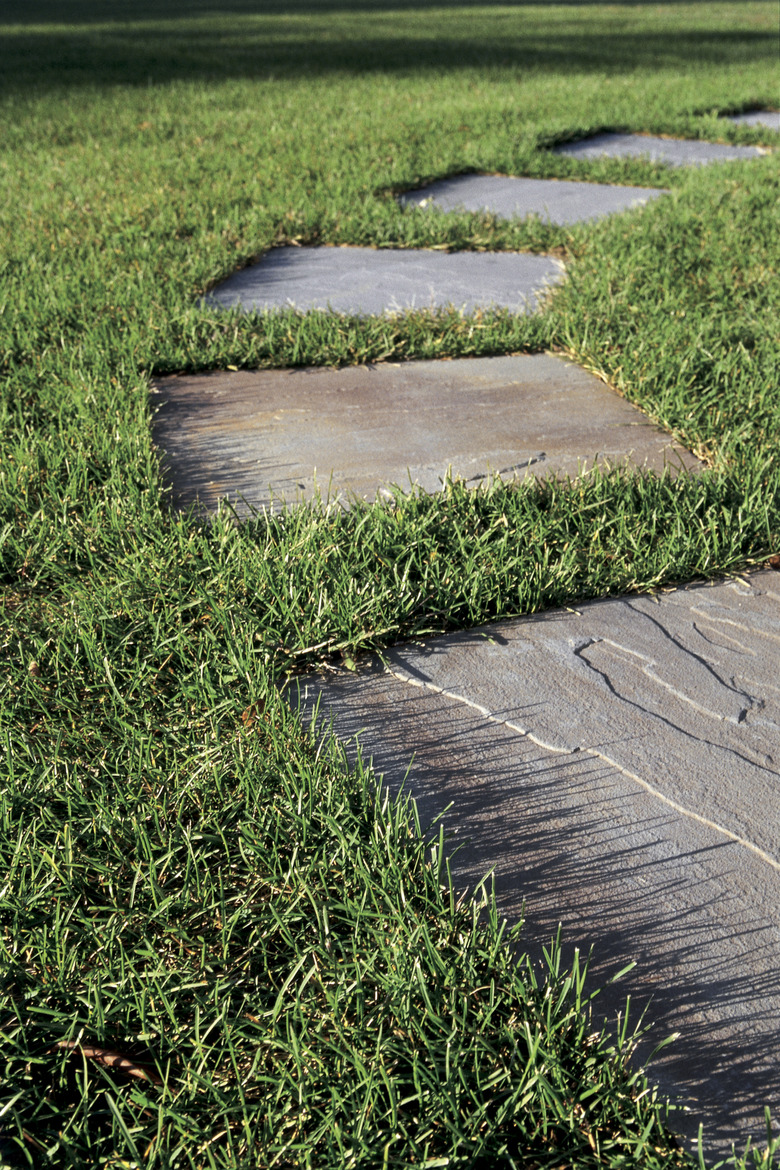
Custom pavers with leaf impressions add a personal touch to your landscape or outdoor living area. Constructing walkway pavers is relatively inexpensive and requires only novice-level building skills. The box that holds your wet concrete is called a mold or form. Leaves placed at the mold's bottom will imprint the finished paver's surface with their form and texture. While real leaves are suitable for impressing pavers, the leaves should be sturdy, such as newly fallen leaves. Alternatively, use imitation leaves, such as those from a fake plant.
Step 1
Latch the tape measure's clip to the short edge of the plywood. Align the tape measure with the plywood's corner. Stretch the tape measure to the desired width of the paver: 12 inches creates a comfortable step and relatively lightweight paver. Add 1 ½ inches to the width, and mark the location with a pencil. Move the tape to the opposite corner of the plywood's short edge, and create a similar mark.
Step 2
Stretch a chalk snap line between the marks, and snap the string to lay out a cut line across the plywood's face. Use this layout method to create a second cut line that runs perpendicular to the first. The resulting square represents your paver's width and length. The additional 1 ½ inches accommodates the thickness of the lumber form material. Cut the square from the plywood with a circular saw.
Step 3
Measure and mark two pieces of 1-by-3 lumber to the plywood square's width. Subtract 3 inches from the square's length, and mark two pieces of 1-by-3 lumber to this dimension. Subtracting 3 inches accommodates the thickness of the lumber that spans the form's width, allowing you to affix the lumber along the square's perimeter. Cut the four pieces of marked lumber to size with a circular saw.
Step 4
Align the lumber equivalent to the square's width with the width sides of the square. Fasten the width pieces to the square with a power drill and deck screws. Drive the screws through the plywood and into the lumber every 4 to 6 inches.
Step 5
Position the remaining pieces of lumber between the width pieces, and align their sides with the edges of the square. Fasten the pieces to the plywood with a power drill and deck screws. Drive a screw through the side faces of the lumber at each butt joint to join the separate pieces' corners.
Step 6
Pour concrete mix into a wheelbarrow, add water and combine the ingredients with a masonry hoe or flat-nosed shovel. Fill a spray bottle with a concrete release agent, and spray the agent onto all of the form's interior surfaces. Press leaves flat against the bottom of the form. Lightly spray the leaves with release agent.
Step 7
Fill the form with mixed concrete. Use a finishing trowel to evenly distribute the concrete into the form's corners. Lightly press the concrete to fill voids and release air bubbles. Use the trowel to smooth the wet concrete's top surface. Allow the concrete to cure according to the manufacturer's instructions, typically 24 to 48 hours. Allow longer, covered curing times to increase the concrete's strength.
Step 8
Flip the cured concrete and form onto a flat, stable surface. Pull and shimmy the form away from the concrete. If the form sticks, lightly tap the form's sides with a hammer. Pull or scrape the leaves from the paver's exposed surface. Alternatively, let the leaves remain affixed to the paver; they will naturally decompose, leaving their mark.