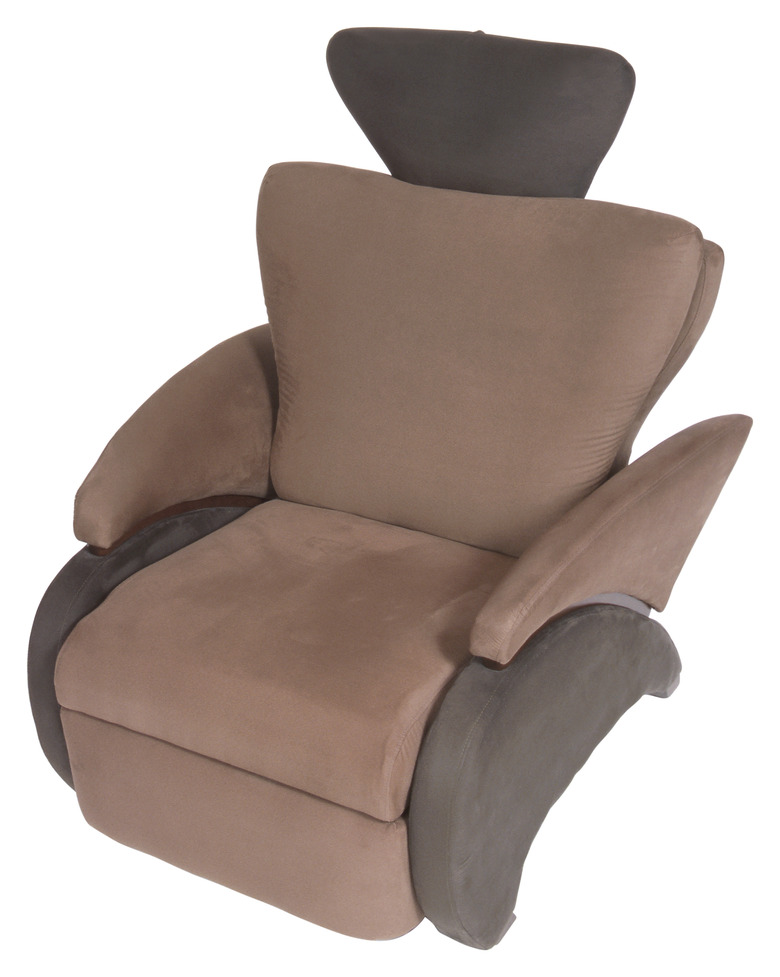
How To Restuff A Recliner
Things Needed
-
Needle-nose pliers
-
Work gloves
-
Cotton batting
-
1-foot wooden dowel
-
Carpentry stapler
-
Hot glue gun
-
Cloth piping
Restuffing a recliner allows you to keep using an old piece of furniture instead of throwing it out due to wear over the years. The process isn't a difficult one; it takes little time to complete and only a few basic tools are necessary. There's no need even to remove the recliner's fabric from the frame, or cut the material. The restuffing process works with the seams of the fabric, using them both to remove the old material and to add the new material to the chair. The result is a revitalized piece of furniture that's once more fit for use.
Step 1
Locate a seam on the side of the cushion where the arm attaches to the side of the chair. Remove any staples or tacks holding the fabric along the seam in place, using needle-nose pliers to pull the staple or tack from the chair frame.
Step 2
Put on a pair of work gloves. Remove the existing chair stuffing from the cushion through the seam, pulling it from the seat of the recliner by hand until all that's left within the recliner fabric is the seat's plywood board lying flat along the base of the cushion.
Step 3
Stuff the cushion with cotton batting, laying the batting in layers over the board that shapes the chair, until it is filled with the new material. Push the batting into the far corners of the cushion, and any other difficult-to-reach areas, with a wooden dowel. Make certain the dowel you use has a rounded edge so you don't stress the fabric of the recliner.
Step 4
Knead the cushion surface with your hands to fluff the material inside. Tightly stretch the fabric back over the chair frame once it's filled. Staple the fabric into place using a carpentry stapler. Place staples in a line every 4 inches along the recliner to give support across the chair frame.
Step 5
Repeat this reupholstering process on each section of the chair to complete the batting replacement. Continue to fluff each chair section so you can be sure there's enough material within the section before stapling it closed.
Step 6
Conceal the seams by gluing strips of cloth piping over them, using a glue gun to supply an adhesive strip along the seam for the cloth to stick to. Allow the glue to cure overnight before using the chair.
