How To Fix A Stripped Shower Knob
We may receive a commission on purchases made from links.
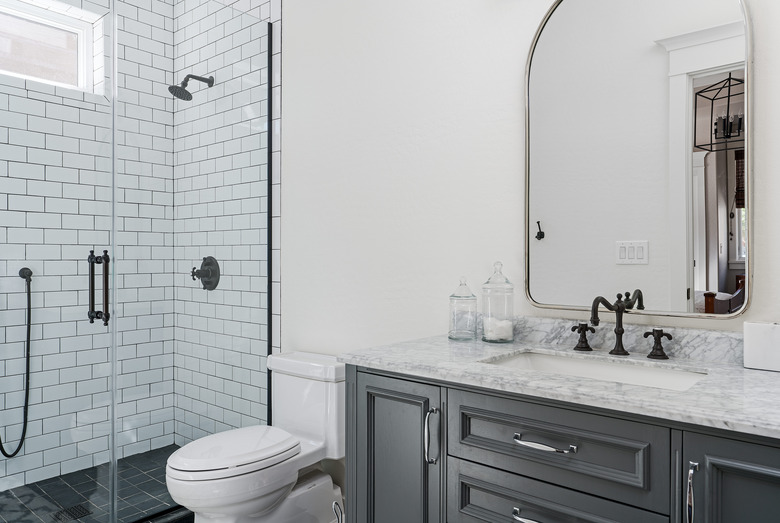
If your shower faucet handles won't turn on or your showerhead is dripping long after your shower is over, you may be wondering, "Is my faucet knob broken?" While it could be a faulty or stripped shower knob, it may be that the shower valve cartridge is causing your trouble.
Remove the faucet knob and check the notches on the back of it, as well as the notches on the cartridge. If they've become corroded or stripped, this will leave you with a useless knob and possibly a leaking faucet. You can try soaking the valve in vinegar to remove limescale buildup for a quick fix or wrapping the worn grooves with plumber's tape for a temporary repair, but the best solution may be replacing the valve cartridge.
Tip
Make sure your shower faucet repair is a success by correctly determining which replacement cartridge you'll need, as these are not universal and vary based on the manufacturer. After removal, take your old cartridge to the hardware store with you to find an exact match.
Try a Quick Fix First
Try a Quick Fix First
When it comes to shower faucet repair, you have options. In some cases, mineral deposits caused by hard water may be the culprit, resulting in buildup behind the faucet knob. Luckily, this is an amenable problem.
Begin by turning off the water, using either the shower shutoff valves (if available) or the home's main water shutoff. Open the shower faucet to relieve pressure in the lines. Cover the drain with a drop cloth to prevent losing small items. Remove the shower handle and cover plate (if necessary), revealing the valve cartridge behind it. Take out the cartridge by following the steps below. Using a soft-bristled brush, clear away any loose debris from the cartridge and leave it to soak for several hours in a mixture of water and vinegar.
Finally, insert the cartridge back into the valve and tighten with the nut. Reinstall the shower handle and cover plate (as applicable), and then turn the water back on. This may be all that is needed to fix your problem.
Consider a Temporary Solution
Consider a Temporary Solution
If cleaning the cartridge doesn't do the trick, you will likely need to change the cartridge altogether to fix your stripped shower knob. To keep the shower in working order so that you can ready yourself for the repair, try this stopgap measure.
Once again, make sure you have turned off the water and covered your drain with a rag. Remove the handle and cover plate; then check the grooves on the valve where the handle attaches. If they are worn but still visible, you can temporarily enhance the handle's grip with thread-seal tape, also known as Teflon tape or plumber's tape. Wrap the ridged end of the cartridge with the plumber's tape until the knob fits tightly, then screw the knob back in place.
This remedy will buy you time to gather your plumbing kit and the necessary supplies for this shower faucet repair. It could even last several months with no drips, but you'll eventually need to make a permanent repair to avoid more plumbing headaches in the future.
How To Replace the Shower Valve Cartridge
How To Replace the Shower Valve Cartridge
The best way to fix a faulty single-handle knob in your tub or shower is to replace the shower valve cartridge. Follow the steps below to remove and replace your old cartridge for a long-lasting shower faucet repair.
1. Shut Off the Water Supply
There may be fixture shutoff valves behind your shower, and if so, you will need to close both valves and then relieve pressure by opening the shower faucet. If there are no shutoff valves, turn off all of the water to the house at the main water shutoff valve; then release pressure in the system by opening the shower faucet or another faucet, preferably on a level lower than the shower you're working on.
2. Prepare Your Area
When working in a shower or sink, always remember to cover the drain with a drop cloth to prevent any screws or small parts from getting lost.
3. Remove the Shower Knob and Escutcheon Plate
A single-handle shower knob is normally held on by a screw found behind a cap on its front. Pry off the cap with a flathead screwdriver to reveal the screw; then proceed, turning the screw counter-clockwise to loosen the screw.
Depending on the brand and model of your faucet, you may need a hex key (also known as an Allen wrench) or either a flat-head or Phillips screwdriver to complete this step. If the knob is stuck tight, you may even need a faucet handle puller. You may also need to remove the face plate, also known as the escutcheon plate, which will be attached by additional screws. Keep in mind, if the plate is caulked where it meets the shower wall, you will need to score the caulking with a knife. Using your flathead screwdriver again, you can pry the plate from the wall, revealing the cartridge behind it.
4. Remove the Cartridge
The replaceable cartridge can be found inside the faucet valve. First, remove the retaining clip at the top of the cartridge with a small screwdriver. Keep this clip, as you will need it for reinstallation. Most cartridges can be removed with pliers by gripping the front of the cartridge and pulling it directly out. In some cases, you may need to consider using a cartridge pulling wrench for cartridge removal, but know that these also vary by manufacturer.
5. Find an Identical Replacement Cartridge
There are many types of shower faucets, each with its own valves — which are not compatible between brands and models. Find the right replacement cartridge by bringing your old cartridge with you to the hardware store and make sure to find an exact replacement.
6. Install the New Cartridge
Insert the cartridge into the faucet valve body, using the included lubrication if necessary. Slide the retaining clip into place to secure the cartridge.
7. Reassemble the Faucet
Reinstall the escutcheon plate if you removed it. Fitting the handle back in place, secure it with its screw, and add the cap.
8. Restore the Water Supply
Turn the water supply back on and test your new cartridge by turning on the faucet and checking for leaks.