How To Fix Paint Roller Marks After Drying
Despite the proliferation of hand-held airless sprayers on the market, using a roller remains the most efficient way to paint a single room, especially one that is full of furniture. Roller marks, which painters sometimes call "holidays," are a routine hazard when painting with a roller, and there are many ways to avoid them. When you notice holidays after the paint has dried, you can usually make them disappear by applying another coat after sanding lightly—if necessary—to remove drips and humps. If your wall is full of roller marks after the second coat, chances are you forgot to clean and prime the wall before painting, or you're using the wrong type of paint or the wrong mixture.
Touching Up Holidays
Touching Up Holidays
Holidays can occur when you're trying to save paint and you attempt to squeeze more out of your roller than is actually there. They can also occur because the nap of the roller sleeve is too short. Either way, the result is a noticeable lack of paint in one or more parts of the surface you're painting. The remedy is simple: cover the holidays with more paint.
In most cases, you can use a brush to touch up roller marks, but that might not work in high-end jobs because brush streaks can be noticeable on a rolled wall. In that case, you should use a roller to make the touch-up, and the roller should preferably be the same one you've already been using. The marks will tell you which way the roller was moving when it made them. Move the roller in the same direction when touching up to ensure uniformity of texture.
What About Sanding?
What About Sanding?
It's rare to have to sand a wall or ceiling before touching up roller marks, but that may be necessary if you notice drips or if you're if using textured paint. When you have to sand, use 120- or 150-grit sandpaper, and apply light pressure. The point is simply to flatten the dried paint, not remove it. Be sure to wipe the sanding dust off the surface before you repaint.
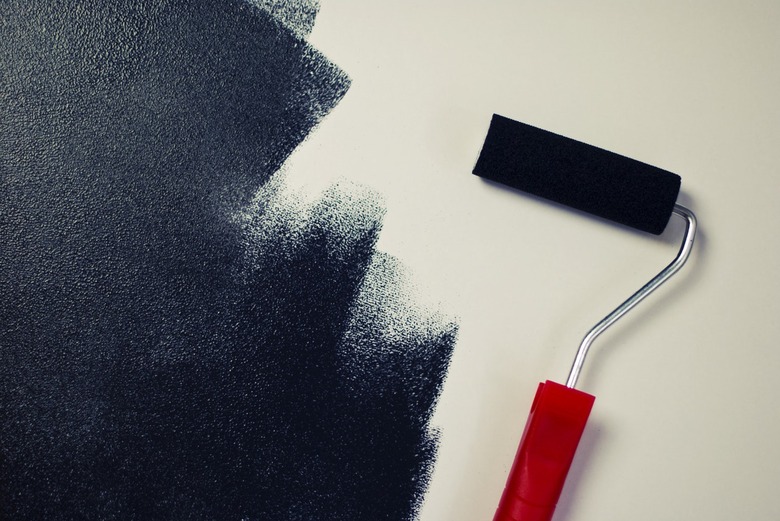
Avoiding Roller Marks
Avoiding Roller Marks
It's virtually impossible to avoid roller marks when applying a single coat of paint to a wall or ceiling. Most jobs require two coats, especially if there is a significant color difference between the existing color and the new one. If you still have holidays after applying two coats, here are some changes you can make to your technique and equipment:
Use a 1/2-inch roller cover. You may be using a cover with a 1/4-inch nap, which is intended for use on perfectly smooth surfaces. Your wall may look smooth, but the roller marks are telling you that it isn't. Change the cover.
Load up more frequently. Whenever you notice yourself putting pressure on the roller to squeeze out paint, it's time to load up. You won't save any paint by squeezing out paint if you have to go back and apply another coat.
Roll over the wet edge. A natural consequence of the U-shape construction of most rollers is that the end of the roller near the handle exerts more pressure on the wall than the other end. Keeping the far end of the roller on a part of the surface you've already painted minimizes roller marks that occur because of this pressure difference.
Always prime new wood, masonry and drywall: Primer is an adhesive that seals porous materials and prevents paint from soaking in. If you omit the primer, you'll find it difficult to avoid roller marks, even after applying two coats or more.