How To Caulk A Stainless Steel Kitchen Sink With Granite Countertops
We may receive a commission on purchases made from links.
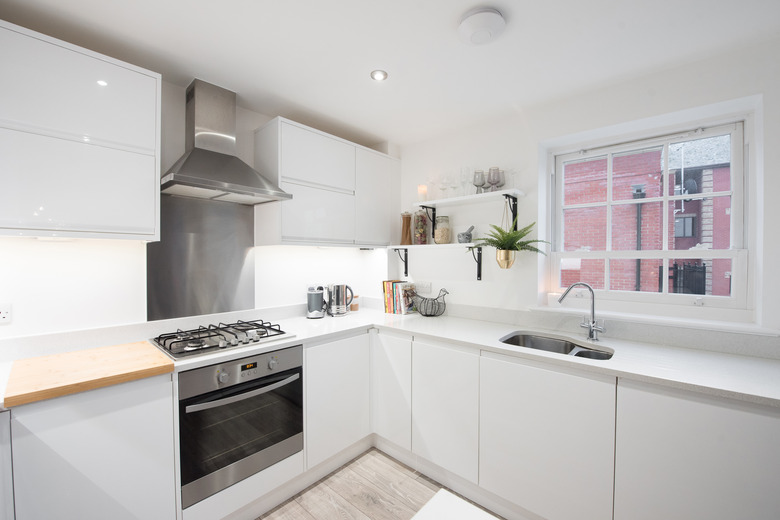
Stainless steel is a lightweight, almost luminous material that is a perfect match for the deep, rich tones of natural stone, which is why it's a favorite material for kitchen sinks set into granite countertops. The two main kitchen sink styles are top-mount and undermount, and both need to be caulked to prevent water from leaking around the kitchen sink.
The Initial Caulk
The Initial Caulk
When setting the sink, the installer typically applies a generous bead of silicone caulk between the sink rim and the countertop to hold it in place. After installation, the installer applies a second bead around the outside of the rim to prevent moisture seepage. This moisture seal wears out as the years go by and needs to be refreshed to prevent mold growth and water damage.
Start by Removing Old Caulk
Start by Removing Old Caulk
Fresh silicone caulk won't stick to caulk that has already cured, so you have to remove all the old caulk. This can be a tough job because silicone bonds strongly. You can't dissolve it with anything, although you can soften it with a commercial silicone caulk remover. Chemicals can make silicone caulk expand and loosen its grip, but there's no way to avoid having to scrape it off.
The best way to scrape silicone caulk is to use a utility knife, and while there's little chance of damaging the granite, you can scratch stainless steel and cause it to rust, so use caution. Slip the blade under the caulk and work up a section until you can grab it with your fingers and pull it off. Work your way all around the sink rim or the gap between an undermount sink and the countertop and clean off residue with a kitchen scrubby.
Finish the cleanup by wiping down the top of the counter and the sink rim or, if you're caulking an undermount, the inside of the sink and the edge of the countertop, with isopropyl alcohol.
Apply Kitchen Sink Sealant
Apply Kitchen Sink Sealant
It's actually fairly easy to apply a clean bead of silicone caulk, but even so, it pays to lay painter's tape around the area you're caulking to make a clean line. With or without tape, the secret to a clean bead is to cut the tip of the caulk tube at a 45-degree angle and just wide enough for the caulk to span the gap in one pass. Caulk tube tips usually have gradation marks on them, and cutting along the second one from the tip is suitable for most caulking jobs.
Apply the caulk along each side of the sink in a single, continuous motion, starting at the farthest point away from you and drawing the gun toward you as you keep steady pressure on the trigger. Press the release button on the gun at the end of the bead and put a rag around the tip, then tool the caulk by running your finger along it in a single continuous motion and wipe the excess caulk onto the rag.
You can use this technique to caulk around the rim of a top-mount sink and the gap between an undermount sink and the countertop. It's not a bad idea to refresh the caulk between the granite backsplash and the wall, because it tends to get discolored with mold as time goes by.
Caulking Sink During Installation
Caulking Sink During Installation
My Bath Kitchen reminds you to clean granite thoroughly with alcohol before installing a sink. If you're installing a top-mount, apply the caulk around the edge of the sink opening, then drop in the sink and press down on the rim to seat it in the caulk. When installing an undermount, apply the caulk around the inside edge of the rim before you lift the sink into place and hold it with clamps. In both cases, you'll probably have some hardware supplied by the sink manufacturer to hold it to the countertop.