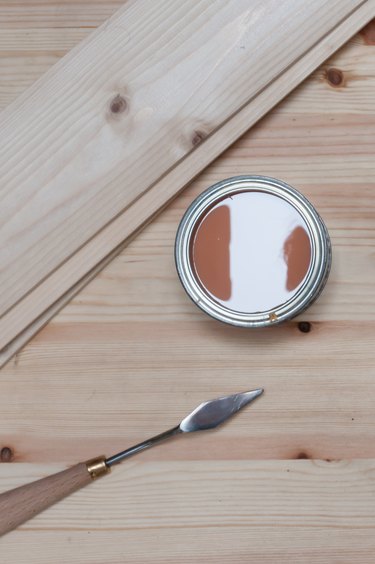
Wood filler, wood putty, wood patch, spackling compound....whatever you call it, if you're working with wood, you're bound to need some at some point. The types available are as varied as the projects for which you need them, and knowing which one to use can make the difference between a permanent repair and one that lasts just a few weeks. Some lightweight fillers dry quickly, allowing you to apply paint or finish a short time after applying them. Others take longer to set, but once they do, they are as hard—or harder—than the wood itself. Still others are designed to match the color of the wood you need to fill.
Wood Fillers: An Overview
Video of the Day
The material that's best to fill a dent or deep scratch in painted interior woodwork is very different from that which you would use to mend defects in a piece of furniture, a floor or a deck with a natural finish. Workability is more important than color or durability when filling painted woodwork, whereas the opposite is true when filling varnished or lacquered furniture. Color also matters for floor fillers, which also have to be durable. When filling exterior wood subject to rot and warping, durability is even more of an issue.
Video of the Day
Different types of wood filler include:
- Vinyl spackling compound. This material is lightweight, inexpensive and fast-drying. It's perfect for small defects in painted interior woodwork and walls. You can often dab it on with your finger, wait 5 minutes, scuff with sandpaper and paint.
- Painter's putty. If you're repairing small defects in exterior woodwork, this is the stuff to use. It's oil-based and remains flexible, so it won't crack over time and won't wash away in the rain. It doesn't have much body, though, and isn't good for filling large holes or cracks.
- Water-based patching compound. Sold under such names as Durham's Rock Hard Putty and Fix-It-All, this white plaster sets hard. It makes solid repairs in interior and exterior painted woodwork, but it's difficult to sand. If you want a smooth repair, you should use patching compound as an undercoat and top it with a more workable material.
- Oil-based patching compound. More workable than the water-based variety, this is a great material for filling cracks and small holes in all painted woodwork. It's also the best product for smoothing a wood surface that has gotten cracked and weathered with age.
- Latex floor filler. Flooring pros use latex filler to fill gaps in wood floors prior to finishing. It's hard and dries quickly, and it comes in various colors to match most types of wood. It softens when exposed to water, so it isn't suitable for exterior applications, but it makes great repairs on all interior surfaces—not just floors.
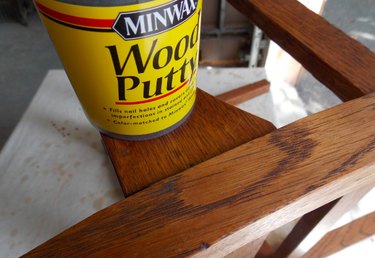
- Solvent-based wood filler. The small cans of wood filler you see on the shelves in hardware stores are an emulsion of wood fibers in a mixture of varnish and oil. They are the go-to fillers for lacquered or varnished furniture.
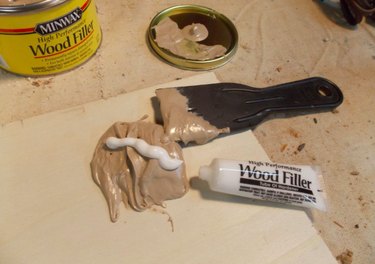
- Epoxy wood filler. This two-part product is the most structurally strong of all the fillers. It sets harder than the wood itself, and can actually prevent cracks from widening. It has a plastic-like appearance when it dries, so it should be painted.
How to Use Wood Filler
You can use many types of filler straight out of the container, but some have to be mixed with water or hardener. Here are some tips for getting the best results with whatever product you use.
Things You'll Need
Putty knife
Rag
120-grit or finer sandpaper
Can of spray finish (optional)
Paintbrush
Step 1: Apply Only to Dry Wood
Wait for wood that has been exposed to moisture damage or weather to turn a uniform color before you apply wood filler. If you apply filler over moisture-darkened wood, you'll lock in the moisture, which could cause rot and will almost certainly cause the filler to fail.
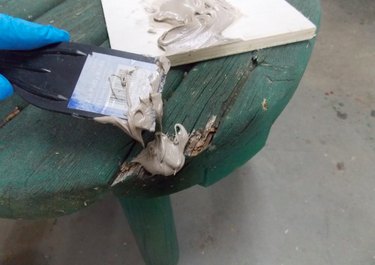
Step 2: Apply with Your Finger or a Putty Knife
You can use your finger to dab wood filler into small holes, which will minimize the amount of filler you have to remove by sanding. Fill larger cracks and defects with a putty knife. Draw the knife crossways across the grain to fill holes and cracks, then scrape along the grain of the wood to remove the excess filler. Clean up with a rag.
Step 3: Use Stainable Filler if You're Planning to Stain
Check the container to ensure the product is stainable. Most latex fillers and solvent-based products containing wood dust are stainable. Epoxy wood filler and crayons you use to hide scratches in wood finishes are not.
Step 4: Let It Dry, Then Sand Lightly
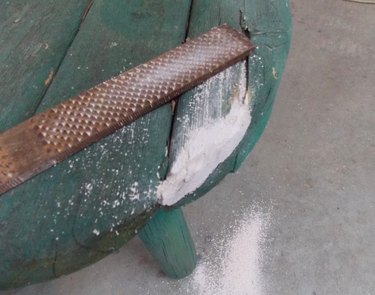
Use 120-grit or finer sandpaper to sand off the excess filler after it has dried. A file or rasp may be necessary for epoxy fillers. It's best to sand by hand to avoid wearing a depression in the area you filled. Always sand in the same direction as the grain of the wood to avoid cross-grain scratches.
Step 5: Apply Paint or Finish
Coat the filler with a touch-up finish, using a spray can or a paintbrush. This not only camouflages the repair and helps it to disappear, but it also protects the filler and makes it last longer.
Tip
If you can't find a filler that has just the right color and texture to repair a piece of furniture, you can make your own using sawdust and epoxy glue. Mix the glue with hardener, then stir in the sawdust to make a woody paste and apply it before the epoxy hardens. Avoid using carpenter's glue for this, because it dries with a grayish color that detracts from the color of the sawdust.