
DIY in a Day brings you step-by-step instructions for easy projects that will spruce up your space — within 24 hours (or less!).
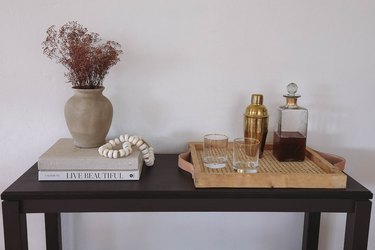
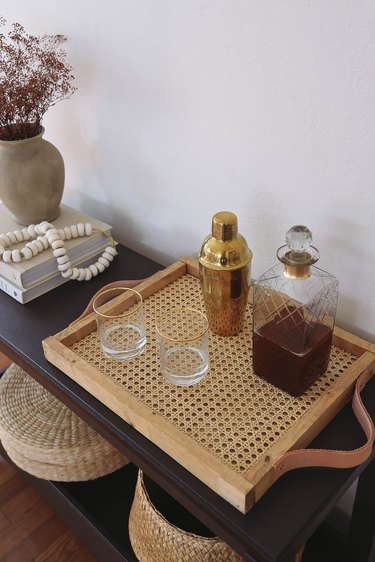
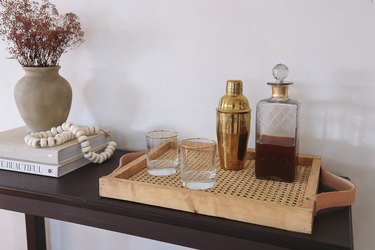
Whether you're enjoying breakfast in bed, offering afternoon tea, or shaking up cocktails, a serving tray is a handy item to have in your home. The reason why we like to DIY our own tray is because you can customize it according to your own aesthetic. Since our obsession with cane webbing shows no signs of slowing any time soon, we were sure to incorporate the material into our design. Paired with leather handles and wood stained to look like white oak, we're pretty much in Scandi-style heaven over here. And not to detract from its utilitarian functions, it also happens to look so lovely styled on a coffee table or ottoman.
Video of the Day
Things You'll Need
Circular saw (optional)
Wood stain (we mixed Golden Oak and Pickled Oak)
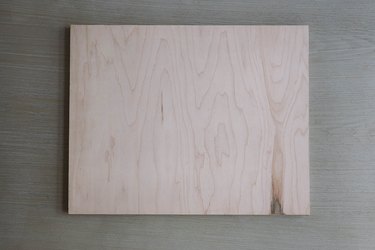
Step 1
Either use a circular saw or have the hardware store cut the plywood sheet into the desired size of your tray. We made our tray 12 inches wide by 15 inches long. Sand any rough edges with a medium-grit sandpaper.
Video of the Day
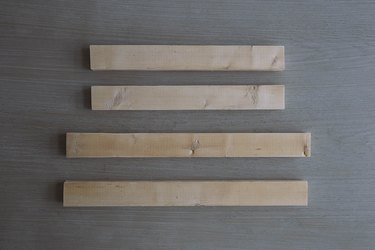
Step 2
Cut four pieces from the 1-inch-by-2-inch board — two pieces that are the same length as your tray's width, and two pieces that are 1 1/2 inches longer than the length of your tray. For example, our tray is 12 inches wide by 15 inches long, so we cut two pieces that were 12 inches and two pieces that were 16 1/2 inches. These will serve as the trim pieces around the edge of your tray. Again, sand any rough edges.
Step 3
This step is optional, but we wanted to give our wood the look of white oak. So we stained all of the pieces with a light coat of Golden Oak, immediately followed by a light coat of Pickled Oak. We used a soft cloth to apply both colors, and wiped away any excess. Let the stain dry for a couple of hours.

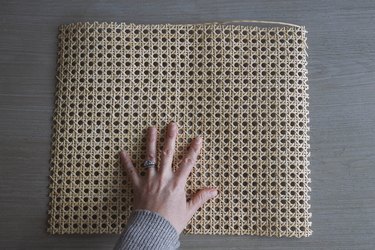
Step 4
While the wood stain is drying, cut a piece of cane webbing to the same size as your tray. If it's too brittle or hard to work with, you can soak it in warm water for half an hour to make it easier to unroll. Just make sure to let it dry afterwards.
Step 5
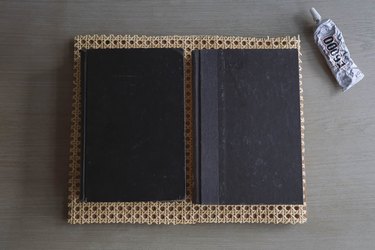
Once the wood stain is dry, apply a generous amount of clear permanent adhesive to the backside of the cane webbing, and press it on top of the board. Set some heavy books on top to keep the cane webbing flat while the glue dries for a few hours.
Step 6
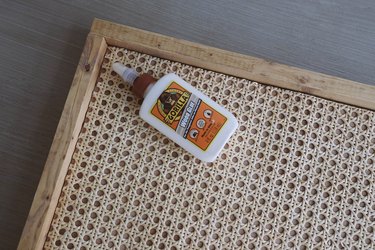
Once the glue has dried, remove the books, and glue the trim pieces around the edges of the tray with wood glue.
Step 7
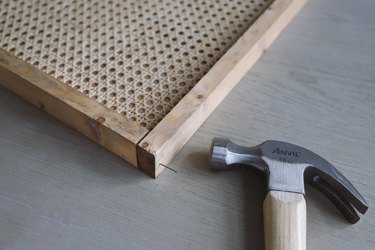
Hammer finish nails along the bottom of each side to secure the trim pieces to the tray. Two nails on the short sides and three nails on the long sides should be sufficient.
Step 8
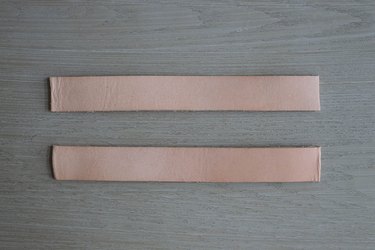
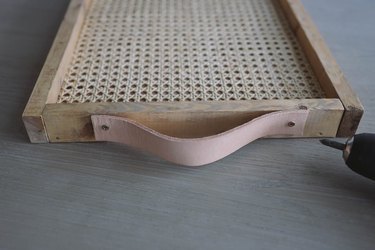
Use scissors to cut two leather strips that are eight inches long.
Step 9
Center a leather strip on each of the short sides to create handles, and pre-drill two pilot holes through the leather into the wood. Then drill screws through the pilot holes.
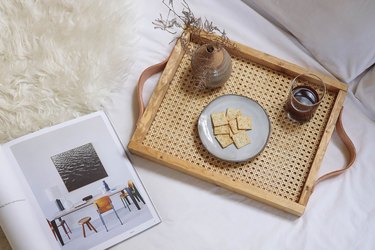
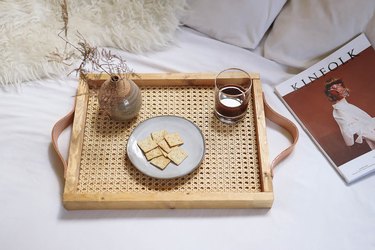
Your tray is all ready to put to good use. We love how stylish it looks no matter where we put it!