Turn A Popular IKEA Kitchen Cart Into A Swanky Outdoor Drinks Station
The IKEA Raskog is a crowd-pleaser for good reason: This iconic kitchen cart is more than just a storage solution — it has the potential to be utilized all around the home. What's our favorite way to repurpose this humble cart? As a snazzy outdoor drinks station. Bar carts can sometimes be an expensive investment, but this budget alternative is perfect for entertaining during summer months. (Plus, perfect for smaller spaces.)
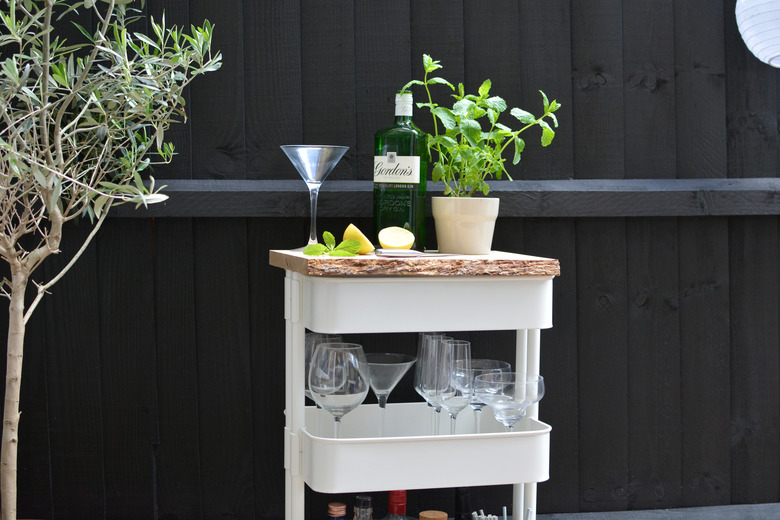
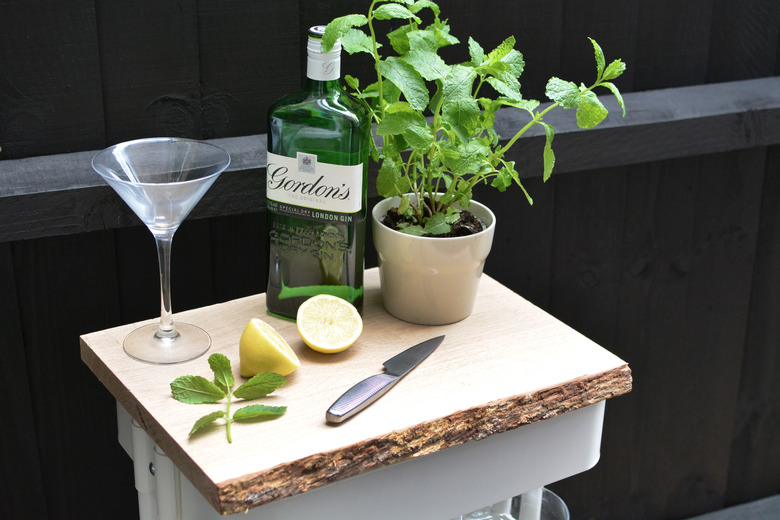
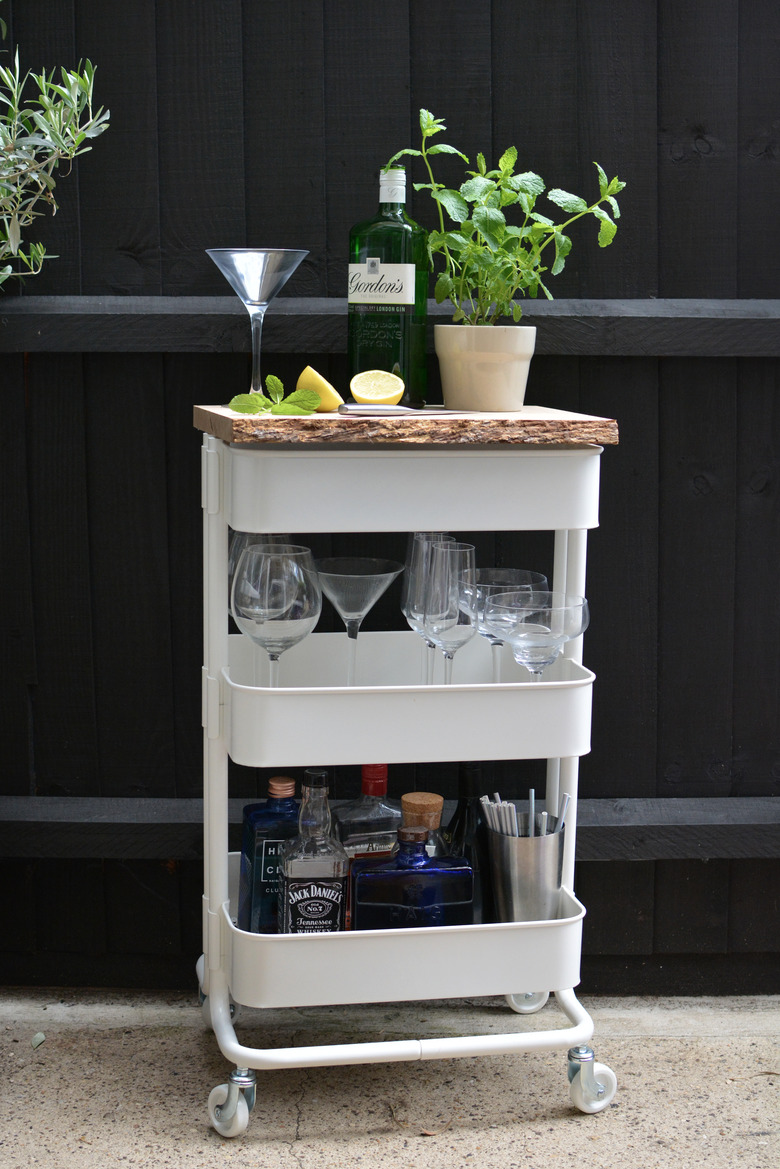
If you're feeling a little extra, you can go all out and add a DIY wooden top to create a fun cocktail prep station for chopping fruit or herbs.
 Caroline Burke
Things Needed
-
Selection of liquor and glassware
To help transform your Raskog cart into an outdoor drinks station we've got a few simple tips.
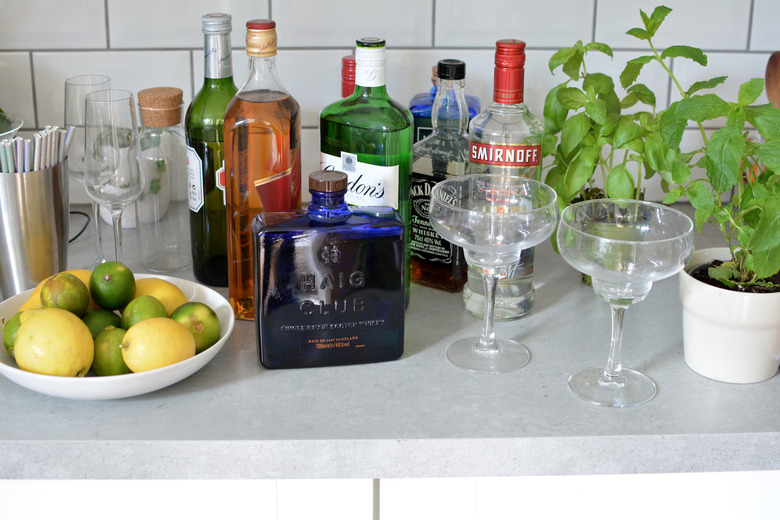
First, pull together your contents.
Your bar accessories might include ...
- Liquor
- Selection of glassware
- Cocktail shaker and stirrer
- Wine opener
- Bar knife
- Citrus fruit such as lemons and limes
- Fresh herbs such as mint and basil
- Ice bucket
- Straws
 Caroline Burke
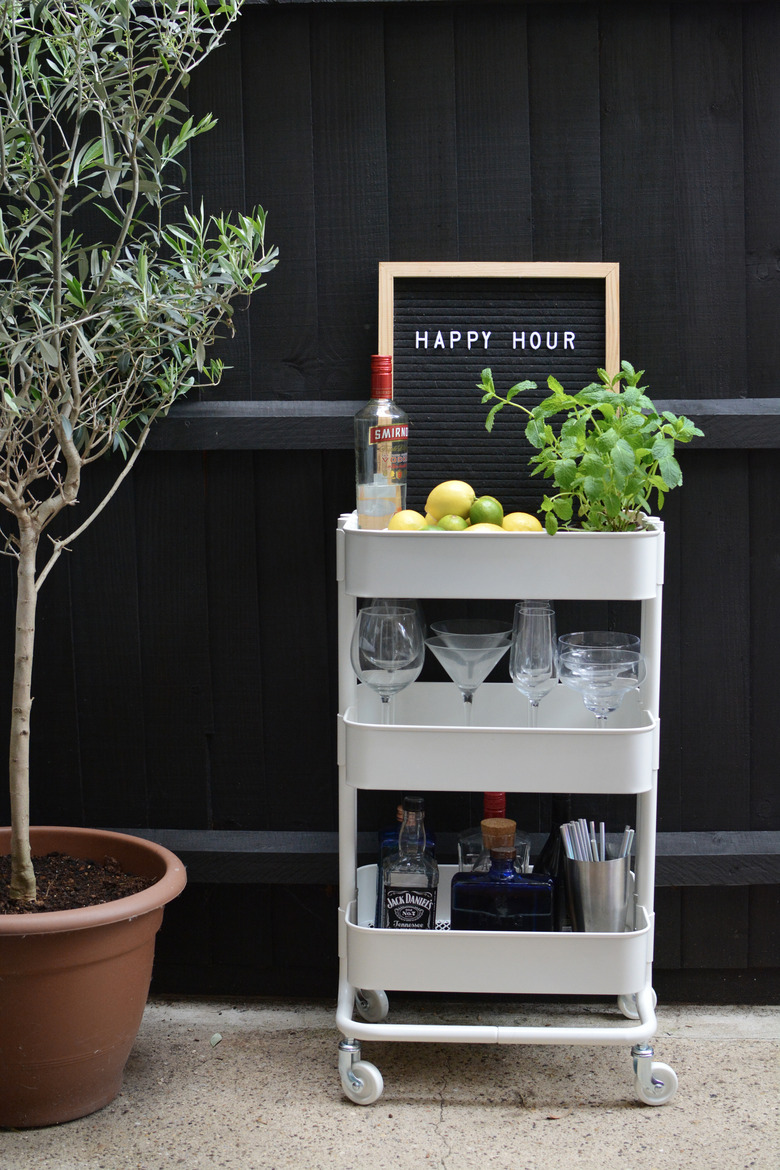
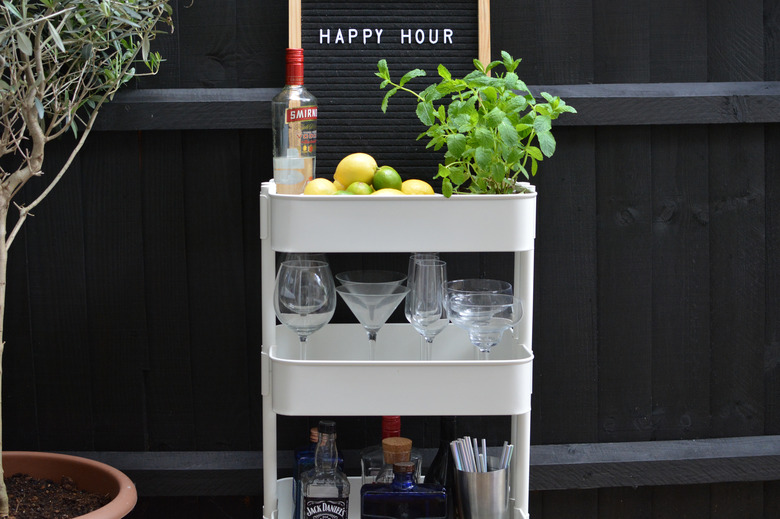
Then, fill your cart intentionally.
Be selective when filling the cart — you don't need to put in every liquor or wine bottle you've ever owned (that 7-year-old bottle of unopened sangria might be fun, but stick to the drinks you use most often!).
When arranging our cart we put heavier items like ice buckets or liquor bottles on the bottom shelf for stability. Add delicate items like glassware last, and keep smaller items within easy reach. (For a charming touch, place a letter board on your cart announcing it's happy hour!)
 Caroline Burke
Finally, add a cutting board ... because you're going to need it!
We've made a custom wooden top for our drinks station that's an ideal platform for chopping fruit and preparing drinks. Making your own food-safe cutting board is incredibly easy and you can use it in your kitchen when the cart isn't in use.
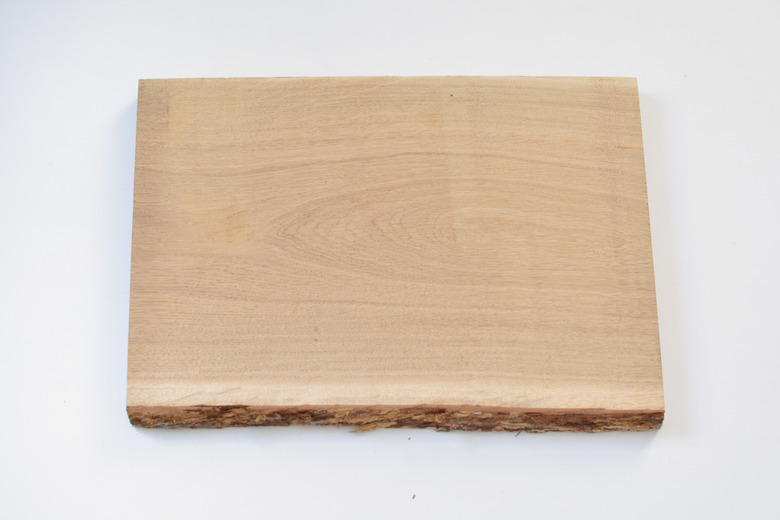
Step 1
You'll need a piece of untreated hardwood, which you can get cut to size at your local hardware store. We had our board cut to measure 18 inches by 13 inches, which was a good fit for the cart. Walnut, birch, oak, and cherry are popular hardwood choices for chopping boards. (We've chosen a piece of live-edge hardwood for a little extra detail.)
 Caroline Burke
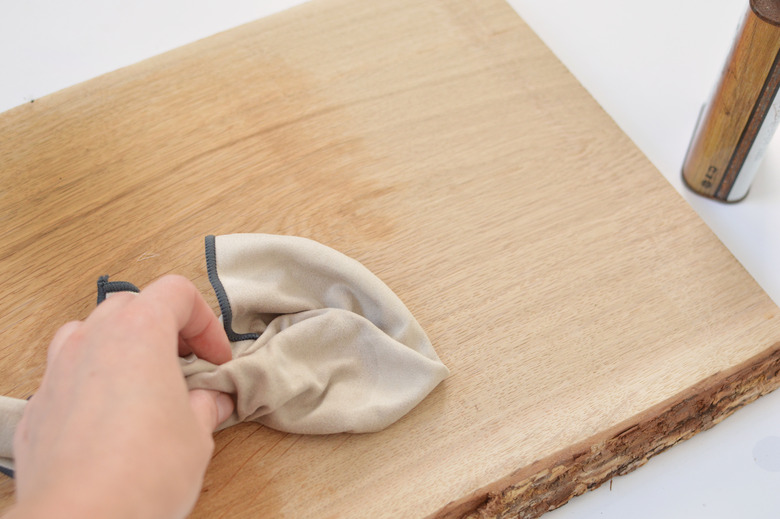
Step 2
To protect and seal the wood you'll need to treat it. This will require some food-grade mineral oil, which you can apply to the board with a clean cloth.
 Caroline Burke
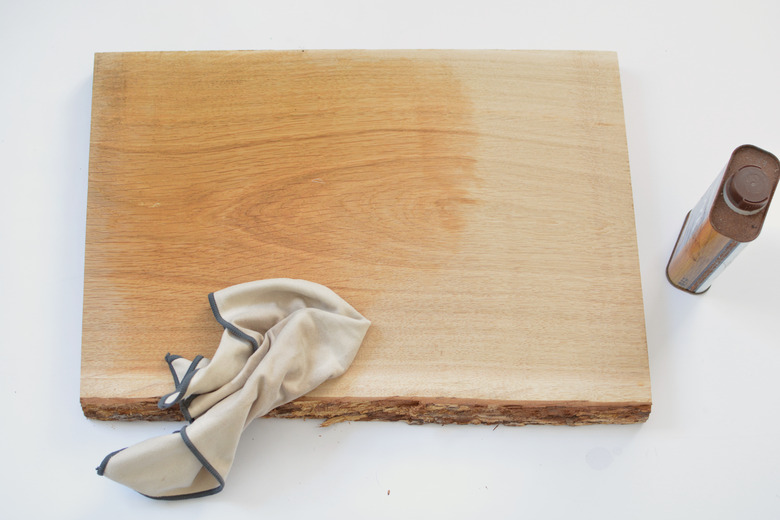
Step 3
Cover the whole board generously with oil and leave it to absorb. Reapply another two to three coats of oil, and then the board will be ready for duty. Never submerge a wooden board in water or put it into a dishwasher, a good wash by hand will suffice. Reapply the oil every few months to keep the wood in tip-top condition. (Here's the best way to clean and disinfect a cutting board.)
 Caroline Burke
TIP: Mineral oil is a popular choice for treating chopping boards but you could use alternatives like linseed oil, tung oil, or beeswax.
Once the board is treated properly, it's a perfect addition to your outdoor drinks station! Just place it right on top of the cart, and cocktail hour is ready to begin.
 Caroline Burke
 Caroline Burke