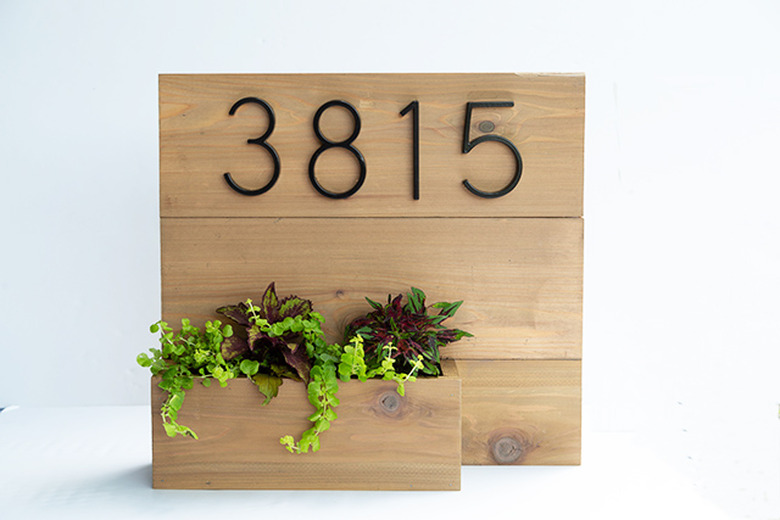
Part Planter + Part House Number Display = Your Weekend Project
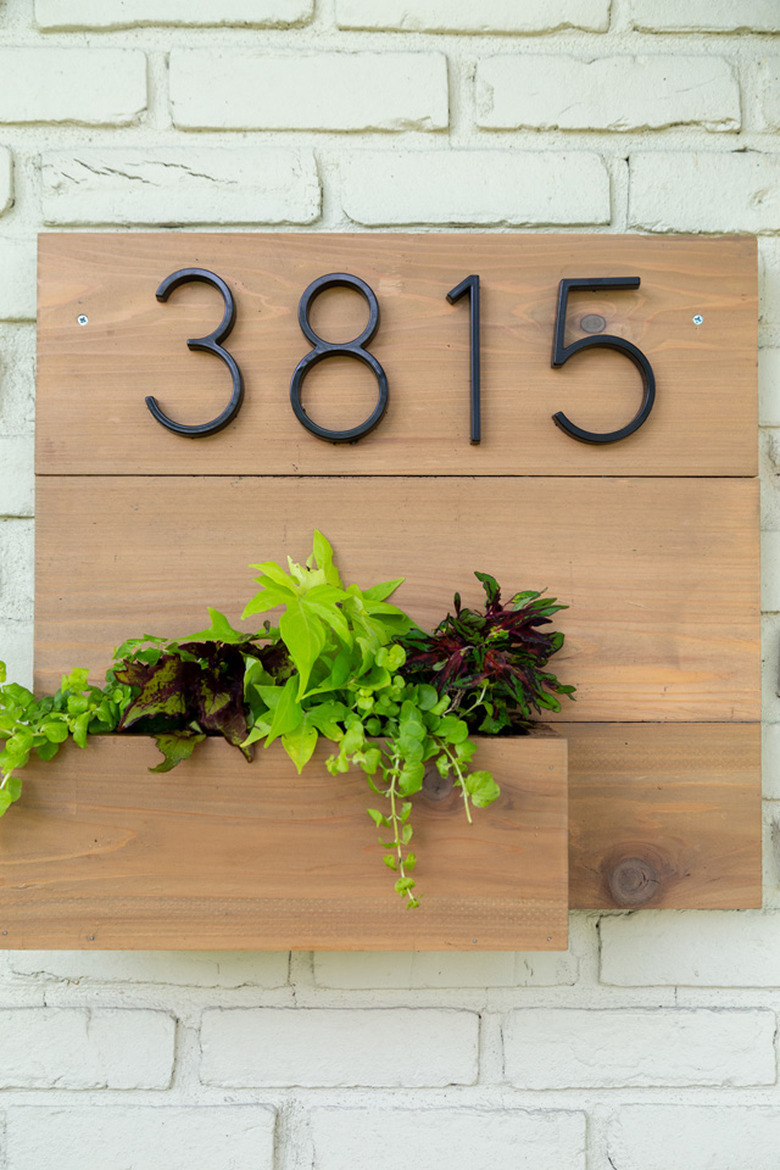
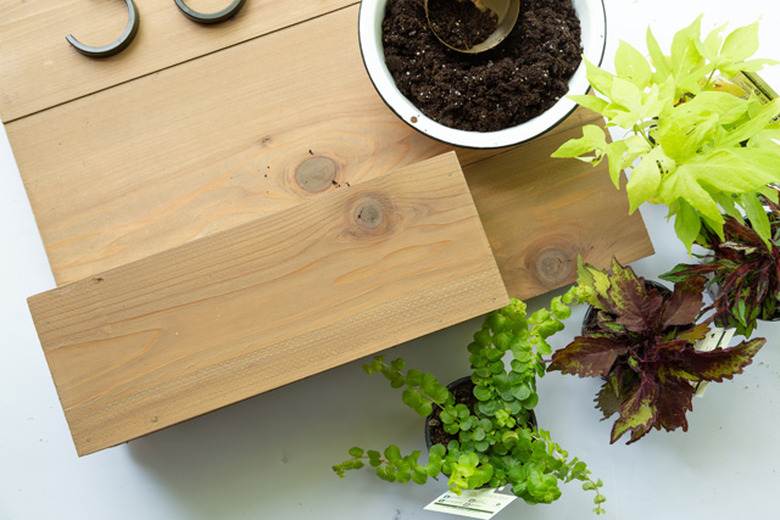
Cedar wood, beautiful plants, and modern house numbers come together to create this design-friendly DIY. Yes, woodworking is required, but beginners, it's totally fine to ask your local hardware store to cut the pieces for you. (Like we did!) It's a perfect way to add personality to your personal space ... and for all your neighbors to appreciate.
 Sara Albers
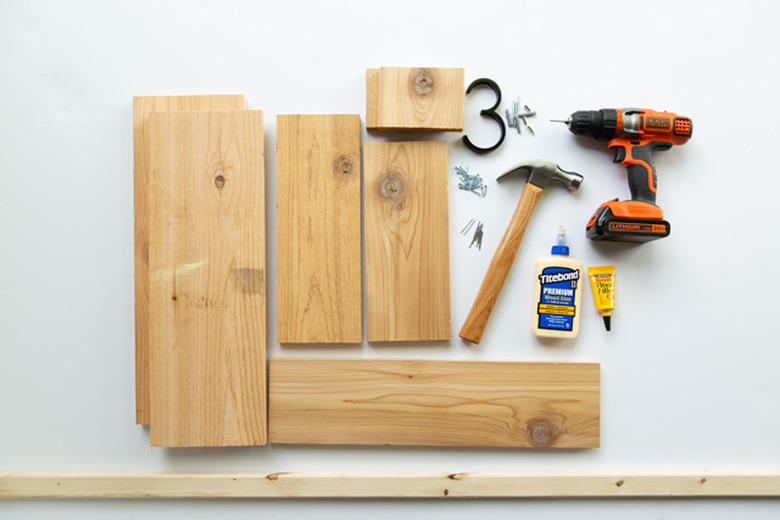
Things Needed
-
Cedar wood, 21 ½ inches by 7 ½
inches (2)
-
Cedar wood, 21 ½ inches by 5 inches
-
Cedar wood, 15 inches by 5 ½
inches
-
Cedar wood, 13 inches by 5 ½
inches
-
Cedar wood, 4 inches by 5 ½
inches (2)
-
Wood pieces, 20 inches by 1 inch (2)
-
Power drill
-
Drill bits
-
Hammer
-
1 ¼-inch wood nails
-
Wood glue
-
Tape
-
Rubber mallet
-
Wood stain and paintbrush
-
Anchors and screws to hang on house
-
Plants
 Sara Albers
TIP: When choosing your greenery, you can choose plants or fresh flowers, or you could even fill it with floral foam and then add faux flowers or succulents.
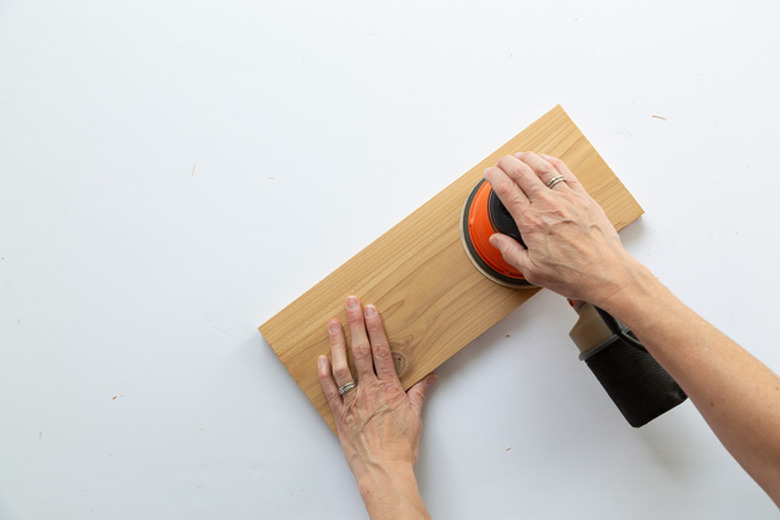
Step 1
Sand the cedar wood pieces that will be forward facing.
 Sara Albers
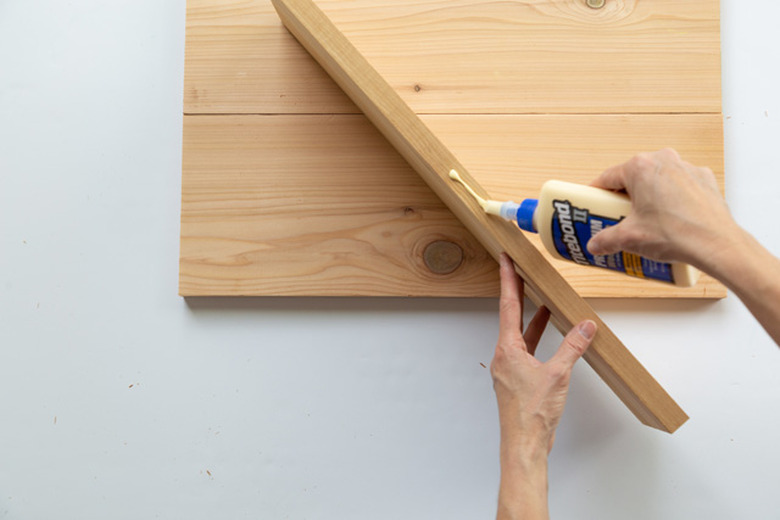
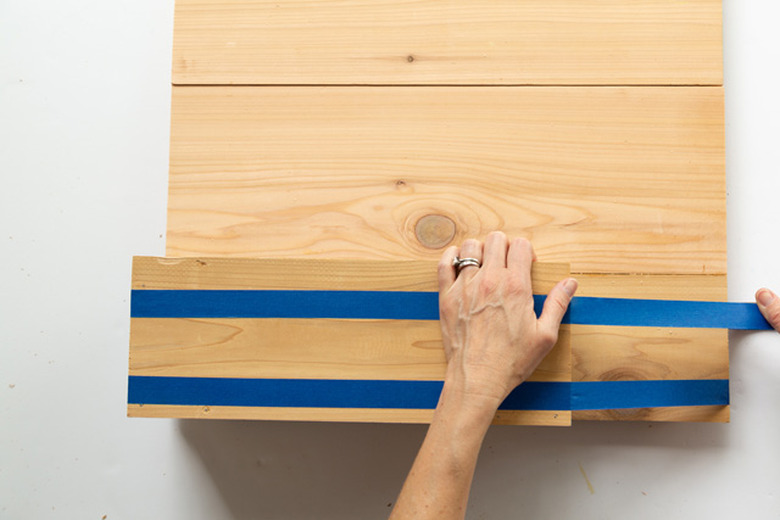
Step 2
Build the base of the sign. Add some wood glue in between the 21 ½-inch-by-7 ½-inch pieces and the 21 ½-inch-by-5-inch cedar wood pieces. To help hold it together, you can tape the pieces while the glue dries.
 Sara Albers
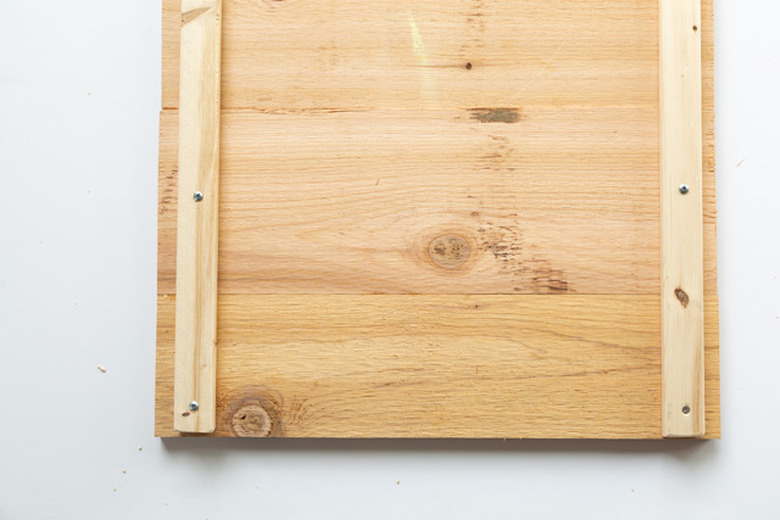
Step 3
Place the two 20-inch-by-1-inch wood pieces on the back left and right side to give support to the base. Screw the 20-inch-by-1-inch pieces in place.
 Sara Albers
Step 4
Make drainage holes on the bottom 13-inch-by-5 ½-inch cedar wood piece.
 Sara Albers
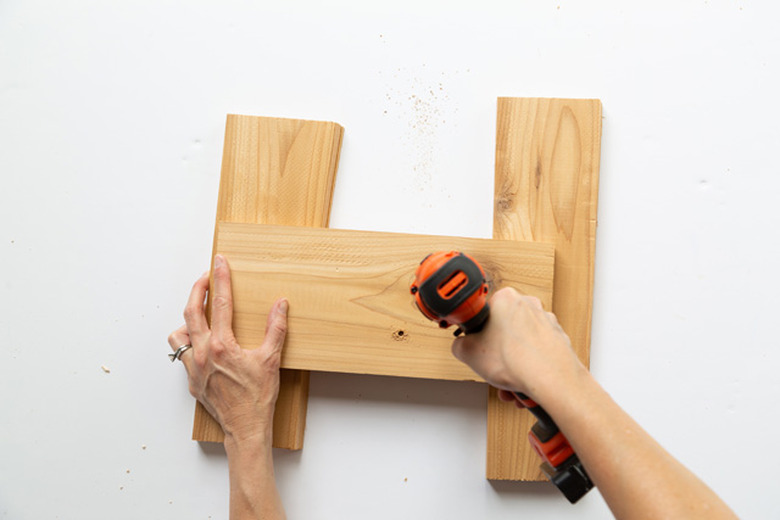
Step 5
Build the planter box. Add wood glue to the cedar pieces and hold together with tape while drying. You will build a rectangle-shaped box using the 15-inch-by-5 ½-inch cedar wood piece, the 13-inch-by-5 ½-inch wood piece, and two 4-inch-by-5 ½-inch wood pieces.
 Sara Albers
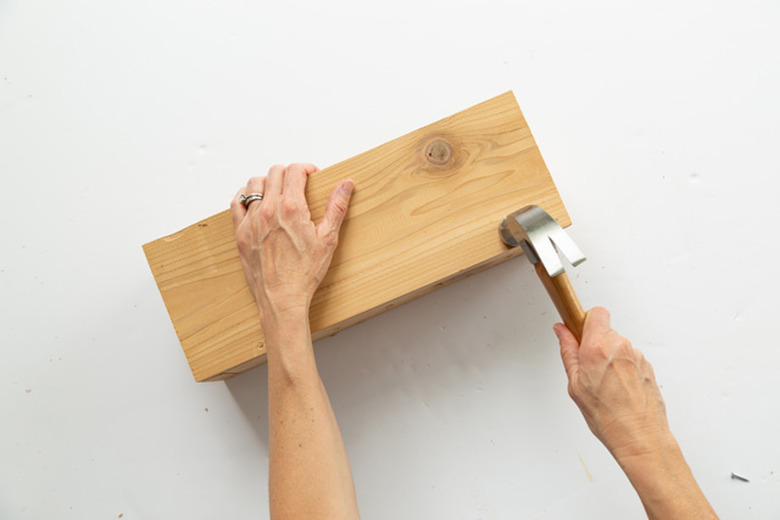
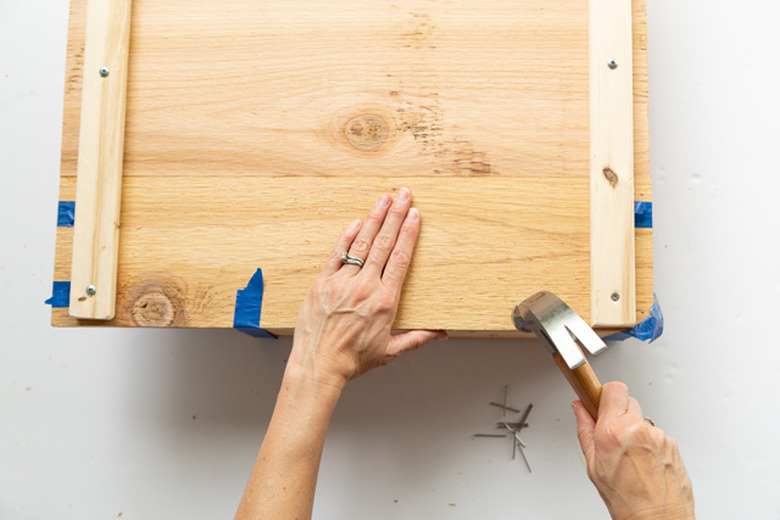
Step 6
Once the wood glue has dried, hammer wood nails into the front, sides, and bottom to secure the box. You can also use a brad nailer if you have one, and add a little nail wood filler if needed.
 Sara Albers
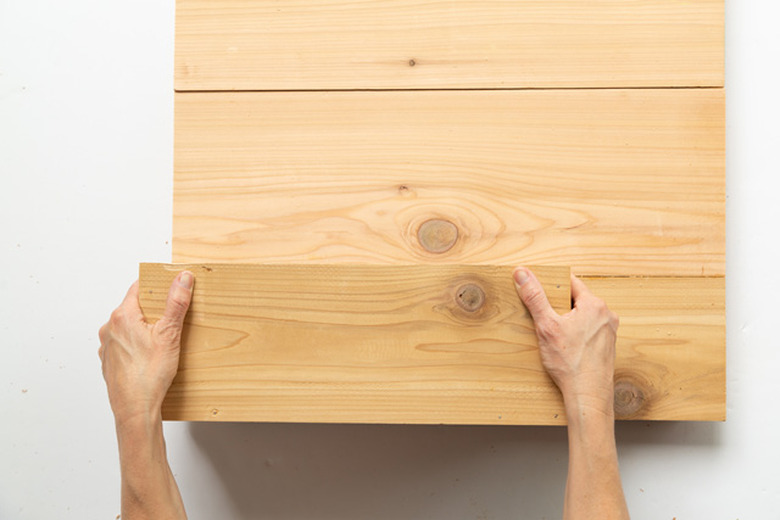
Step 7
Place the planter box on the left front of the base. Adhere with wood glue.
 Sara Albers
Step 8
Tape to secure the pieces together while the glue dries.
 Sara Albers
Step 9
Use a hammer and nails to attach the planter. Nail from the back of the base. Use multiple nails along the sides and back of planter box.
 Sara Albers
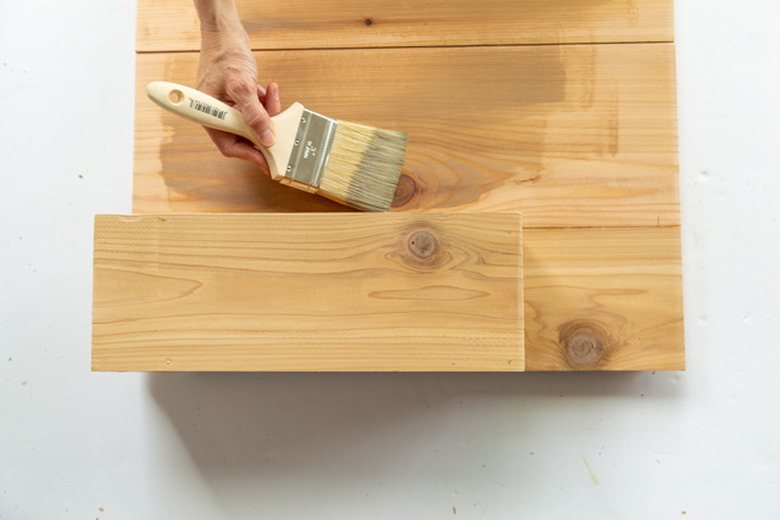
Step 10
Now it is time to stain! Apply a decking stain to the front and sides of the base and planter. Allow to fully dry. (We used Valspar semitransparent stain in Monticello Tan.)
 Sara Albers
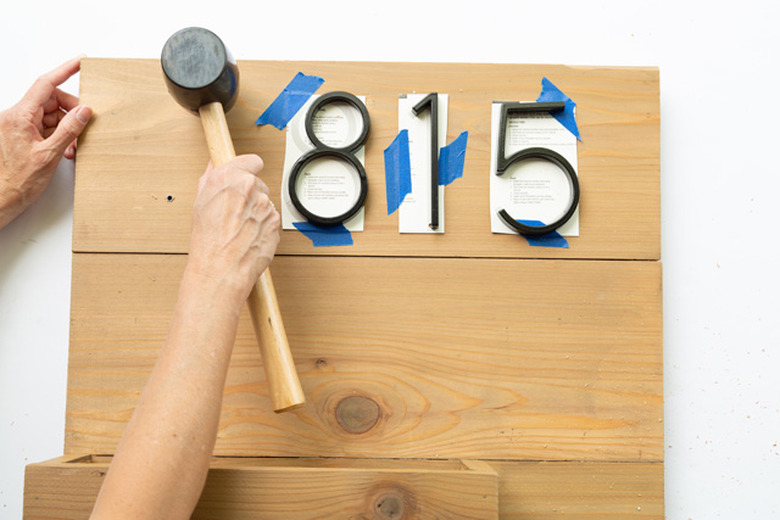
Step 11
Time to add the house numbers.
Remove the numbers from the packaging. Cut out the number paper templates from the packaging and align the house numbers on the top portion of base as a guide. Tape the paper templates and then drill holes into the hole marks on each template. Remove templates and drill the enclosed screws into the drilled holes. Use a rubber mallet to secure numbers onto screws.
 Sara Albers
Step 12
Fill the planter box with potting soil and plants!
 Sara Albers
Step 13
Attach the planter to the front of your home. For this project, we first drilled into the mortar in between the bricks and added anchors. Then we drilled through the front edges with 2 ½-inch screws to attach to wall.
 Sara Albers
 Sara Albers