Meet The S-Hook Shelf: A Simple Way To Squeeze Extra Storage Into Any Small Space
Let's be real, so many of us are short on space. In our experience, small spaces are easily the most difficult to organize. For some it's the challenge of a tiny bedroom or bathroom; for others it's managing kitchen cabinets or closets that have reached capacity. Either way, you have to get pretty creative to avoid your floor becoming a dumping ground for all your stuff. The best solution is to up your storage game, literally. Meet the S-hook shelf ... a simple but stylish way to squeeze some extra storage into any small space!
We recommend using this shelf in a bathroom, kitchen, or bedroom, but it would work equally well in closets or garages, too — basically anywhere you might need an extra helping hand.
 Caroline Burke
Things Needed
-
Wooden square baluster (or a 2-inch-by-2-inch-by-6-foot length of wood)
-
Power drill
-
Tape measure
Step 1
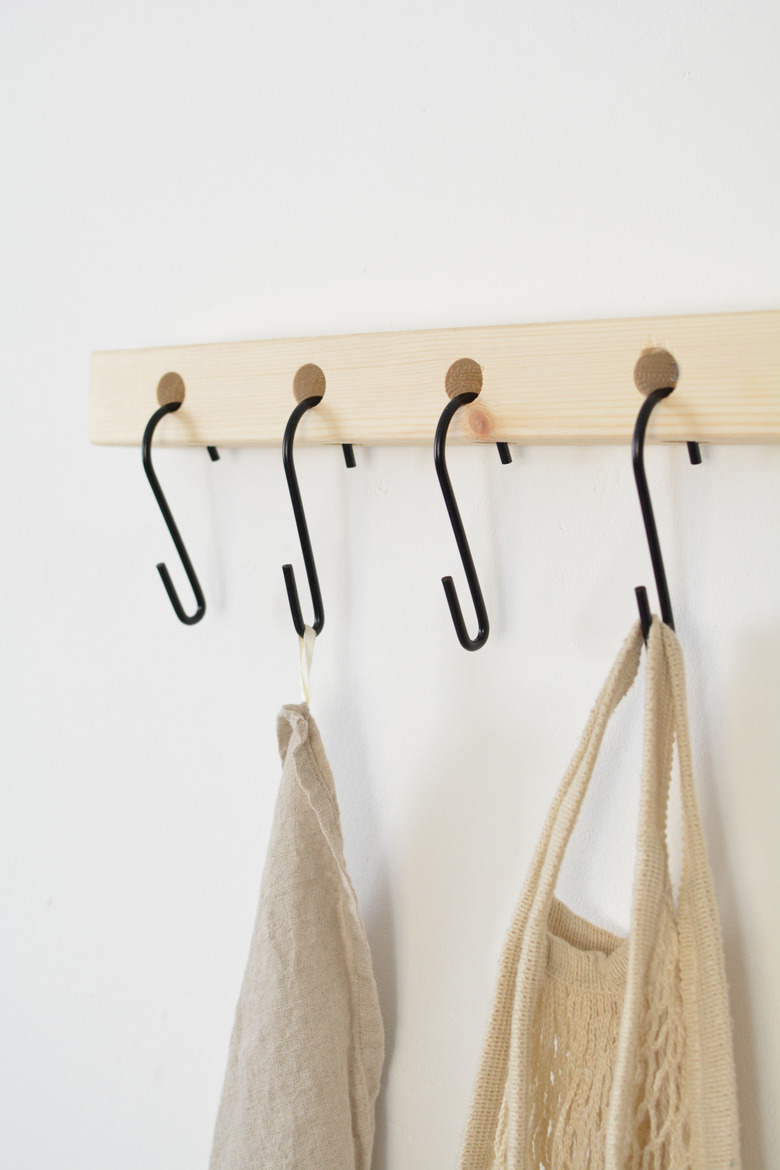
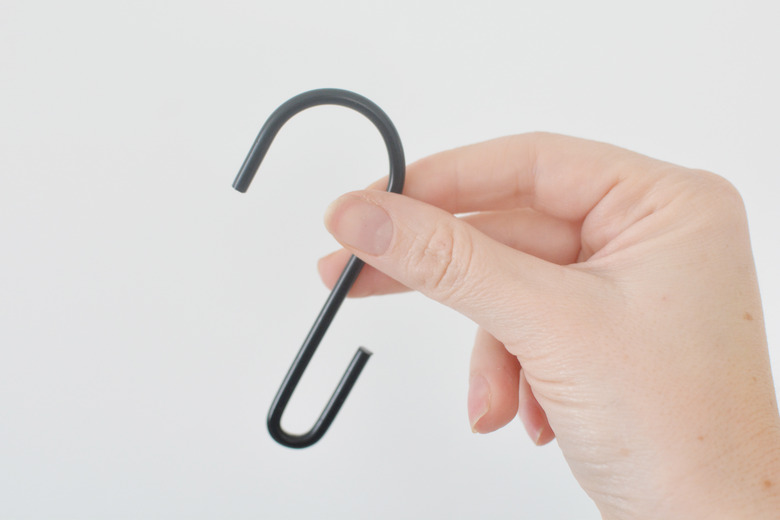
Pick your S-hooks before you start, this way you can ensure they'll fit as you make the shelf. We've opted for a more unusual hook that has both a wide and narrow end, but most S-hooks are the same measurement on both sides. (You'll need at least one end to be a minimum of 1 inch wide so you have enough clearance to hook it through the shelf.)
 Caroline Burke
Step 2
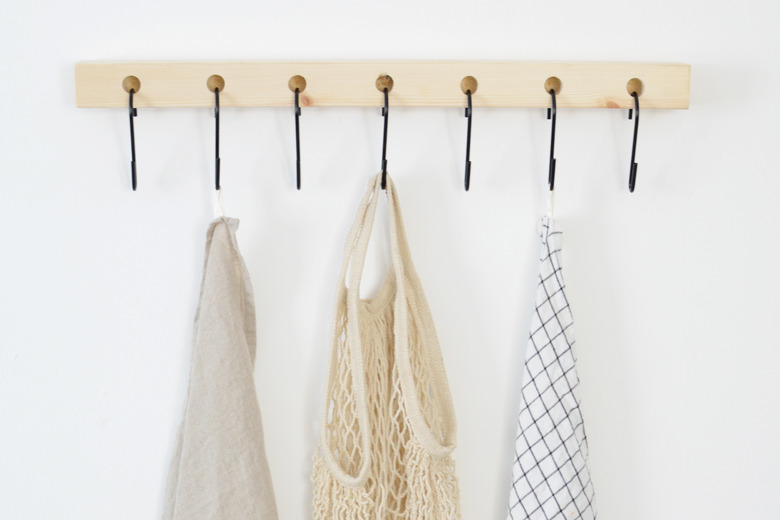
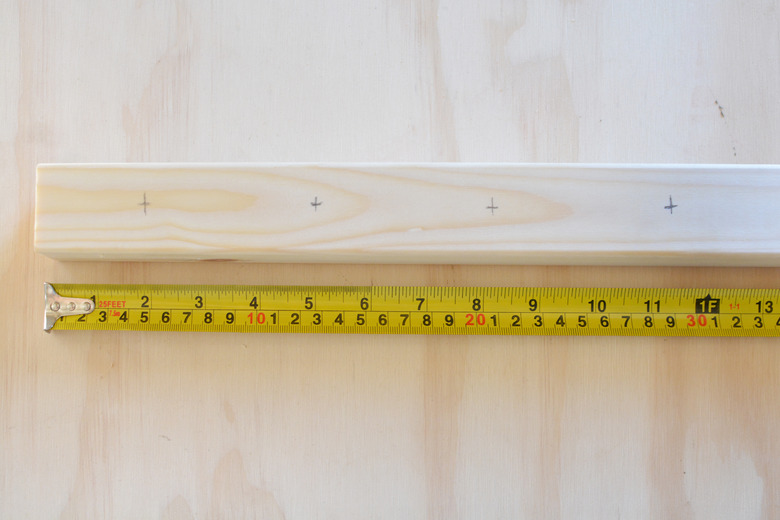
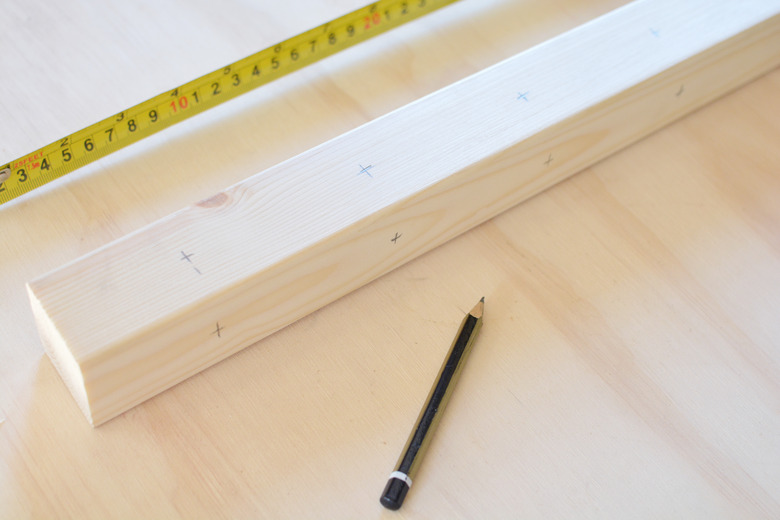
We sourced a wooden baluster to use for our shelf (or you can buy a plain piece of wood that measures 2 inches by 2 inches by 6 feet and get the length cut down). We asked our hardware store to cut our baluster to 22 inches in length but if you want more hooks for extra storage, make yours a longer length.
Once you have the wood, mark where you want your hooks to sit. We wanted to space our hooks at 3-inch intervals and have the first and last hooks located 2 inches in from the ends. To achieve this, we marked an "X" in the middle at the following measurements: 2 inches, 5 inches, 8 inches, 11 inches, 14 inches, 17 inches, 20 inches.
 Caroline Burke
Step 3
Rotate the wood 90 degrees and repeat the "X" markings at the same measurements.
 Caroline Burke
Step 4
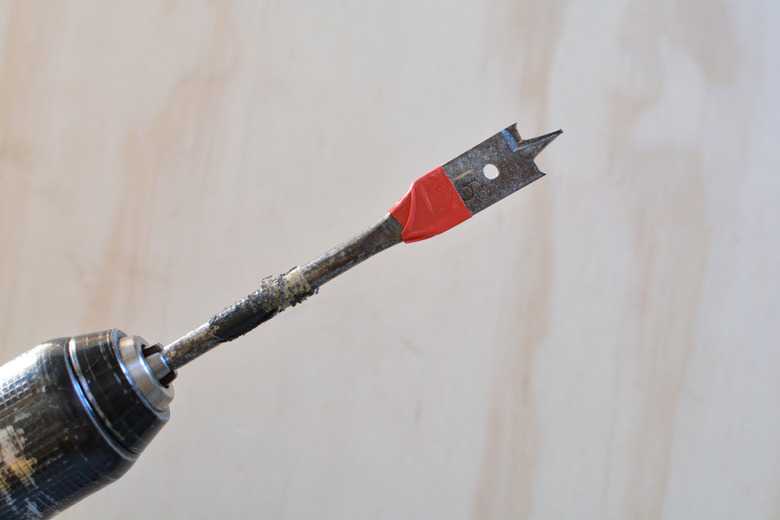
Attach a 1/2-inch spade bit to your power drill. (To avoid accidentally drilling through the other side of the wood, mark the drill bit halfway with some tape to indicate when you've drilled through half of the width.)
 Caroline Burke
Step 5
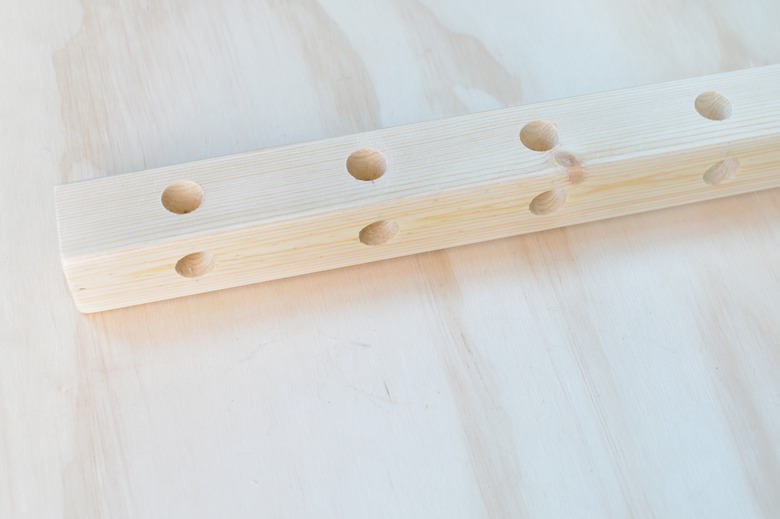
Drill at the "X" marks on the first side. Check to make sure you can fit your hook into the opening (it won't go all the way through just yet).
 Caroline Burke
Step 6
Turn the wood and drill again at the next row of "X" marks. (Now you can hang the hook through!)
 Caroline Burke
Step 7
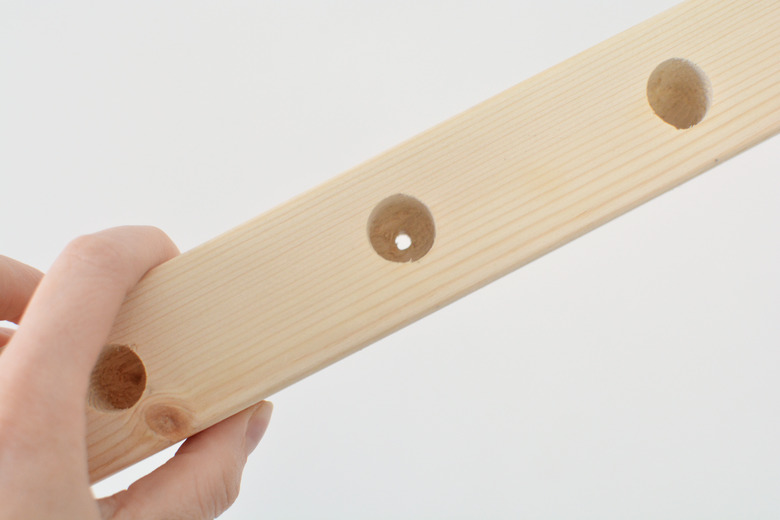
To mount the shelf to the wall, take a regular drill bit and drill a pilot hole through the back of a couple of the holes like we did in the below image. Then you're able to screw through the shelf directly into the wall without the screws being too visible.
 Caroline Burke
Once it's fixed to the wall, simply pop in your hooks.
 Caroline Burke