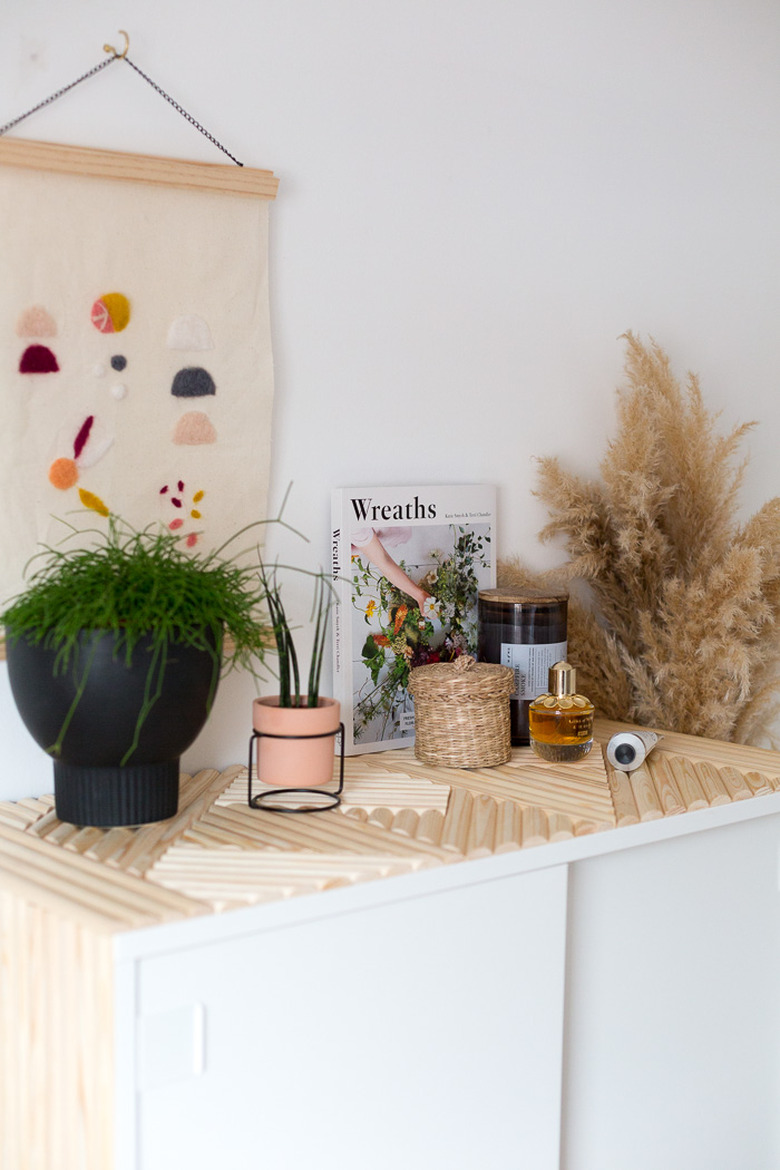
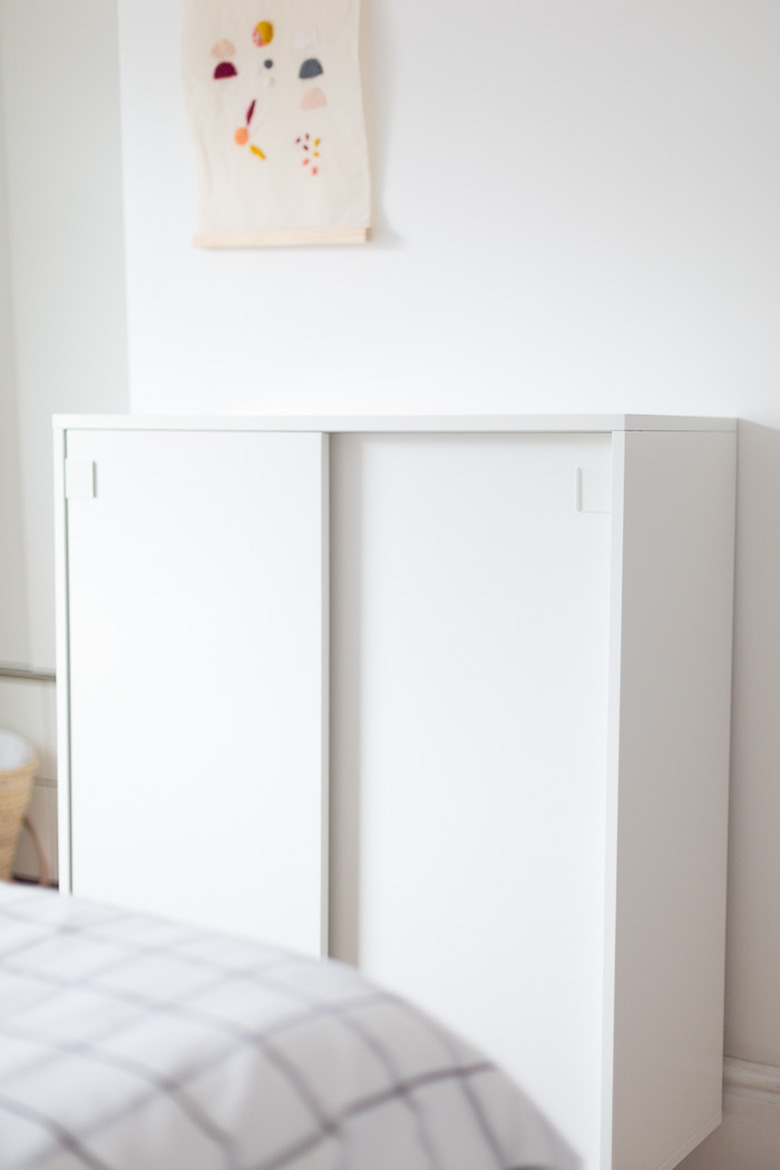
IKEA Decor Hack: Small Bedroom Storage With Wooden Detail
I really love finding — and DIYing — unique pieces of furniture for my home. The trick is to embrace hacks and upcycling — this way, you can have high-end furniture at a much lower price tag.
For this project, I've taken an IKEA shoe storage cabinet and turned it into much needed storage in my small bedroom. The cabinet itself was functional but very basic. By adding a design made from dowels to the outside, I've created a texture and pattern that gives this simple cabinet a statement makeover!
 Francesca Stone
Things Needed
-
Around 50 meters of half-round dowel
-
Light sandpaper
 Francesca Stone
Cover the Sides of the Cabinet
Step 1
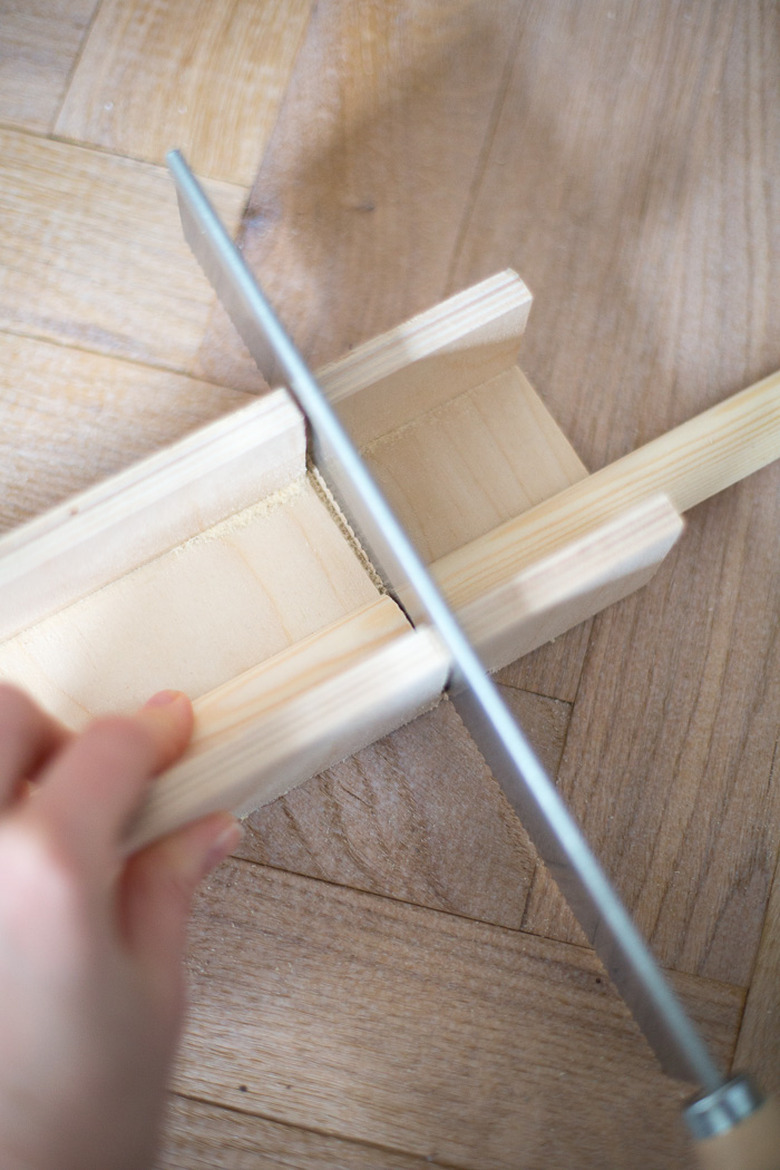
Measure the height of your cabinet. Cut a half-round dowel strip the same size as this measurement and sand the ends smooth.
 Francesca Stone
Step 2
Starting at the front of the cabinet, glue the strip in place. Make sure the strip is in line with the top of the cabinet. It is more noticeable if the wood is not in line here than it is at the bottom of the cabinet. So work from the top down when gluing into place.
Clamp or tape in place until it is dry. I like to add another piece to the other side as I'm waiting for this one to fully adhere.
 Francesca Stone
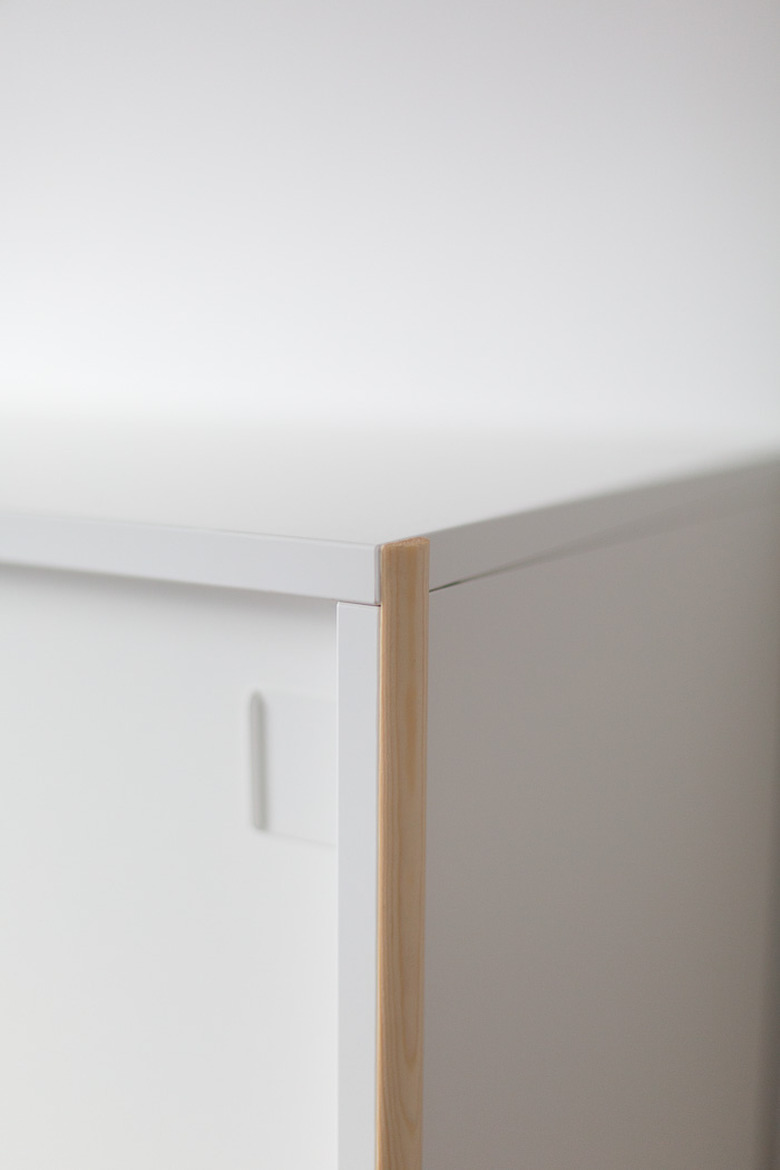
Continue along the side of the cabinet until you reach the back. The last piece will hang over the end of the cabinet, but that is OK.
 Francesca Stone
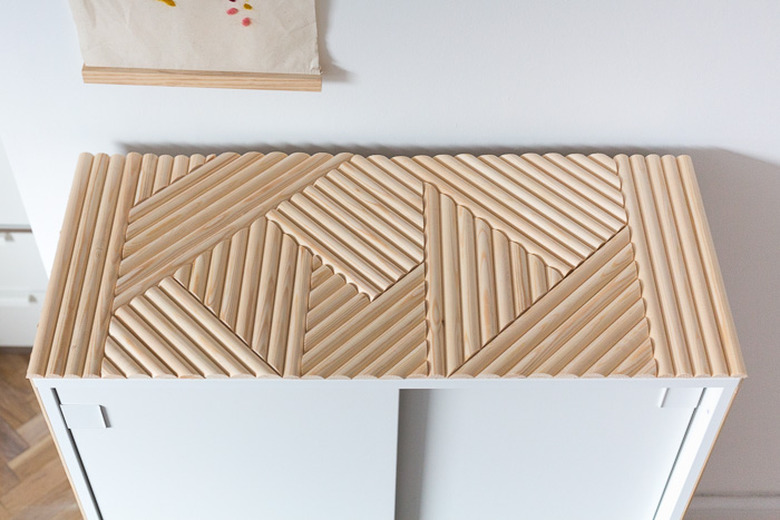
Cover the Top of the Cabinet
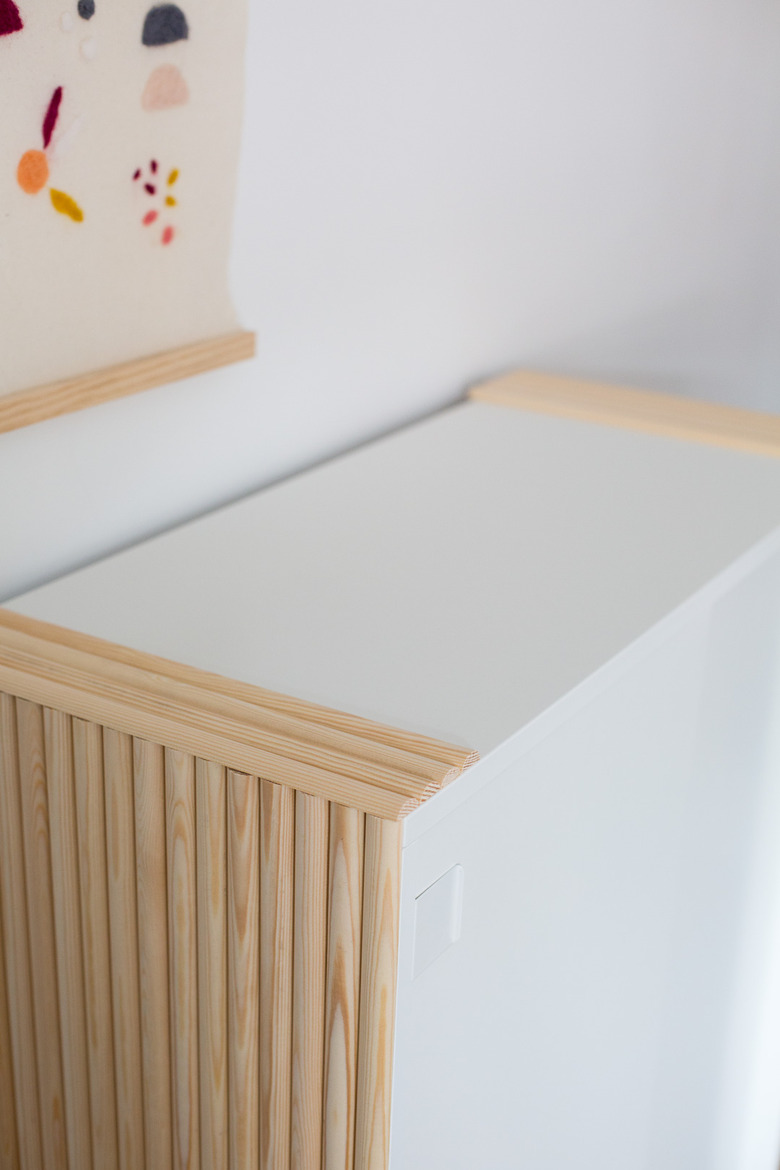
The top is a little more complicated. If you want to keep life simple, you could keep the dowels going straight across as we have with the sides. The best way to do this is cut all the dowels to size (lining them up with the dowel hanging over the back of the cabinet) then positioning them evenly over the top of the cabinet, making sure both ends are symmetrical before gluing them down. However, I wanted to create something a little more interesting.
 Francesca Stone
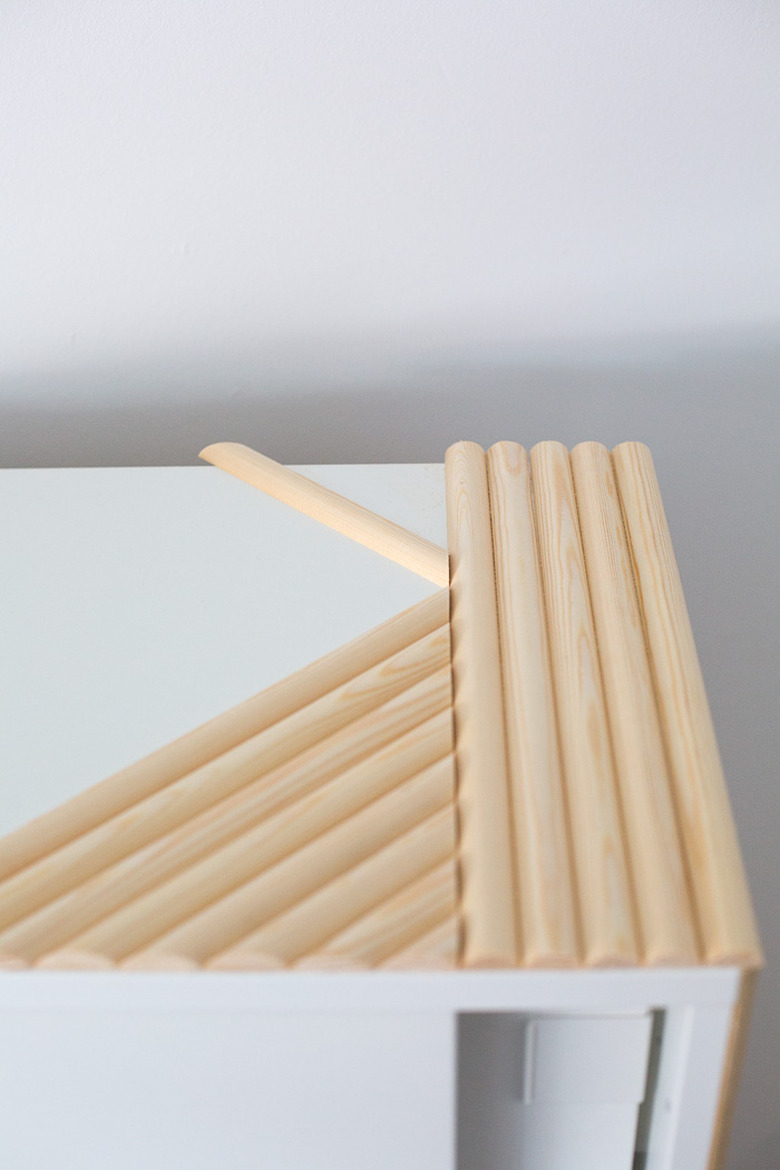
Step 1
Start by measuring from the front of the cabinet to the back of the last piece of dowel. Because this piece extends over the back of the cabinet, we want to line our top pieces up with that to create a seamless finish. Cut four or five pieces of dowel to this measurement for each edge of the top.
Step 2
Line the first piece up with the outer most point of the vertical dowel on the sides of the cabinet and glue into place. Line up and glue another three or four pieces next to this one on both edges of the top. Now we're going to start working inward.
 Francesca Stone
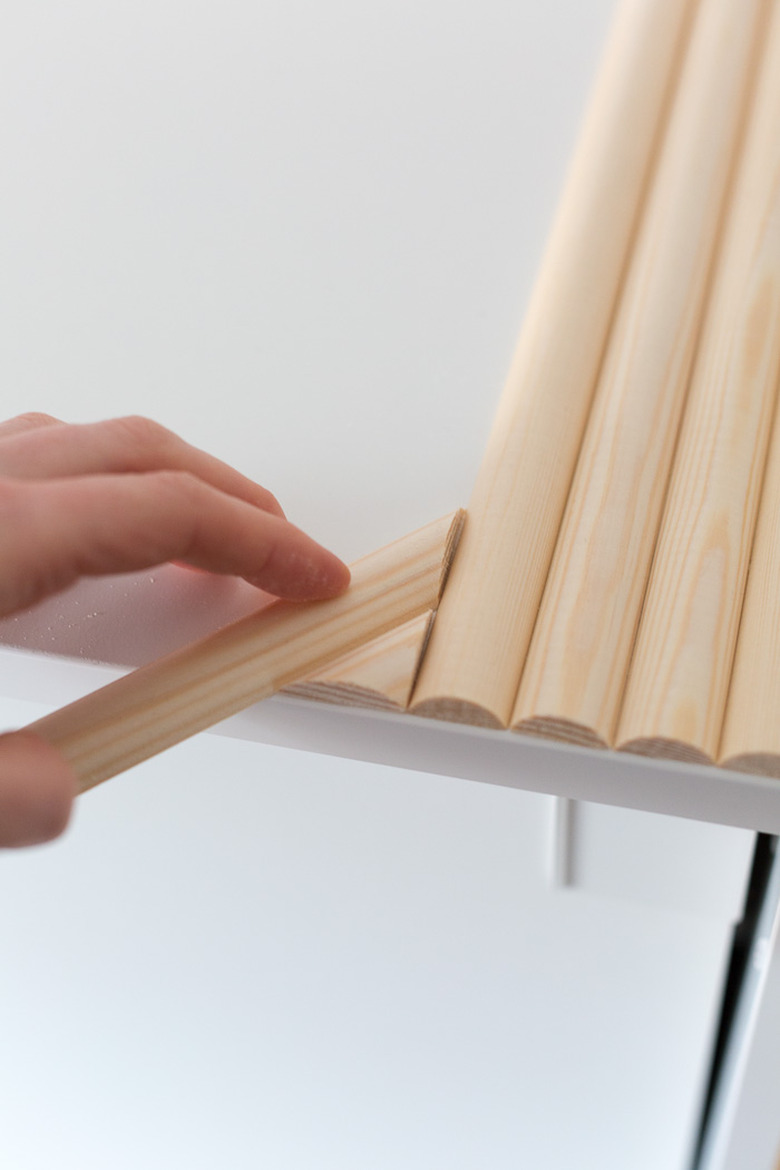
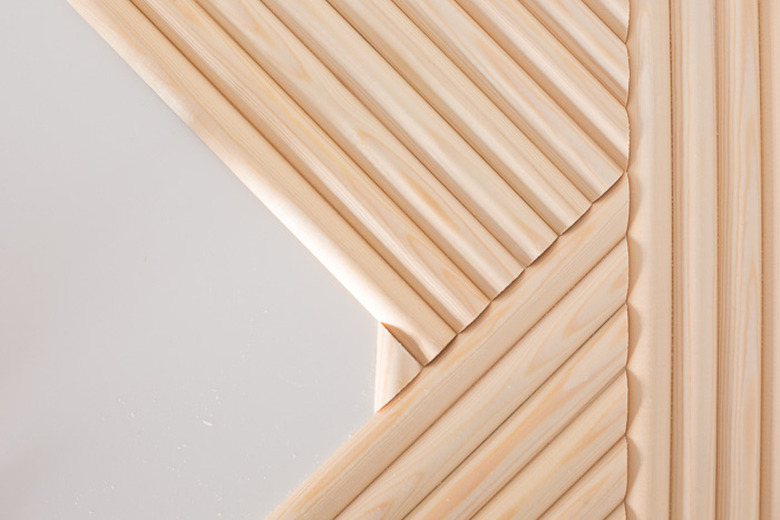
Step 3
Using the angles on the miter box, cut a corner piece. You want to create a triangular piece to sit neatly in the very corner at the front. Cut the angle from the next piece of dowel and line it up alongside the corner piece. Mark the place to cut so it lines up with the rest of the dowel and cut with the miter box.
 Francesca Stone
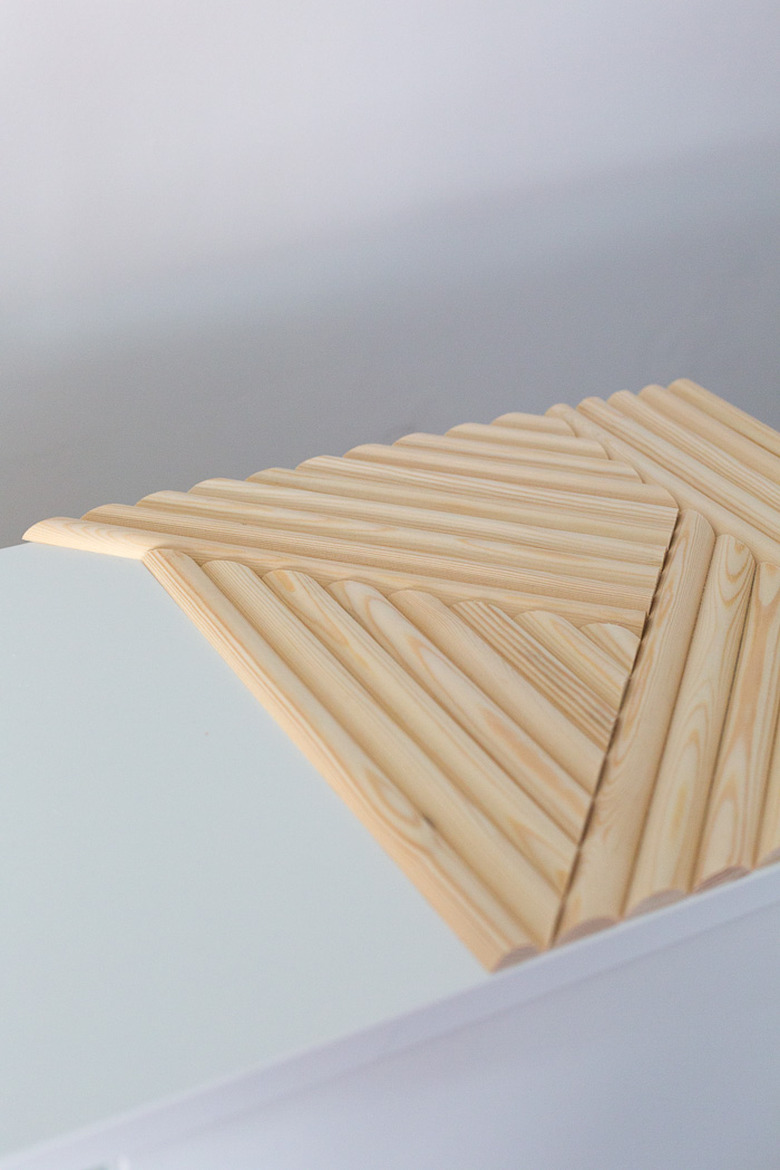
Work along the cabinet in this way creating a pattern by varying the direction of the dowel. Make sure you work from the front of the cabinet toward the back to create a neat line. Continue to glue as you go.
 Francesca Stone
 Francesca Stone
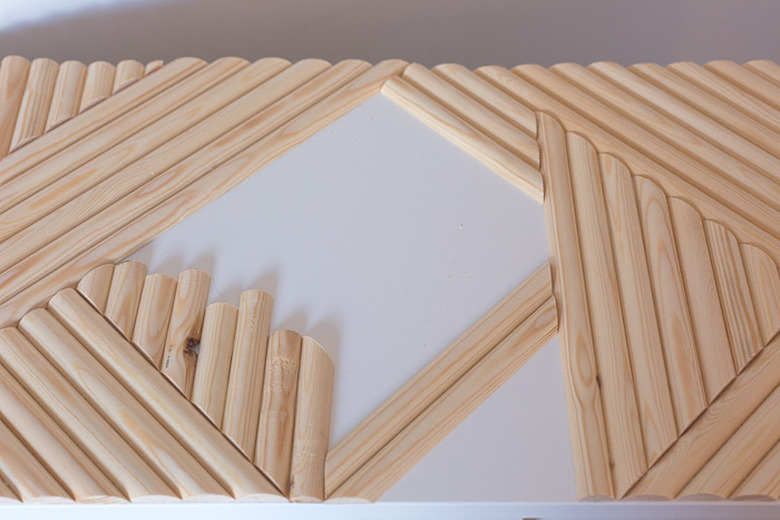
Step 4
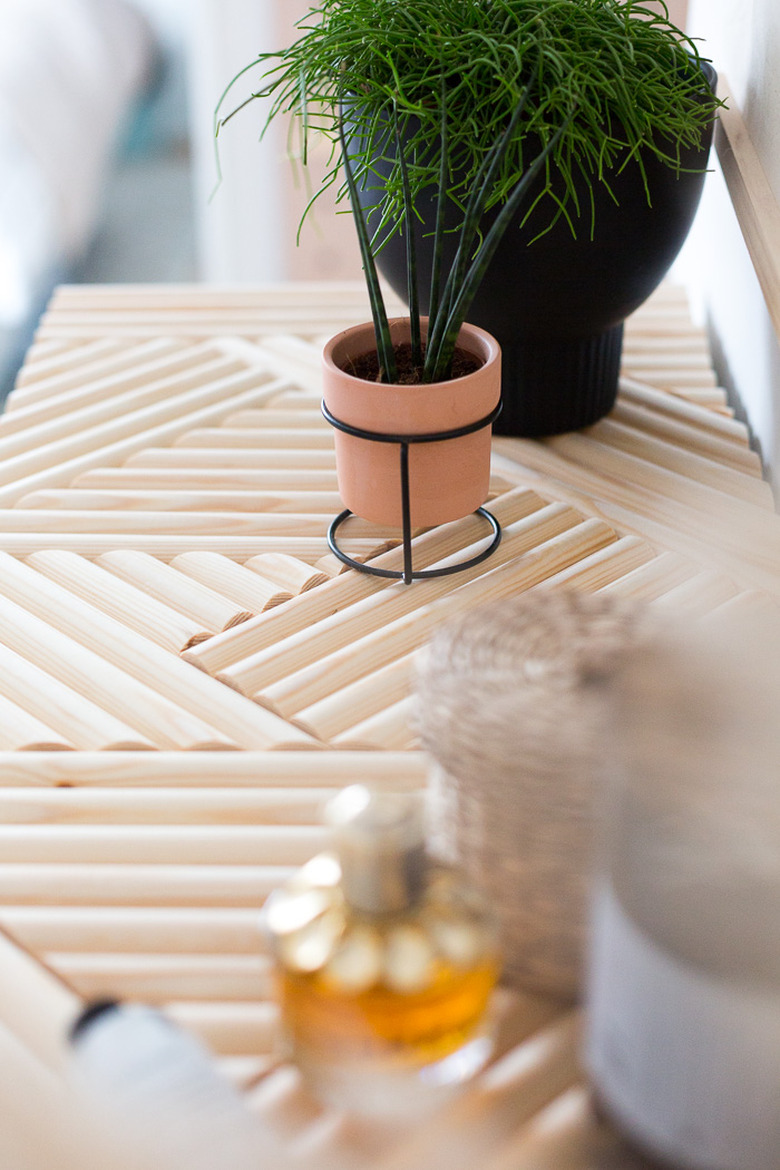
Once you have covered around a third of one side, start again from the opposite edge of the top. You're looking to work your way into the middle. When you start to reach the center of the surface, you need to start planning. I've used off-cuts in this image below to ensure my pieces will fit into the space.
 Francesca Stone
The last pieces you fit need to be diagonal so you can cut them to size. If you look at the middle of the cabinet in the image below you can see the pieces are all diagonal. When it came to the center join, I designed the pattern first, and then glued in place once it was complete.
 Francesca Stone
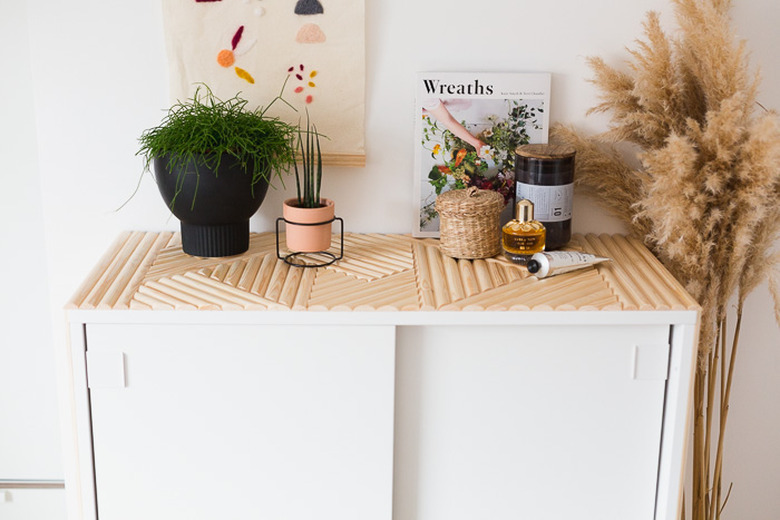
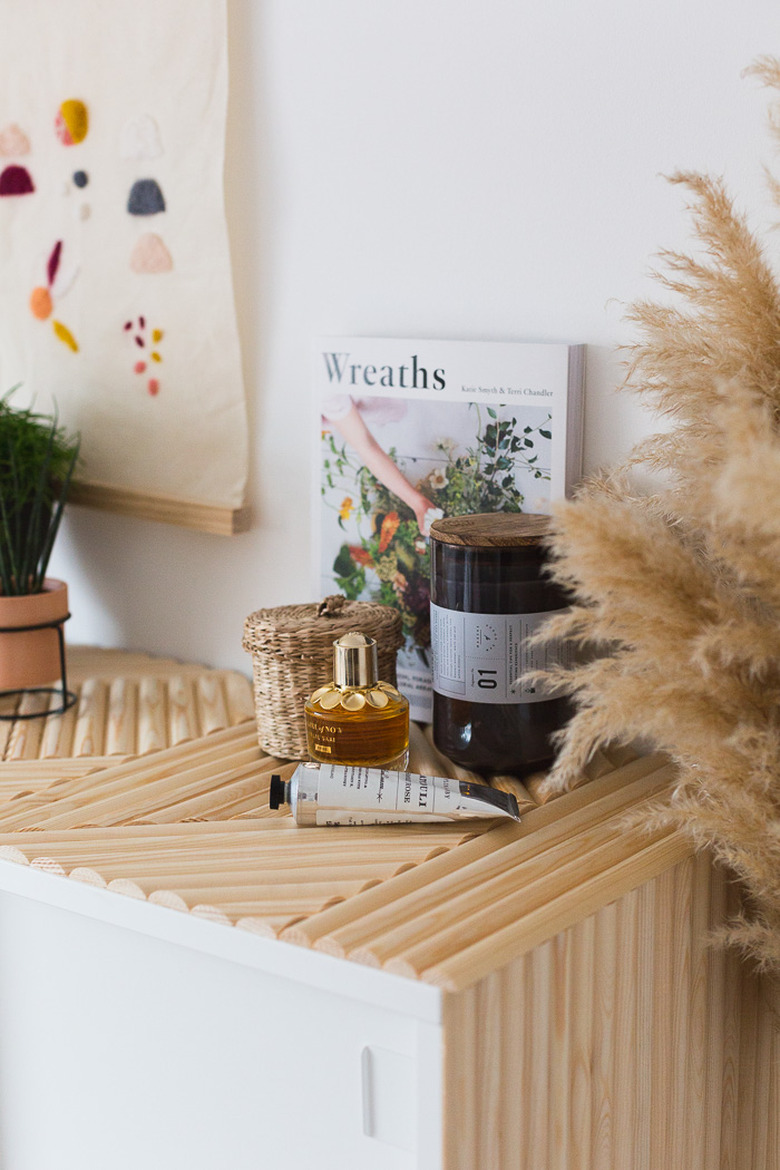
Once everything is glued into position, leave to dry and your cabinet is done. Now it's time to style to perfection!
 Francesca Stone
Francesca Stone
Francesca Stone
 Francesca Stone