Hack An IKEA Bamboo Box Into A Cute Book Bin
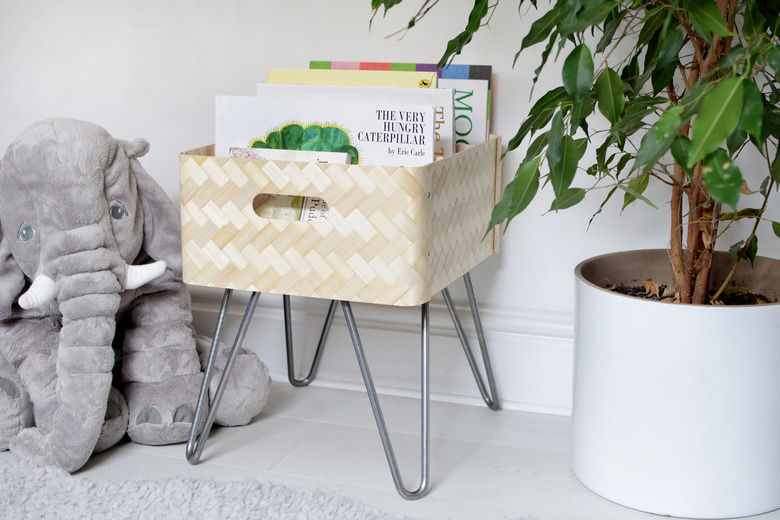
Love IKEA hacks? So. Do. We. We're kind of obsessed with being able to take a simple, inexpensive product and turn it into a pin-worthy piece (case in point: this Tarva dresser transformation). With a few easy tweaks, you can convert this basic IKEA bamboo storage box into a useful book bin for kids. (Hey retro friends, we think this could also be a perfect place to store your records, too.)
 Caroline Burke
Things Needed
-
12-inch hairpin legs, (4)
-
1/2-inch machine screws, nuts, and washers, (16)
-
Plywood, (2), each piece measuring 12 3/8 inches by 5 1/4 inches (ask your local hardware store to cut for you, if needed)
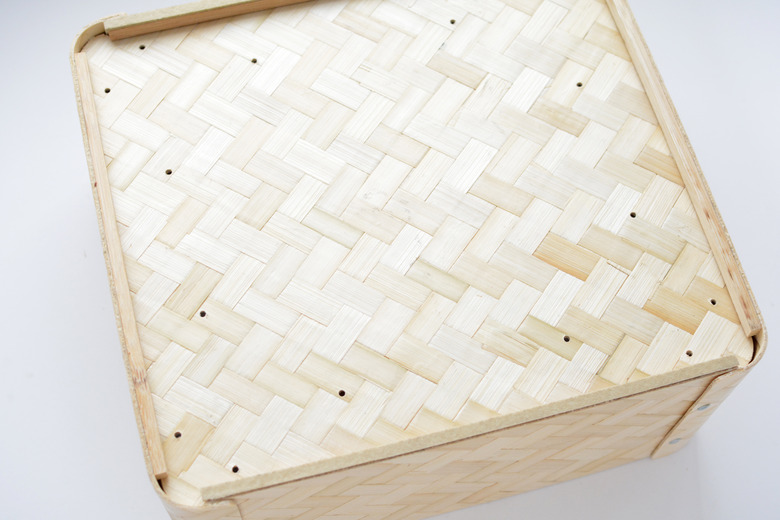
Step 1
Assemble the box according to the instructions.
 Caroline Burke
Step 2
Flip your box over and place the four hairpin legs into position; one at each corner. Take a pencil and mark where the screw holes are on the box.
TIP: We've used 12-inch hairpin legs so the book bin isn't too high for a child to reach into.
 Caroline Burke
Step 3
Use a power drill to make small holes at each screw location marked in the previous step. (Make sure you use a drill bit that is the same width as your screws.)
 Caroline Burke
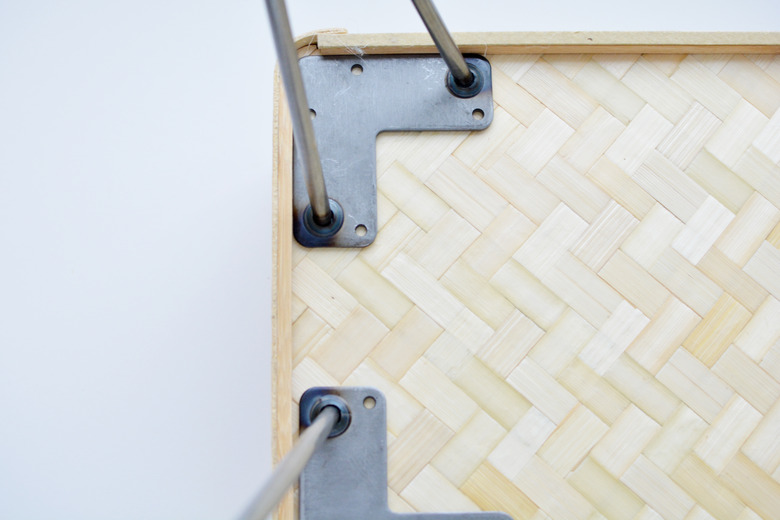
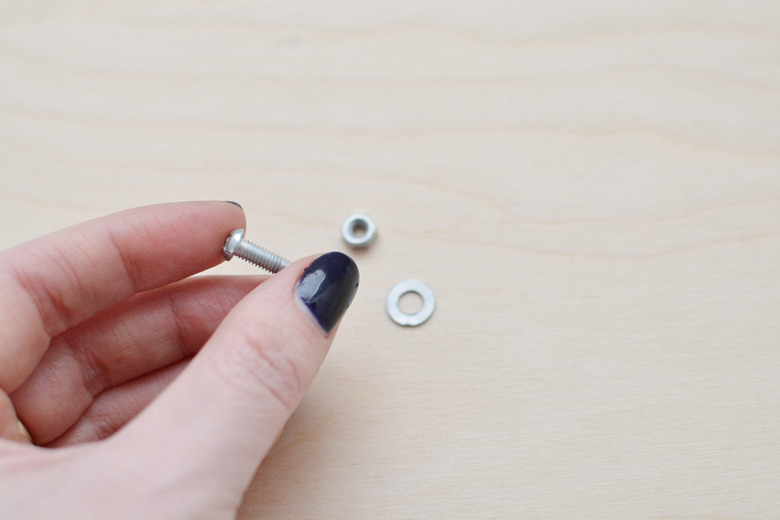
Step 4
We're using machine screws and nuts to attach the legs because they'll work better than wood screws due to the thickness of the bamboo.
TIP: Machine screws are similar to bolts, making them ideal for securing two items together. They tend to be smaller and can be fastened with the corresponding threaded nut and washer using a screwdriver.
 Caroline Burke
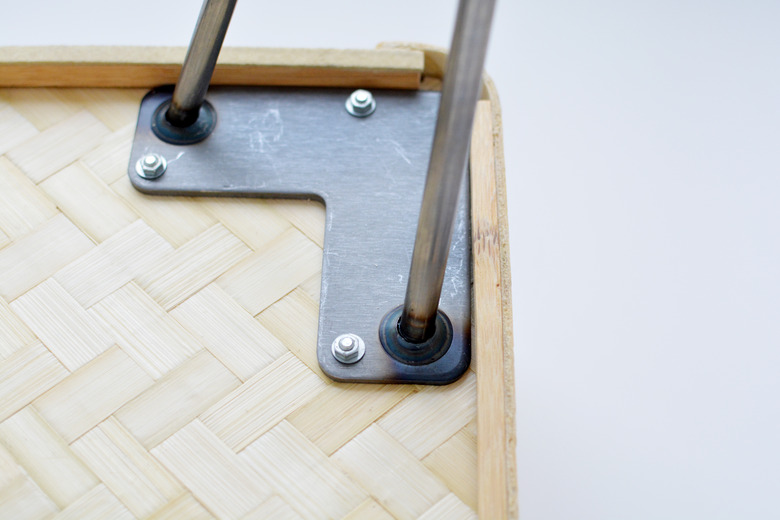
To secure the legs, push the machine screws through the corresponding holes in the box and metal plates. Next, affix the washers and nuts onto the end of the screw in order to secure the legs in place.
 Caroline Burke
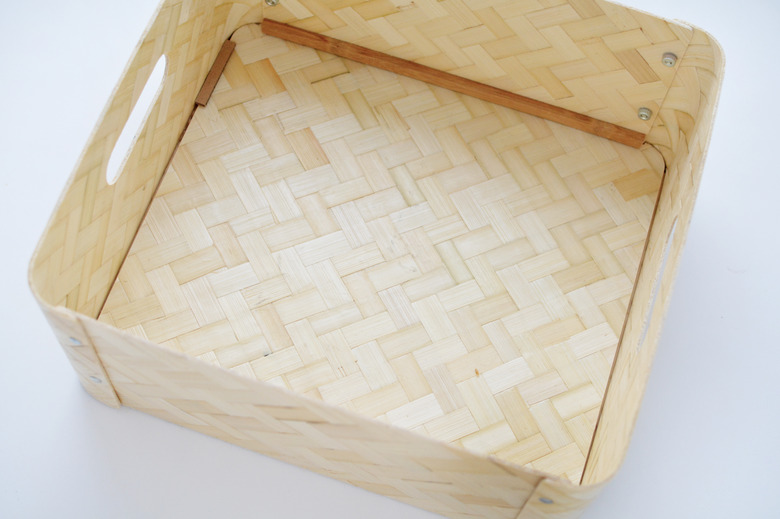
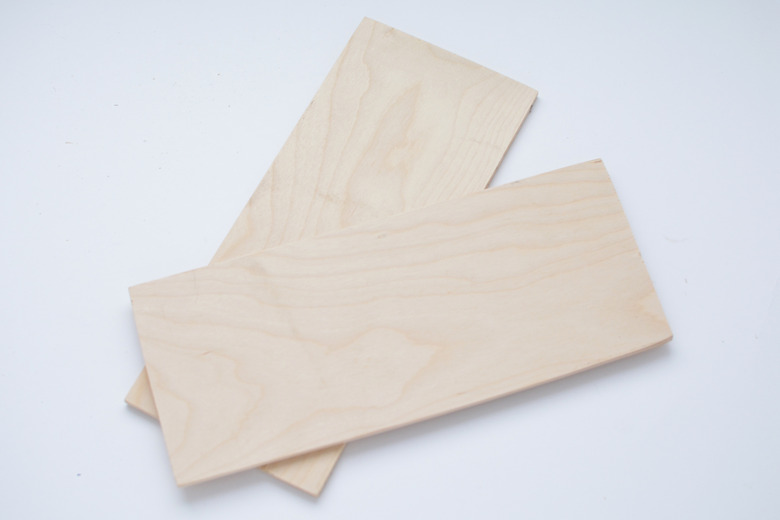
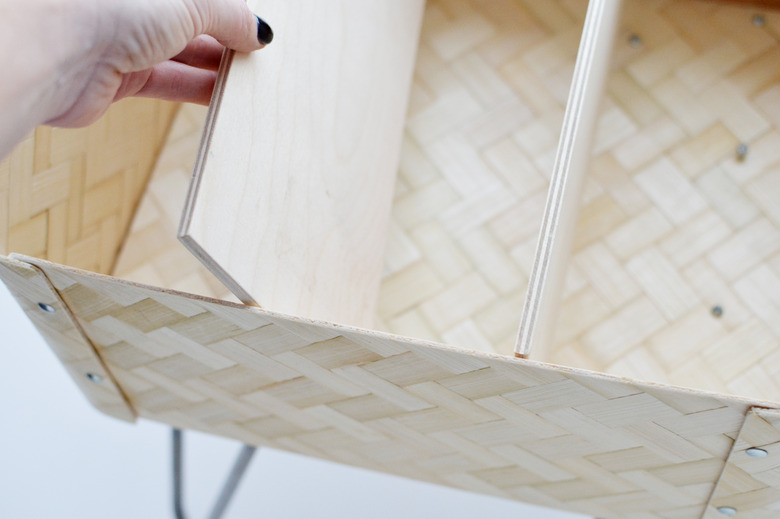
Step 5
Gather your plywood sections. These two pieces of plywood will act as dividers to help keep books upright and organized.
 Caroline Burke
Step 6
Glue the dividers in place, width-wise, by running strong wood glue along the edges of the plywood before slotting them into the box.
 Caroline Burke
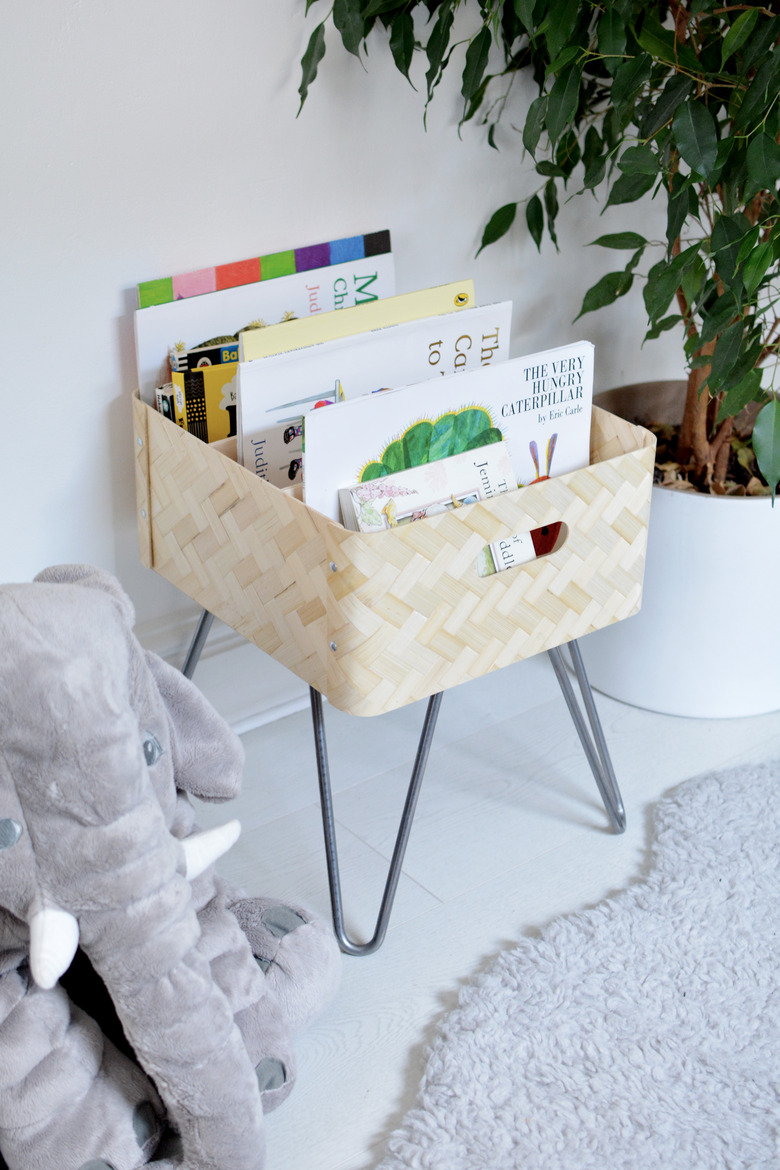
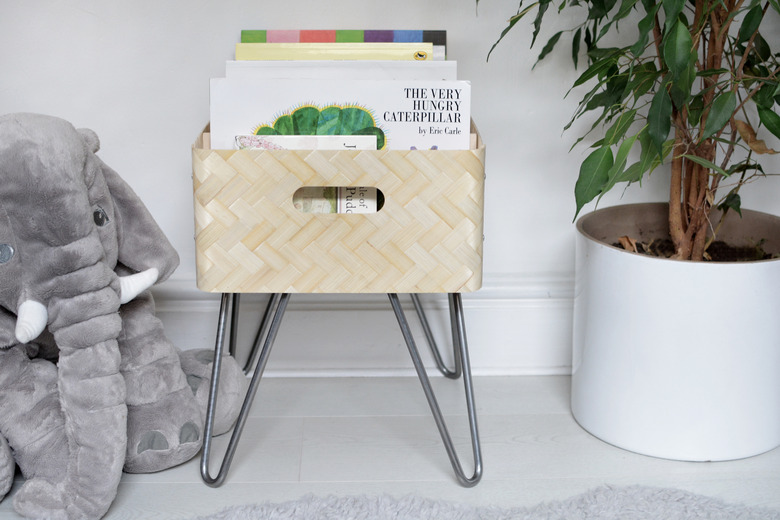
Once dry, your cute new book bin is ready to fill with your favorite book collections!
 Caroline Burke