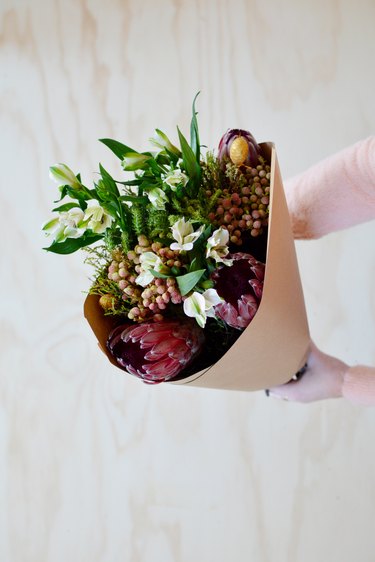
Think about it: Can you ever go wrong when giving someone fresh flowers? We think not. It's a surefire winner when it comes to saying thank you, happy holidays, congratulations, or just because. However, while store-bought flowers are great on the wallet, the generic wrapping just doesn't do them justice.
Enter this easy DIY that'll show you how to take a basic bouquet and make it look like it came straight from a pro florist. Below we'll demonstrate two wrapping techniques: a classic version and a rustic alternative with exposed stems.
Video of the Day
Video of the Day
Things You'll Need
Flowers
Kraft paper or gift wrap
Tissue paper (choose a contrasting color to your wrapping paper)
Double-sided tape
String or ribbon
Scissors
Option One
Step 1
Prep your bouquet by trimming the stems, removing any low leaves and securing them with an elastic band.

Step 2
Grab a roll of kraft paper or gift wrap and cut out a rectangle. Turn the paper diagonally so that it looks like a diamond shape in front of you.

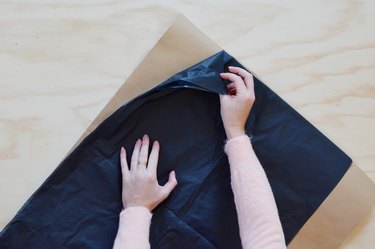
Step 3
Take a contrasting sheet of tissue paper and place it over the top with a slight overhang. This will work as a contrast to the classic kraft wrap on the outside.
Step 4
Lay the bouquet at the top point of the diamond.

Step 5
Take the left corner and wrap it over and around the bouquet; secure in place with double-sided tape.

TIP: Cut your double-sided tape in advance so it's ready to use when you need it!
Step 6
Fold up the bottom of the paper to create a neat edge.

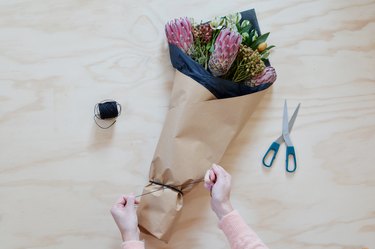
Step 7
Take the right-hand side and wrap it over and around the entire bouquet. Secure with double-sided tape.

You can tie the bouquet with string or decorative ribbon.
Option Two
Our second option is to wrap the flowers leaving the stems exposed. This is especially useful when you're not delivering the flowers immediately and want to pop them back into water to prevent wilting.
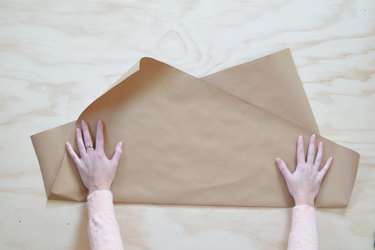
Step 1
Cut out a rectangle of wrapping paper and lay it in front of you. Take the bottom left corner and fold it inward and upward so the corner extends over the horizontal top line as shown in the photo below.

Step 2
Twist the paper counterclockwise so that the straight bottom edge sits level horizontally.
Step 3
Place the bouquet in the middle. The flowers should be nestled between the two center points and the stems should extend below the bottom line.

Step 4
Fold the left side of the paper over and around the flowers; secure with tape.

Step 5
Fold the right-hand side over the bouquet, and then secure with tape to finish.


Easy, huh? Now go give those flowers to someone special.