Give An IKEA Console Table A Bleached Wood Look Using This Secret Ingredient
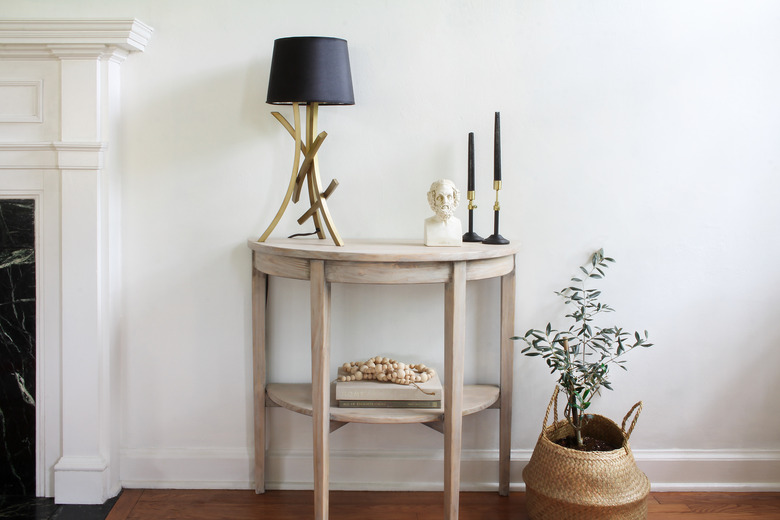
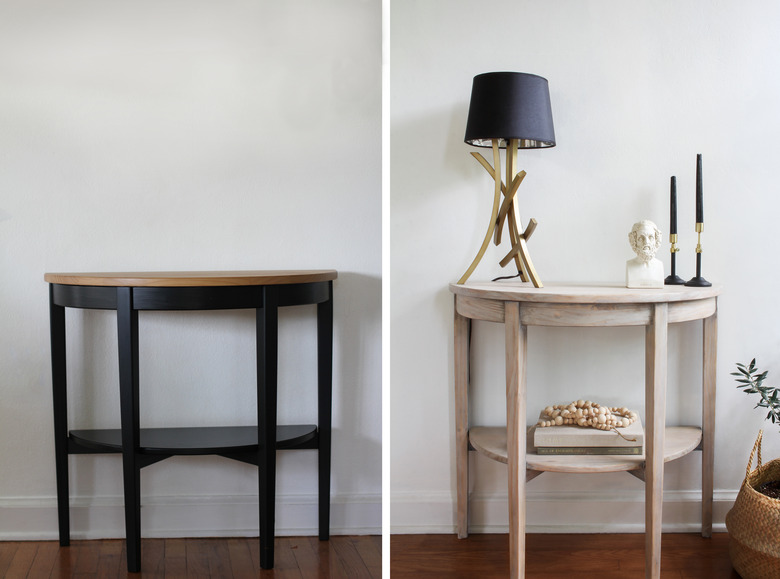
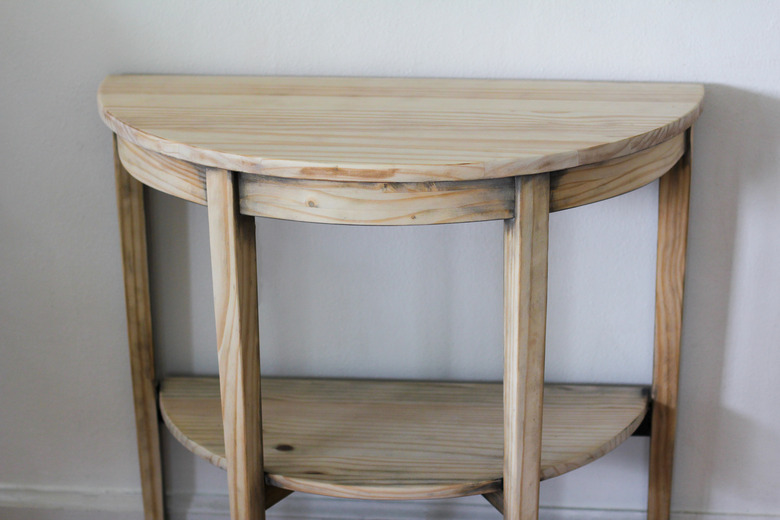
Maybe you have the Arkelstorp console table from IKEA (like many of us) and have been considering painting it to give it a little more oomph. Or maybe you're ISO the perfect console table but can't seem to find one in budget that has the gorgeous half-moon shape and reclaimed wood finish you so desperately seek. Enter the IKEA hack you never knew you always wanted: liming wax.
 Trisha Sprouse
Used as an alternative to bleaching wood — both of which lighten the color — the simple rub-and-buff technique of liming wax is much more foolproof and way less messy or noxious. Whether you call it cerused, whitewashed, or limed, when you rub liming wax into the grooves of wood, it beautifully highlights the grain and lends a stunningly sun-bleached look à la Restoration Hardware.
 Trisha Sprouse
Since the Arkelstorp table is solid pine (not MDF), it was a good candidate for this makeover, but you could apply this method to any piece of wood furniture. The result will be a rustic yet refined showstopper that looks like it has been weathered by the elements for decades, but really only took you a weekend to do.
Things Needed
-
Drop cloth
-
Rubber gloves and protective eyewear
-
Paint and varnish stripping gel (safe for indoor use)
-
Paintbrush
-
Putty knife
-
Clean rags and paper towels
-
Orbital sander and coarse-grit pads
-
Pre-stain wood conditioner (optional)
-
Wood stain (optional — we used Special Walnut, Weathered Oak, and Golden Oak)
 Trisha Sprouse
Strip the Existing Stain
Step 1
Choose a work area that has adequate ventilation, and lay a drop cloth down to protect the floor surface. You'll also want to put on rubber gloves and protective eyewear. Heads up: Stripping stain is a very sticky job.
Shake the bottle of stripping gel, and then paint a generous coat onto a small section of the table. Don't be afraid to really glob it on there. It's best to divide the table into four or five small sections so you can work with the stripping gel while it's still wet.
Note: Though the directions on the bottle say to let the gel sit for 30 minutes, I found it was much easier to scrape the stain off immediately after applying the stripping gel. If you let the gel get too dry, it turns flaky and is very difficult to remove.
 Trisha Sprouse
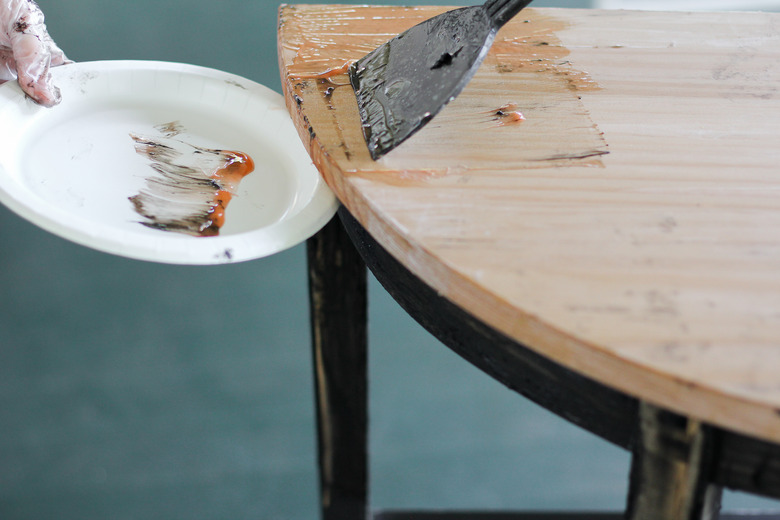
Step 2
As soon as you finish applying stripping gel on the first small section of the table, use a putty knife to scrape off as much of the wood stain as possible. Apply even pressure and scrape in the direction of the grain, but be careful not to gouge the wood with your putty knife. I found it handy to hold a paper plate at the edge of the table so I had something to catch the old stain/gel, but a piece of cardboard or empty box would work just as well. If any areas dry before you get to them, just reapply a little more gel on top and continue scraping.
 Trisha Sprouse
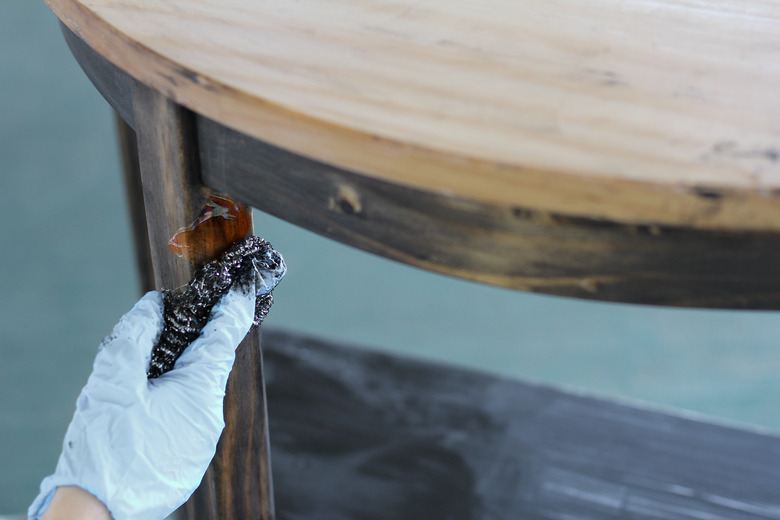
Step 3
While the putty knife works well for the flatter portions of the table, the steel scouring pads work best for the legs and curved lip of the table. Simply slather some gel onto the section you're stripping and scrub the area with a scouring pad. Once you notice that most of the stain has been lifted, dip a clean rag or paper towel in mineral spirits and wipe it away. This method of alternating between scrubbing with gel and wiping with mineral spirits along each small section worked best to keep the sticky mess at bay.
 Trisha Sprouse
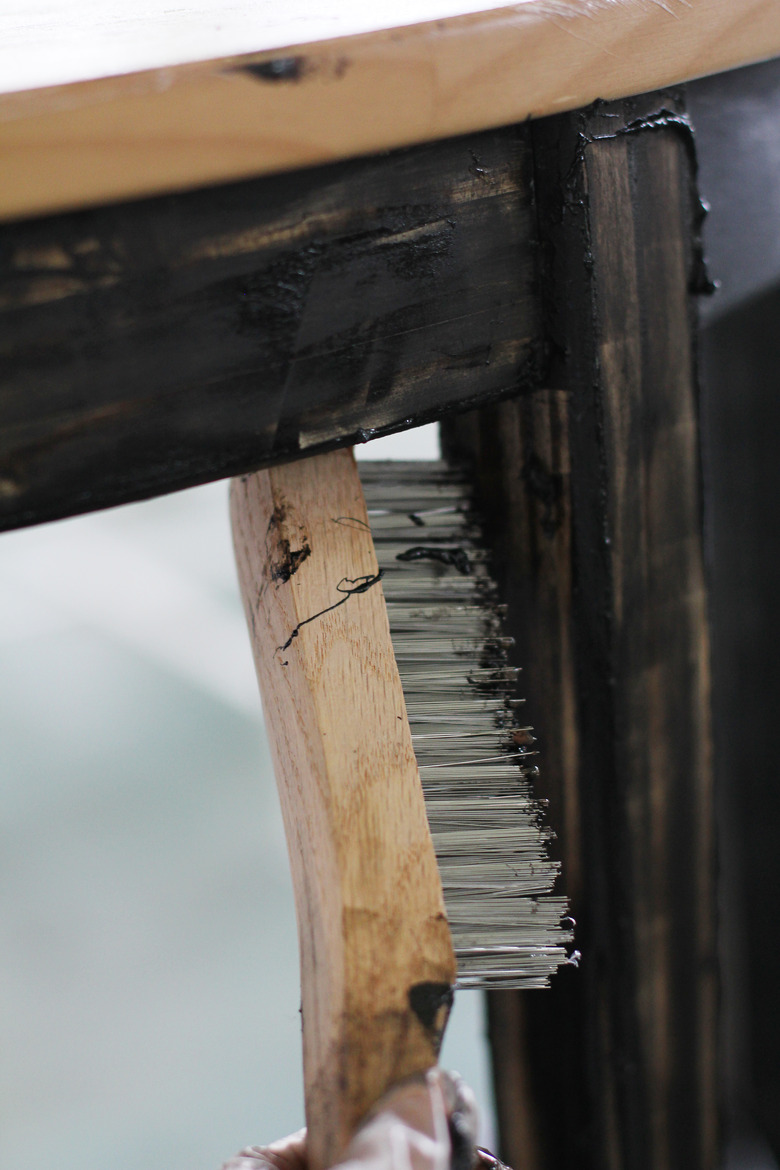
For any stubborn spots or hard-to-reach areas, dip a wire brush into the stripping gel and scrub the area. Once most of the stain has been removed, clean the table thoroughly with a rag and mineral spirits, and then wipe it dry.
 Trisha Sprouse
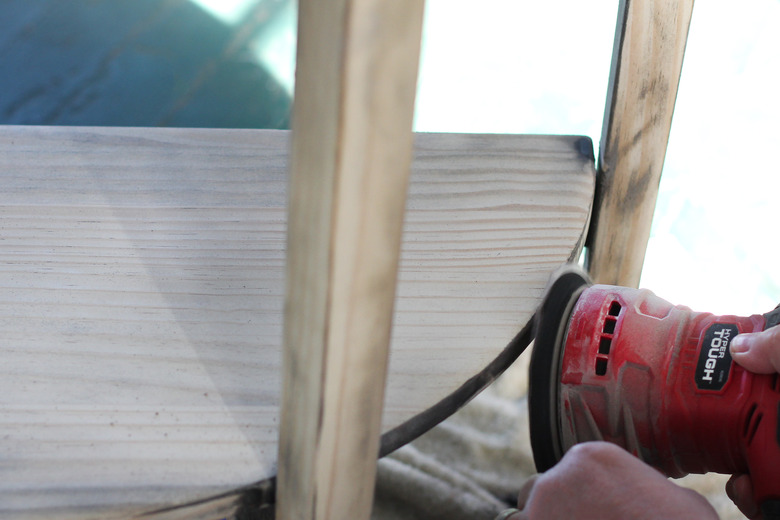
Step 4
While stripping will lift much of the old stain, it won't lift all of it. You'll still need to sand off any remaining bits to get the table back to its bare wood. I highly recommend a power sander to save you time and sanity, especially since I noticed no amount of paint stripper, scrubbing, or scraping would remove the stain on the lower tier of the table. It must have been coated with a heavy-duty industrial topcoat. Hand sanding that would have taken hours!
 Trisha Sprouse
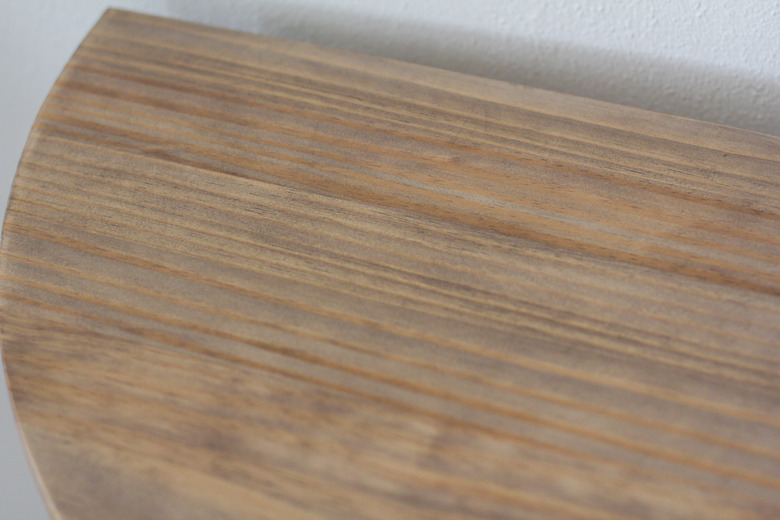
Here's what the table looked like after stripping and sanding. You'll notice there are some darker areas near the corners and on the legs where some of the old stain shows through, but I think that just enhanced the weathered look I was going for.
 Trisha Sprouse
Apply a Base Stain
Step 1
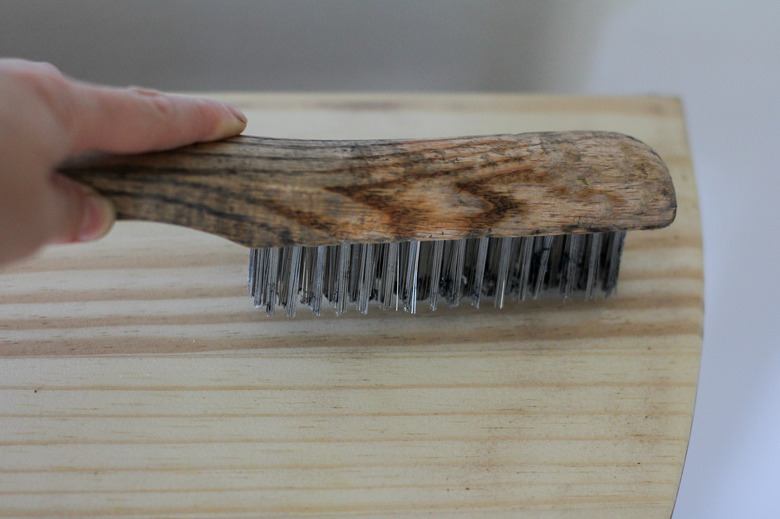
Since pine doesn't have a particularly open grain, you'll need to use a wire brush to create deep grooves in the wood that give the appearance of an open grain. You can do this by vigorously scrubbing the brush firmly in the direction of the wood grain. Do this all over the entire table. The grooves are what the liming wax will settle into to create that sun-bleached look.
 Trisha Sprouse
Step 2
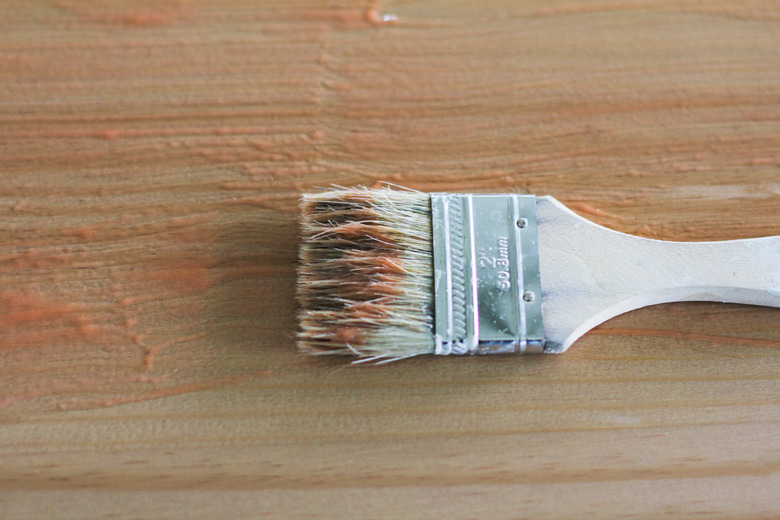
Use a paintbrush or rag to apply pre-stain wood conditioner to the entire table. This will help the wood absorb the stain more evenly and prevents streaks and blotches. Allow it to absorb for about 10 to 15 minutes, and then wipe off any excess.
 Trisha Sprouse
Step 3
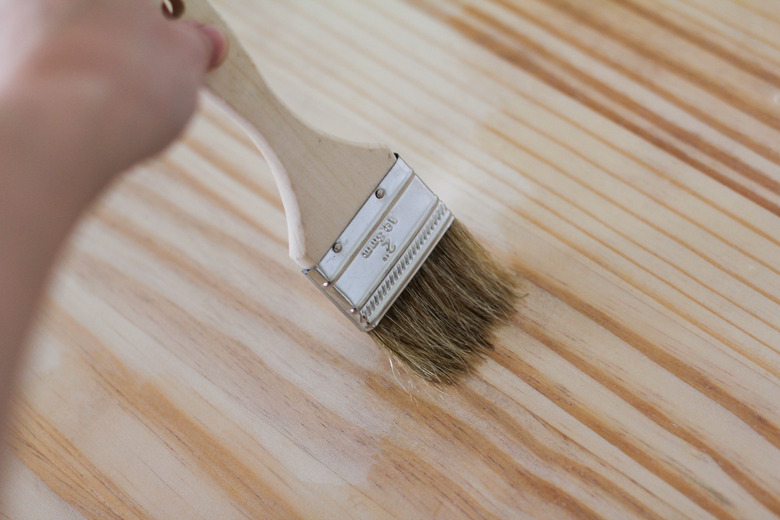
Stain the wood with your desired base color. You'll want to pick a medium or dark-colored stain, as the liming wax wouldn't be very noticeable on the bare wood or a light-colored stain. I wanted the pine to take on more qualities of oak (inspired by Shades of Blue Interiors' tutorial), so I first stained it with a very light coat of Minwax Special Walnut, which has a warm medium brown tone.
Shake or stir your can of wood stain well before applying it. Simply paint a light layer onto small sections at a time and immediately wipe off the excess with a rag. Here's what half of the table looked like with a light coat of the stain:
 Trisha Sprouse
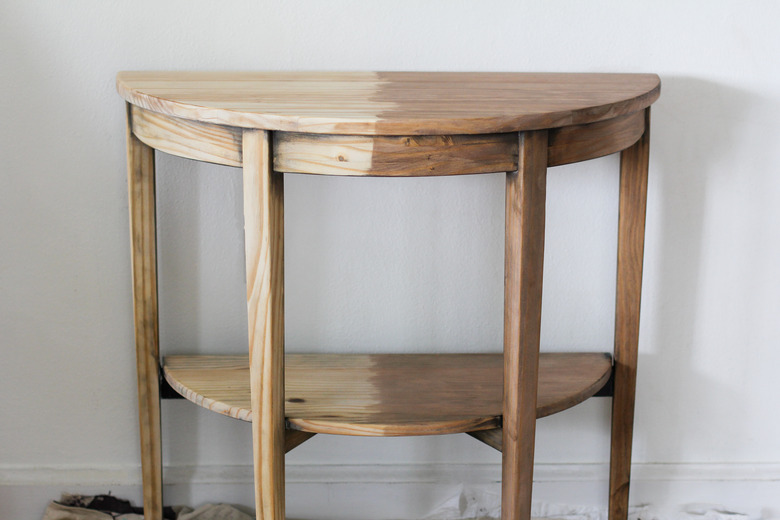
To cool down the warm tones of the walnut stain and give it a more weathered look, I then painted on a light coat of Minwax Weathered Oak, which has a grayish hue to it, and immediately wiped off the excess. You can see here how it gives the table more of the appearance of reclaimed wood. Allow the stain to dry completely for several hours.
 Trisha Sprouse
Step 4
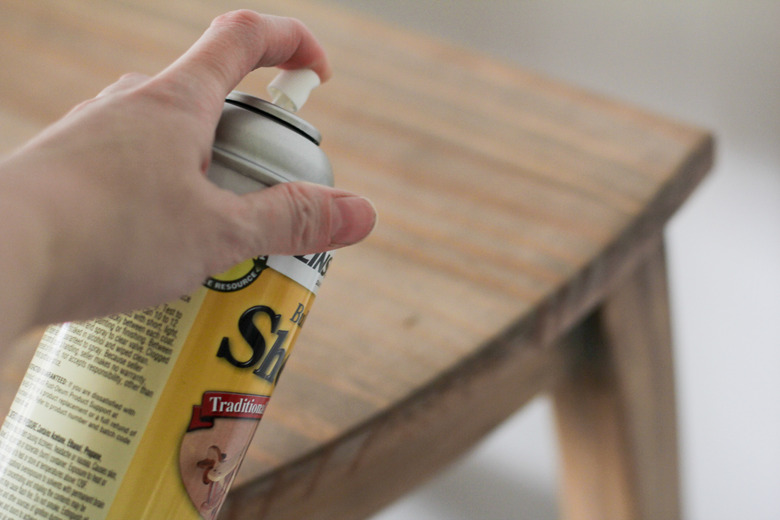
To seal in the stain color, spray a coat of shellac all over the entire table. Since the wood stain and the liming wax are both oil-based, the shellac will create a barrier to prevent the colors of the wood stain and liming wax from mixing together. Shellac dries very quickly (three cheers for that!), so you'll only have to wait a couple of minutes before moving onto the next step.
 Trisha Sprouse
Apply the Liming Wax
Step 1
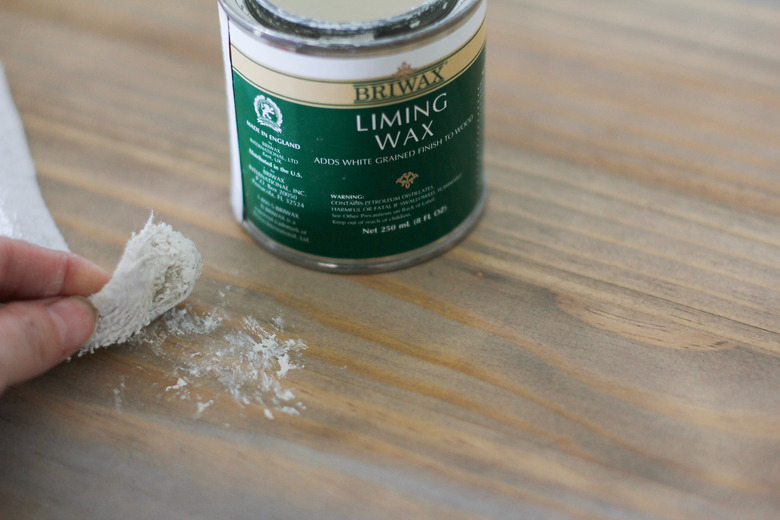
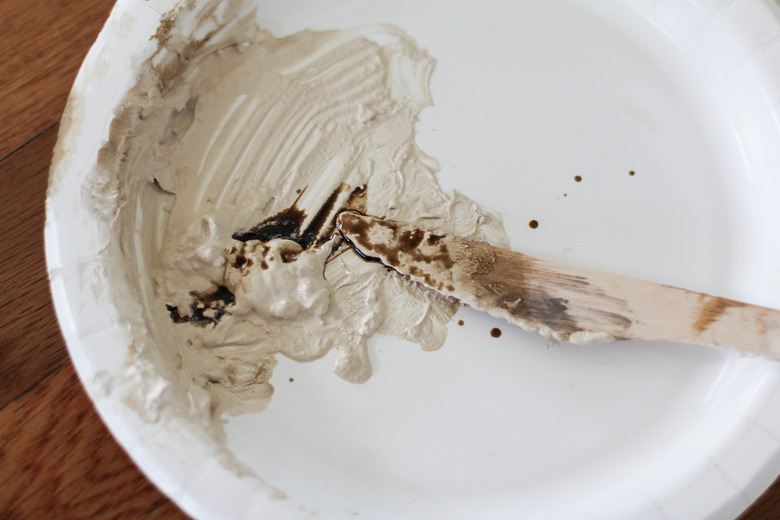
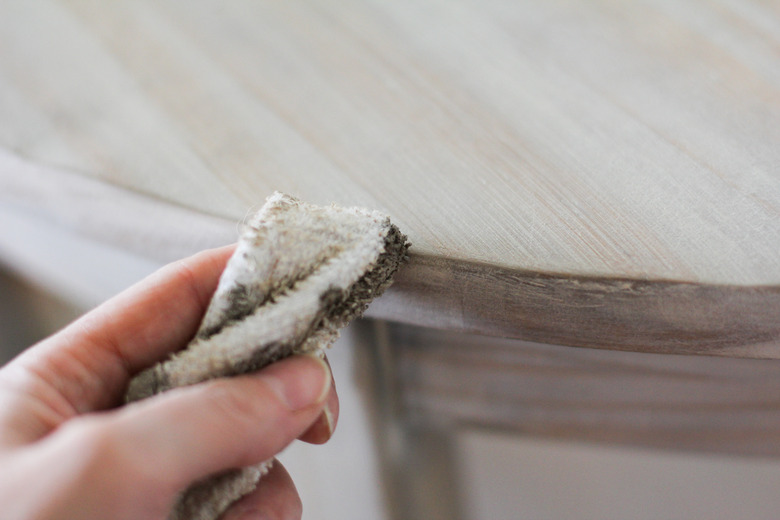
Dip a clean rag in the liming wax (start with a dime-sized amount ) and buff it onto the table. Really work it into the deep ridges of the wood and then wipe away any excess. As the wax settles into the grooves, it will create a beautiful bleached wood look, but still allow the stain color to peek through.
Tip: If you prefer a more subtle whitewashed look, you can dilute the liming wax with mineral spirits (or paint thinner). Simply mix the two together in a bowl, paint a test on scrap wood, and continue diluting until you get the desired opacity level.
 Trisha Sprouse
Here's what half of the table looked like with the liming wax:
 Trisha Sprouse
Step 2
Optional: After coating the entire table with liming wax, I decided the color needed a touch more warmth, so I custom mixed a scant amount of Minwax Golden Oak stain with the liming wax (about 1/2 teaspoon stain + 1 tablespoon wax) to create a soft caramel-colored wax that would give the table a more beige than gray undertone. However, if you're happy with the cooler tone, feel free to skip this step.
 Trisha Sprouse
I applied the caramel-colored wax in the same manner as the first layer — lightly buffing it into the wood grain with a cloth and then wiping away the excess.
 Trisha Sprouse
Tip: For a more durable finish, you can topcoat the table with a clear furniture wax polish (like this one or this one), but it isn't absolutely necessary if your table won't be in a high-traffic area.
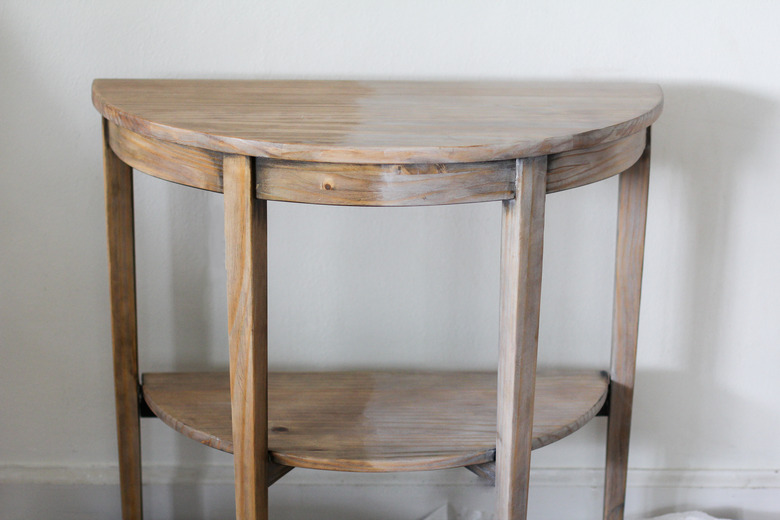
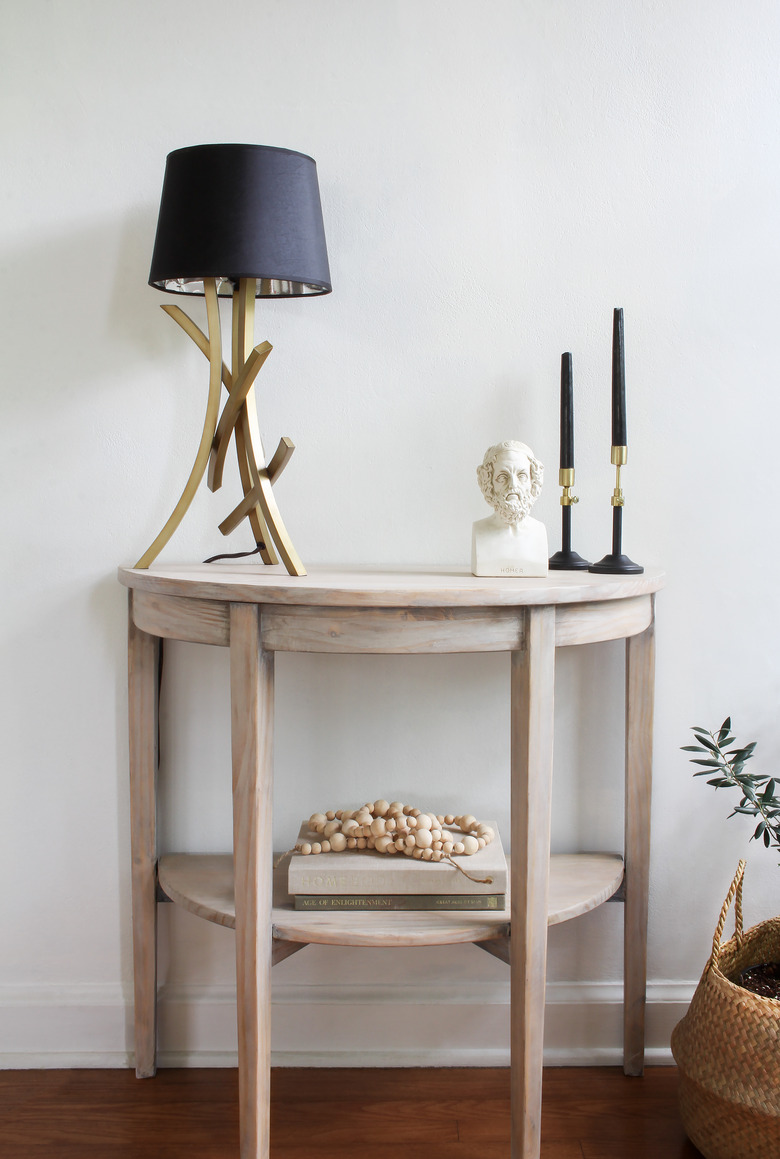
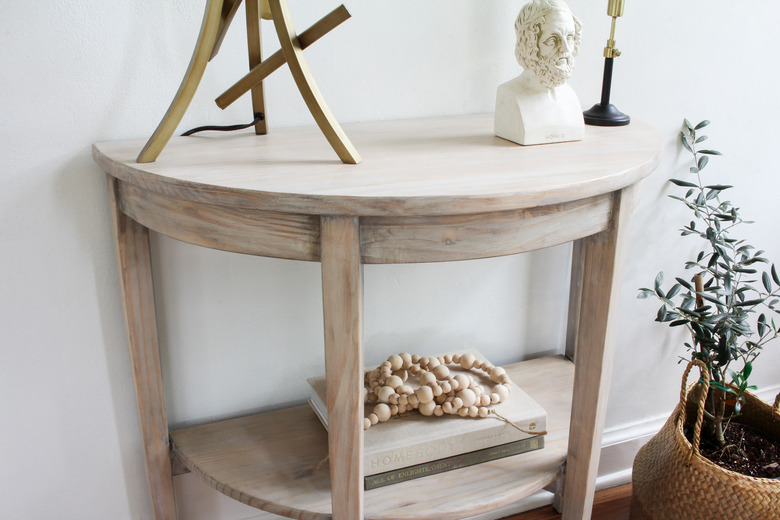
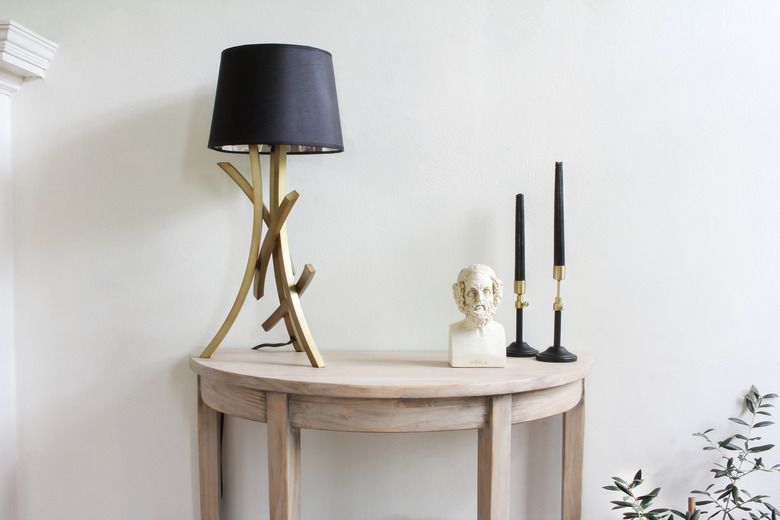
Now you have a gorgeously sun-bleached demilune console table that looks more like a treasured find from an antique outing than it does a flat-packed table straight off the shelf at IKEA.
 Trisha Sprouse
 Trisha Sprouse
 Trisha Sprouse