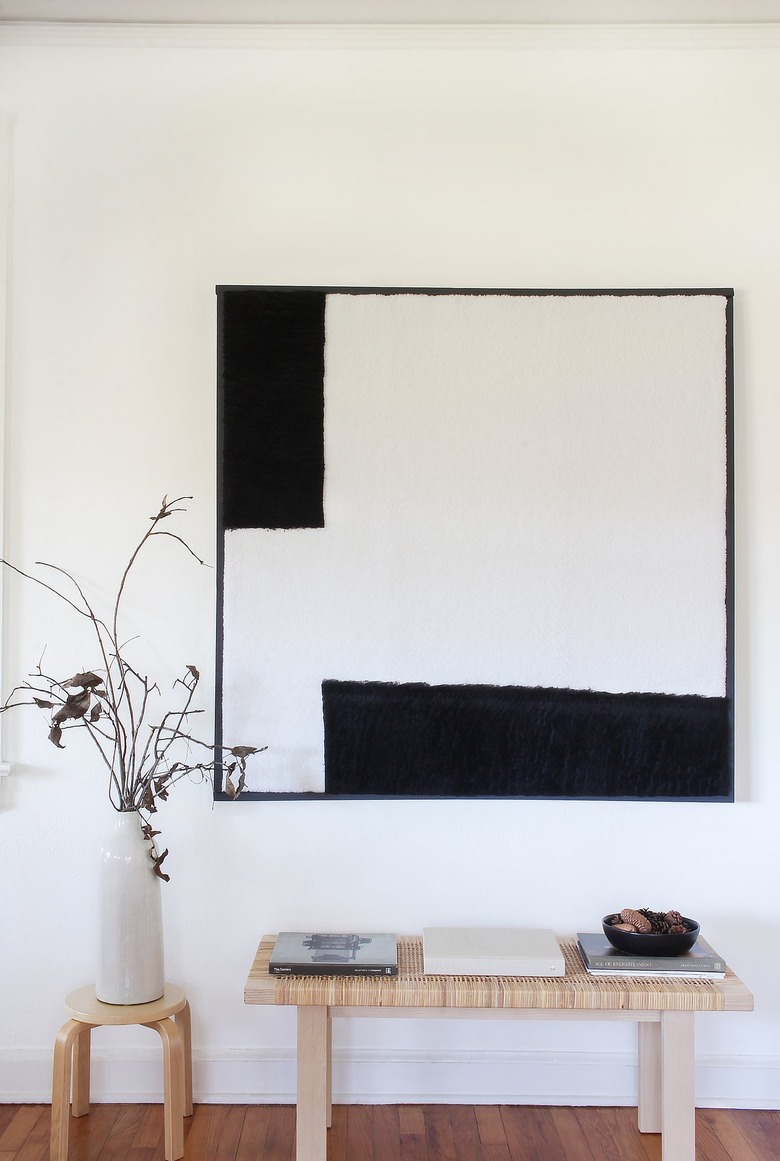
Oversize Textured Wall Art Is Easy To Make When You Follow This Tutorial
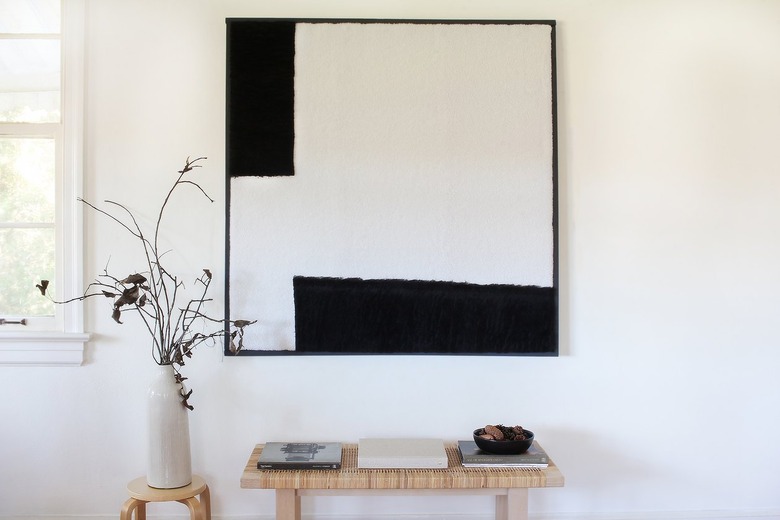
There's just something about the soft, nubby texture of shearling that feels ultra luxe while at the same time super cozy. It's no wonder the fabric previously confined to cold-weather coats and winter blankets has taken the furniture design world by storm. First there was the highly coveted goop x CB2 Gwyneth Special Edition Shearling Chair, quickly followed by the stunning faux-shearling Liv Sofa by Nate + Jeremiah for Living Spaces. But why stop at furniture? We decided to jump headfirst into the fabric trend with DIY oversize wall art made with shearling. The result is a fuzzy, textural showpiece that will definitely warm up your walls.
Things You'll Need
- Painter's tape
- Measuring tape
- 1-inch-by-2-inch pine wood boards, 8 feet long each ( 5 )
- Power drill
- Flat corner braces with screws, 1-1/2 inches ( 8 )
- Screwdriver
- Wood screws, 2 inches ( 4 )
- Staple gun
- Scissors
- White faux shearling, 2 yards
- Black faux shearling, 1 yard
- Fabric glue
- Medium-grit sandpaper
- Acrylic paint or wood stain (we used matte black paint)
- Paintbrush
 Trisha Sprouse for Hunker
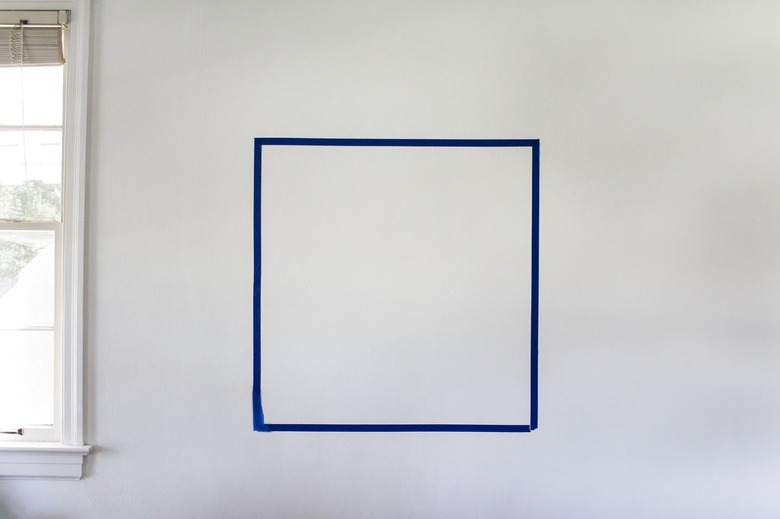
Step 1
Using painter's tape, mark out the space on your wall where you'd like to hang your art, and take note of the dimensions. This will give you a visual of how large you want your artwork to be, which will then determine how much wood and fabric you'll need. For reference, we made our artwork 47 inches by 47 inches, which includes the frame around it. If you decide to go bigger than this, please note you'll need to adjust the amount of wood and fabric listed in the materials list.
 Trisha Sprouse for Hunker
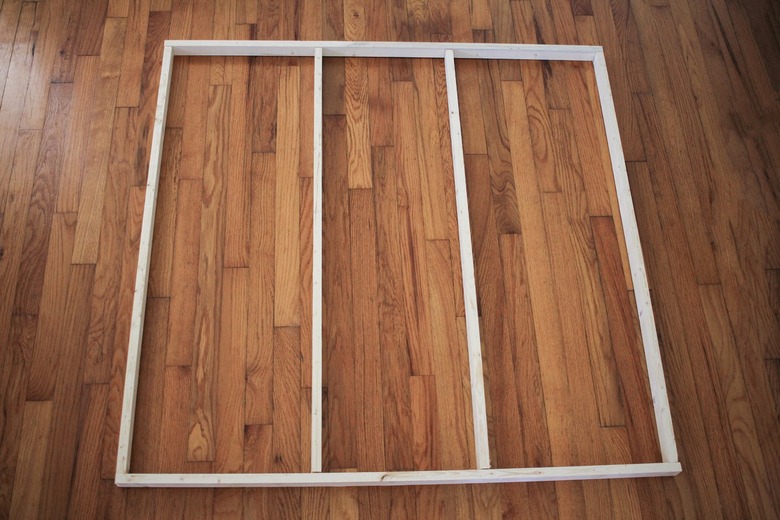
Step 2
Have the wood boards cut to size at the hardware store for free. To make our 47-inch-by-47-inch artwork and frame, we needed two 47-inch boards, four 45-inch boards, and four 43-inch boards. (Essentially, to make a square piece of framed art, you'll need two boards that are the final size of your art, four boards that are two inches shorter than the final size of your art, and four boards that are four inches shorter than the final size of your art.)
Lay out four 43-inch boards vertically with their 1-inch sides facing up. Place a 45-inch board horizontally at the top and bottom of the boards to form a square, again with their 1-inch sides facing up.
 Trisha Sprouse for Hunker
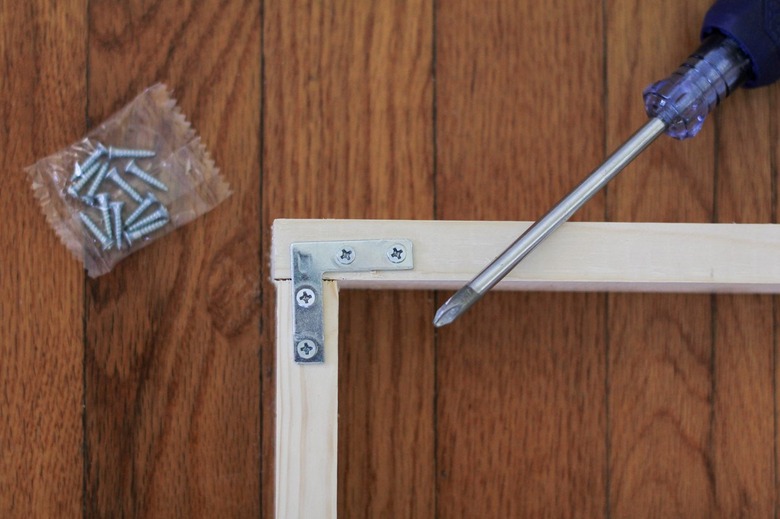
Step 3
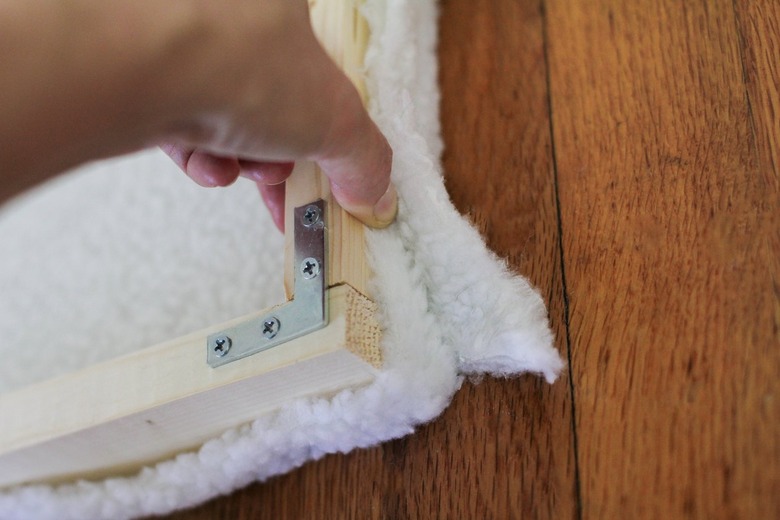
Attach the four corners of the boards together using flat braces. It helps to drill pilot holes where the screws go before screwing the braces into place with a screwdriver.
 Trisha Sprouse for Hunker
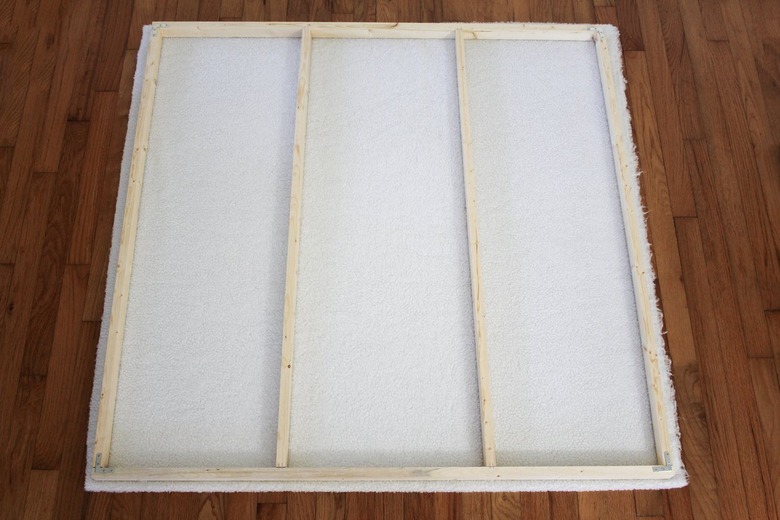
Step 4
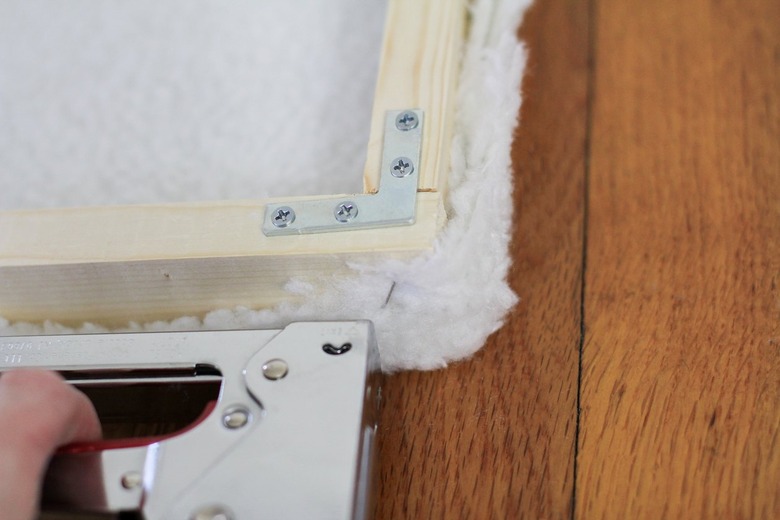
Staple the two center vertical boards to the square frame with at least two staples at the top and bottom of the boards. Flip the frame over and staple the two center boards to the frame on the backside as well. These will act as supports to make your frame more stable.
 Trisha Sprouse for Hunker
Step 5
Smooth out the white shearling fabric on the floor and place the wood frame on top, making sure to center it on the fabric. Our shearling fabric was a little sheer, so we actually bought twice the amount needed to cover the frame and folded it in half to double the thickness. Depending on what size you make your frame, you may need to trim off any excess fabric around the sides. You only need about one to two inches of extra fabric around the frame.
 Trisha Sprouse for Hunker
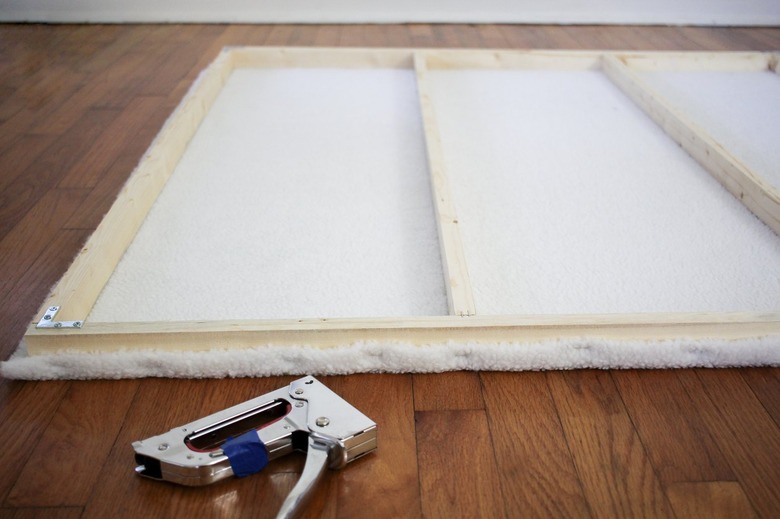
Step 6
Pull the shearling fabric taut and staple it to the wood frame. We found it easiest to start with a staple in the middle on each side and then work outwards from center, continuing to pull the fabric taut as we stapled.
 Trisha Sprouse for Hunker
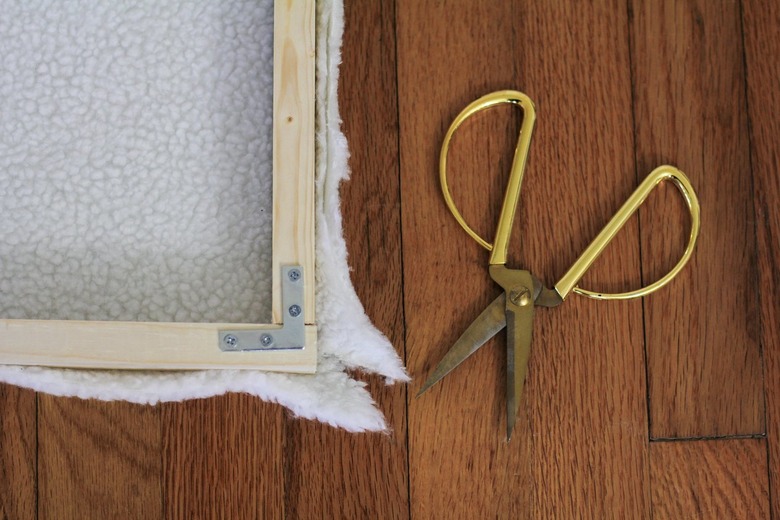
Step 7
When you get to the corners, cut a slit up the center of the fabric.
 Trisha Sprouse for Hunker
Pull one of the ends taut and staple it to the frame.
 Trisha Sprouse for Hunker
Then pull the second end taut over the first one and staple it to the frame.
 Trisha Sprouse for Hunker
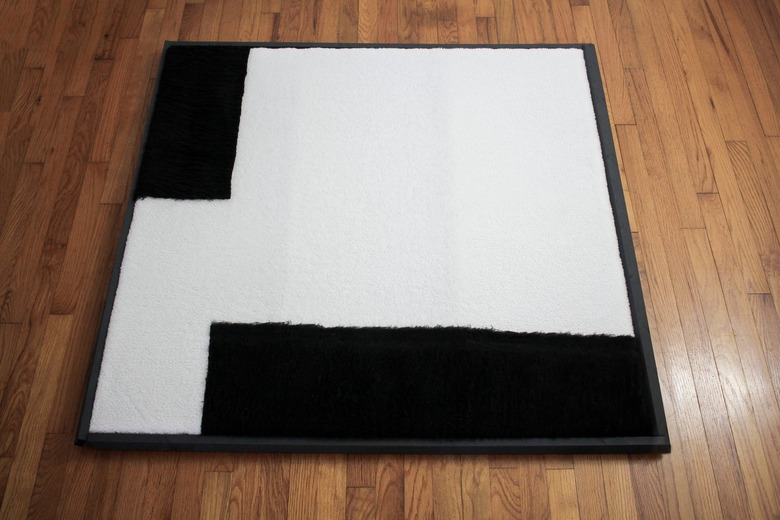
Step 8
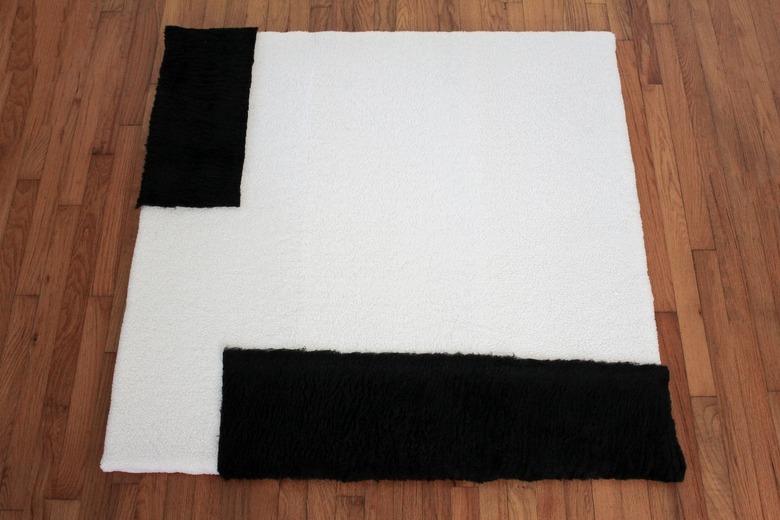
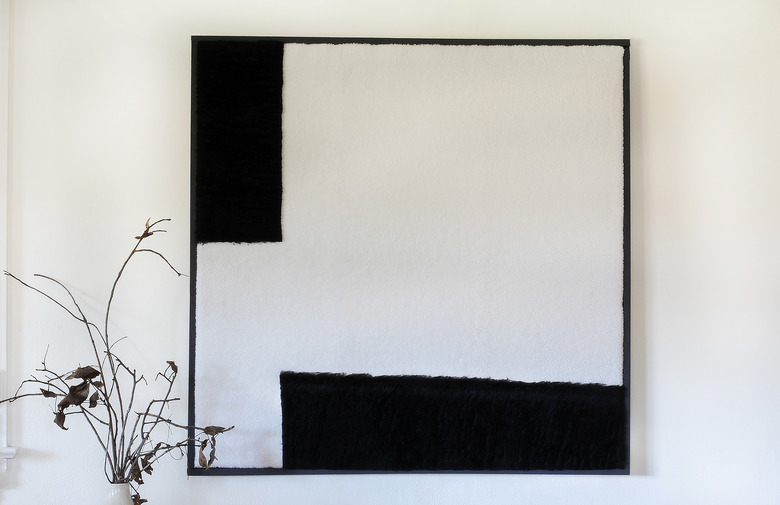
Flip your artwork over so it's face up and play around with how you'd like to place the black shearling on top of the white shearling. We decided to go super minimal with two rectangular shapes. For reference, the vertical rectangle measures 9 inches wide by 21 inches tall, and the horizontal rectangle measures 36 inches wide by 10 inches tall. Also, we cut the rectangles so they had a slightly asymmetrical shape to give them more of an abstract "painted" look.
Tip
You could use black paper or felt to visualize your design prior to cutting the black shearling fabric.
 Trisha Sprouse for Hunker
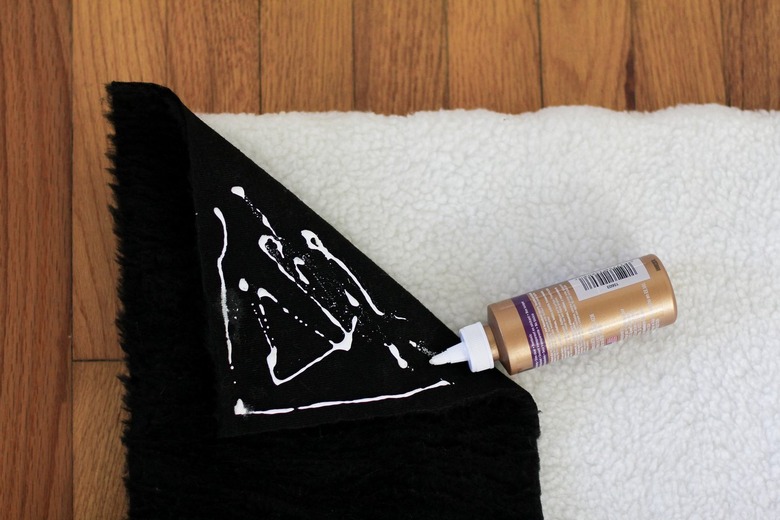
Once you're happy with the design, glue the black shearling fabric into place with fabric glue.
 Trisha Sprouse for Hunker
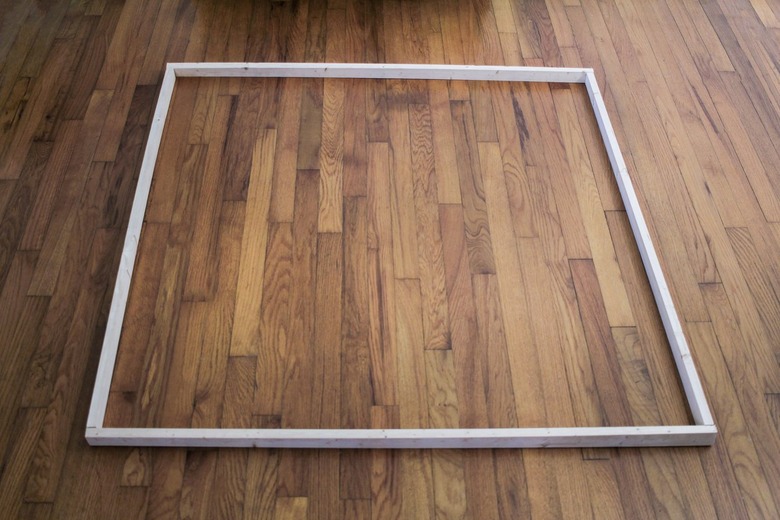
Step 9
While the glue dries on the black shearling, make the frame for the artwork. Lay out the remaining wood boards to form a square, placing the two 47-inch boards horizontally and the two 45-inch boards vertically — all with their 1-inch sides facing up.
 Trisha Sprouse for Hunker
Attach the four corners of the wood frame the same way you did in Step 3 using the flat corner braces.
 Trisha Sprouse for Hunker
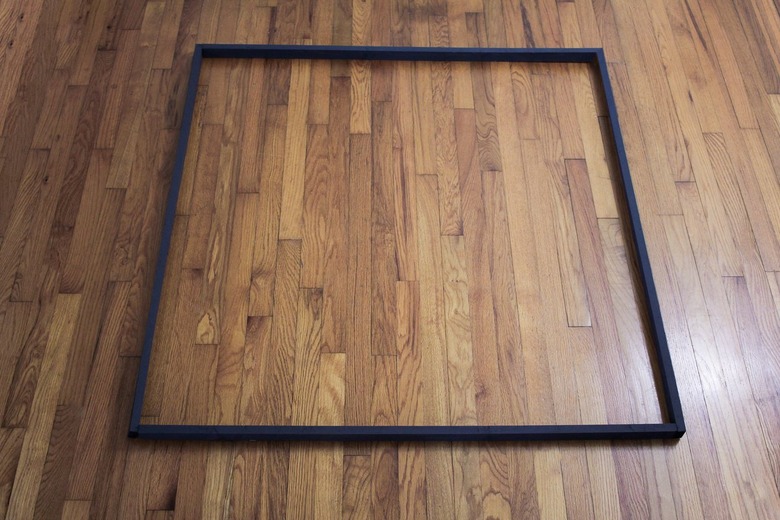
Step 10
Sand any rough edges, and then paint the front and sides of the frame. We opted for a matte black paint to keep things monochromatic, but you could definitely use another color. For instance, gold paint would give it a luxe look while wood stain would give it a more rustic look.
 Trisha Sprouse for Hunker
Once the paint is dry, place the artwork right-side-up inside the frame.
 Trisha Sprouse for Hunker
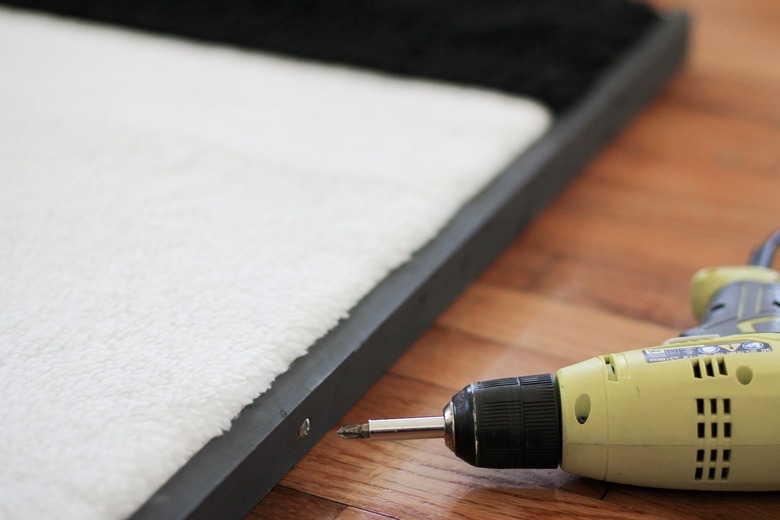
Step 11
Attach the frame to the artwork by drilling one screw into the center of each side of the frame. Be sure to drill through the frame into the artwork.
 Trisha Sprouse for Hunker
Disguise the screws by painting them with the same paint you used for the frame. If you opted for a wood stain, you could try counter-sinking your screws, filling them in with wood filler, and then staining the filler.
 Trisha Sprouse for Hunker
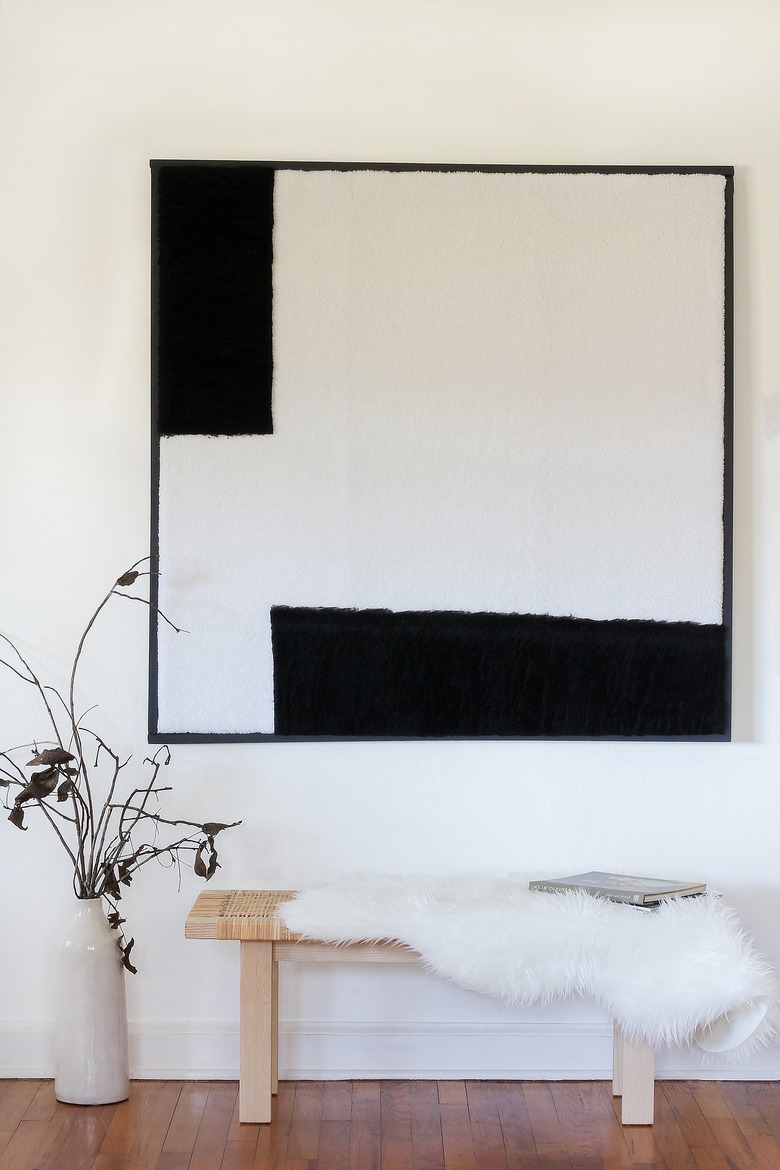
Your new artwork is now ready to hang in all its fuzzy, shaggy glory. Everyone will think it's a painting until they get close enough to see that it's actually shearling. We bet they can't help but run their fingers through it!
 Trisha Sprouse for Hunker
 Trisha Sprouse
 Trisha Sprouse for Hunker