Turn A Pillow Sham Into Modern Art
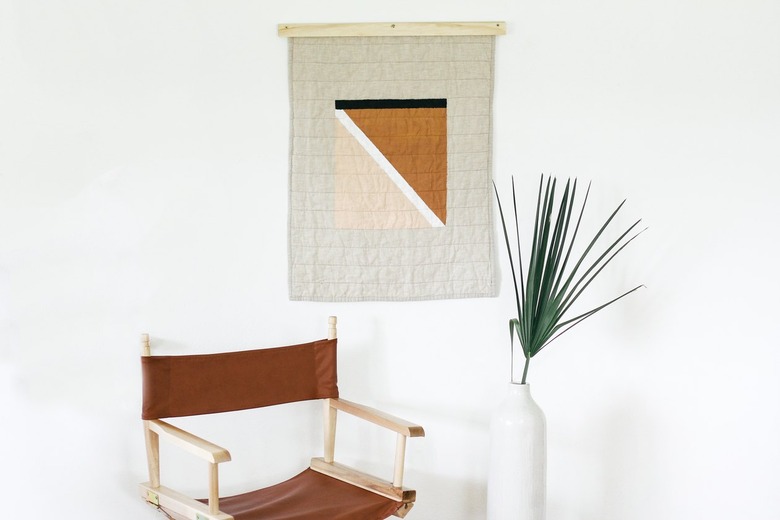
Move over, granny quilts. The old-school patchworks of yore have seen a modern refresh, with a shift towards more minimal patterns and contemporary fabrics. And because wall hangings and tapestries are basically the golden child of Pinterest these days, more and more retailers have begun to offer streamlined wooden quilt hangers to display your trendy textiles. We hacked a Target pillow sham to create a DIY quilted wall art hanging that requires absolutely no quilting skills. Plus, we went the extra mile to show you how to create a simple quilt hanger so you can hang your handcrafted heirloom with style and ease.
(Psst: See that chic director's chair? You can make that too with our need-to-try DIY.)
Things Needed
-
Quilted pillow sham (color: brown)
-
Iron
-
Ruler
-
Painter's tape
-
Scrap cardboard
-
Soft fabric ink in assorted colors
-
Flat paintbrush
-
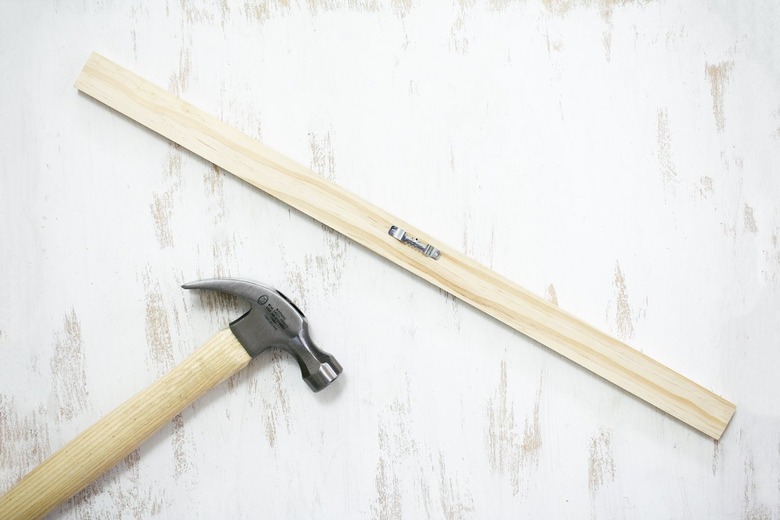
1x2 pine board ( cut into two 23-inch long pieces )
-
Small sawtooth picture hanger
-
1-inch brass screws, ( 3 )
-
Power drill
-
Hammer
TIP: We used soft fabric ink to paint our design because we loved how it left our fabric still feeling soft and flexible versus brittle or crunchy. However, you could also add one part fabric medium to two parts acrylic paint to achieve similar results.
 Trisha Sprouse for Hunker
Part One: Paint the Quilt
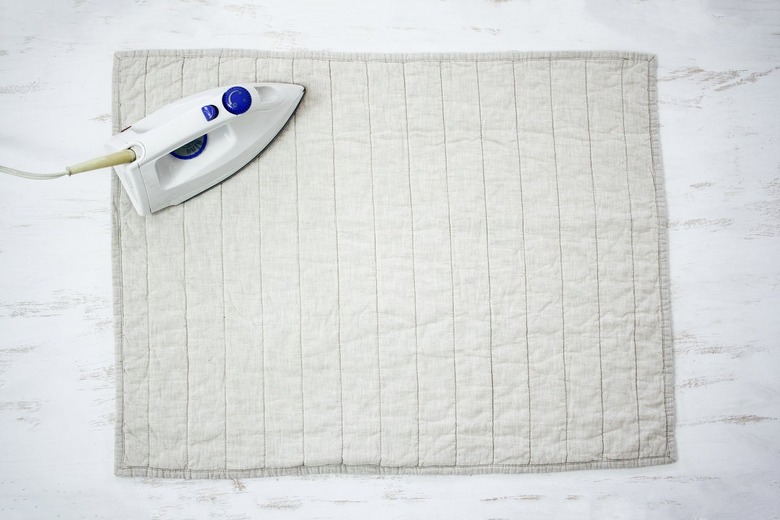
Step 1
Iron the pillow sham, following the recommended heat settings on the manufacturer's tag. This will ensure you have a nice flat surface to paint your design.
 Trisha Sprouse for Hunker
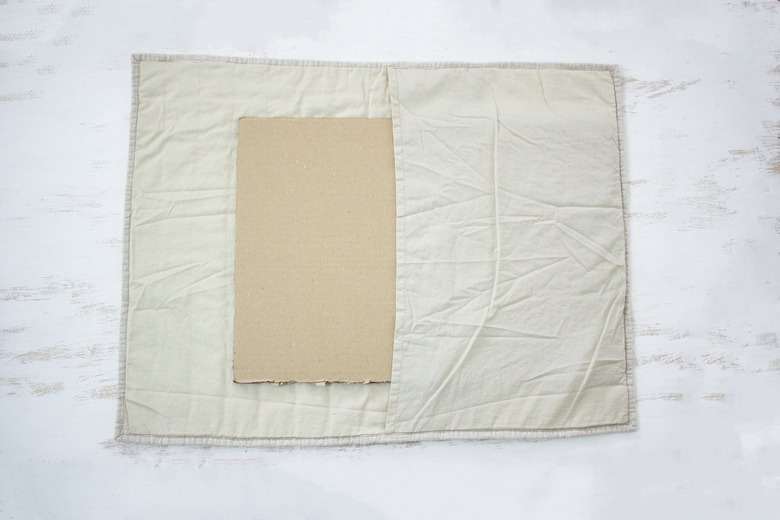
Slide a scrap piece of cardboard (slightly larger than the design you plan to paint) inside the pillowcase to ensure the paint/ink doesn't bleed through both layers of fabric.
 Trisha Sprouse for Hunker
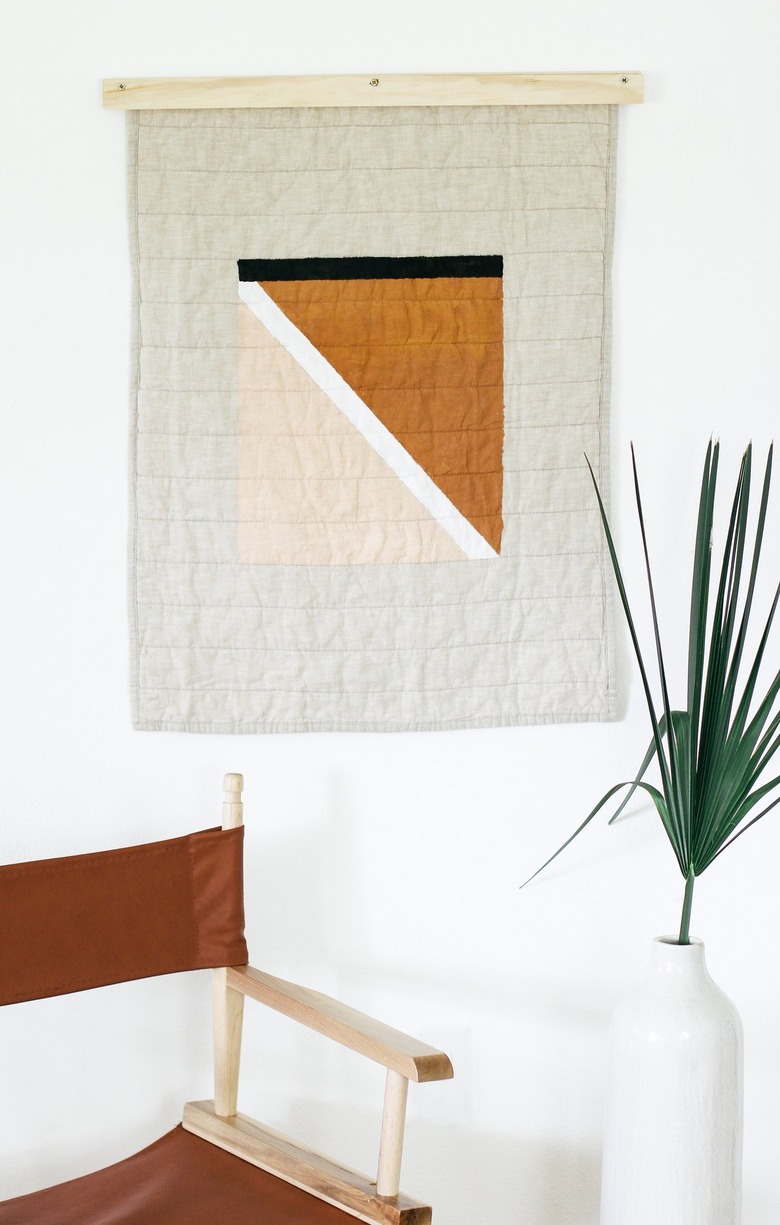
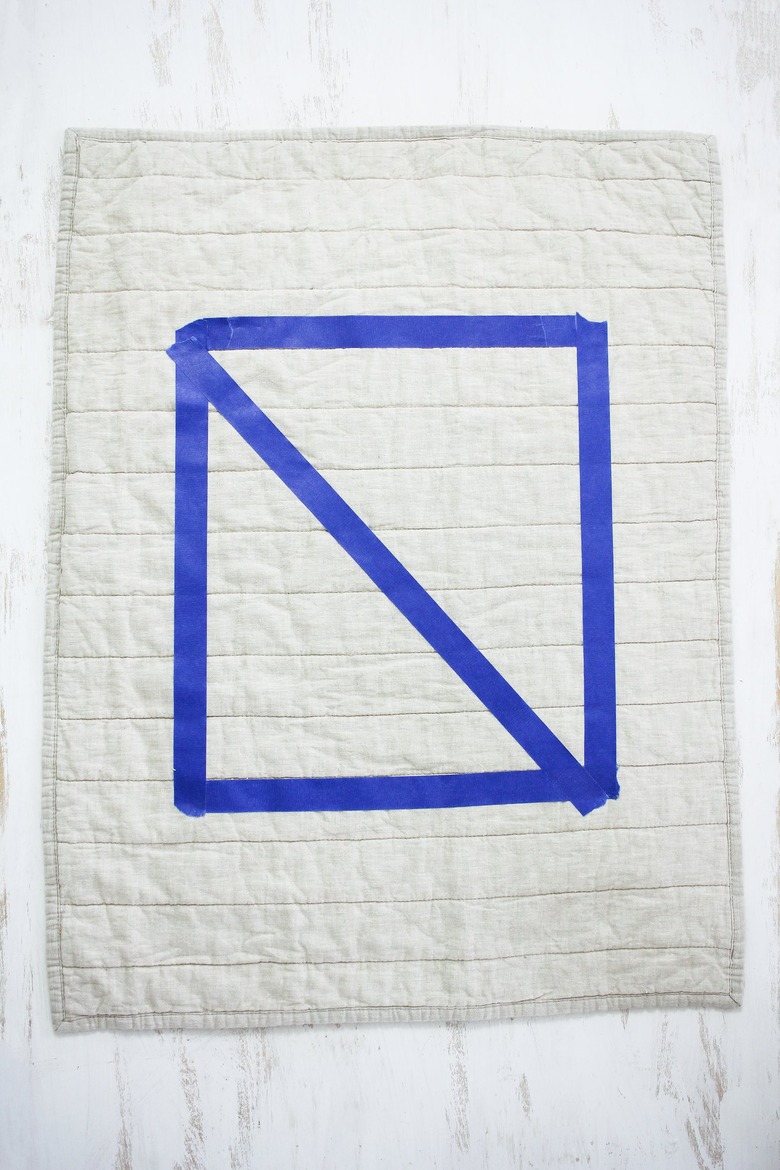
Use painter's tape to tape off a large square in the center of the pillow sham. Then place a strip of painter's tape diagonally across the center of the square, thereby dividing the square into two triangles.
Note: These instructions will show you how to recreate the design featured on this quilt, but feel free to use the same technique to create your own original design. Minimal, geometric, or abstract shapes will keep the aesthetic feeling modern.
 Trisha Sprouse for Hunker
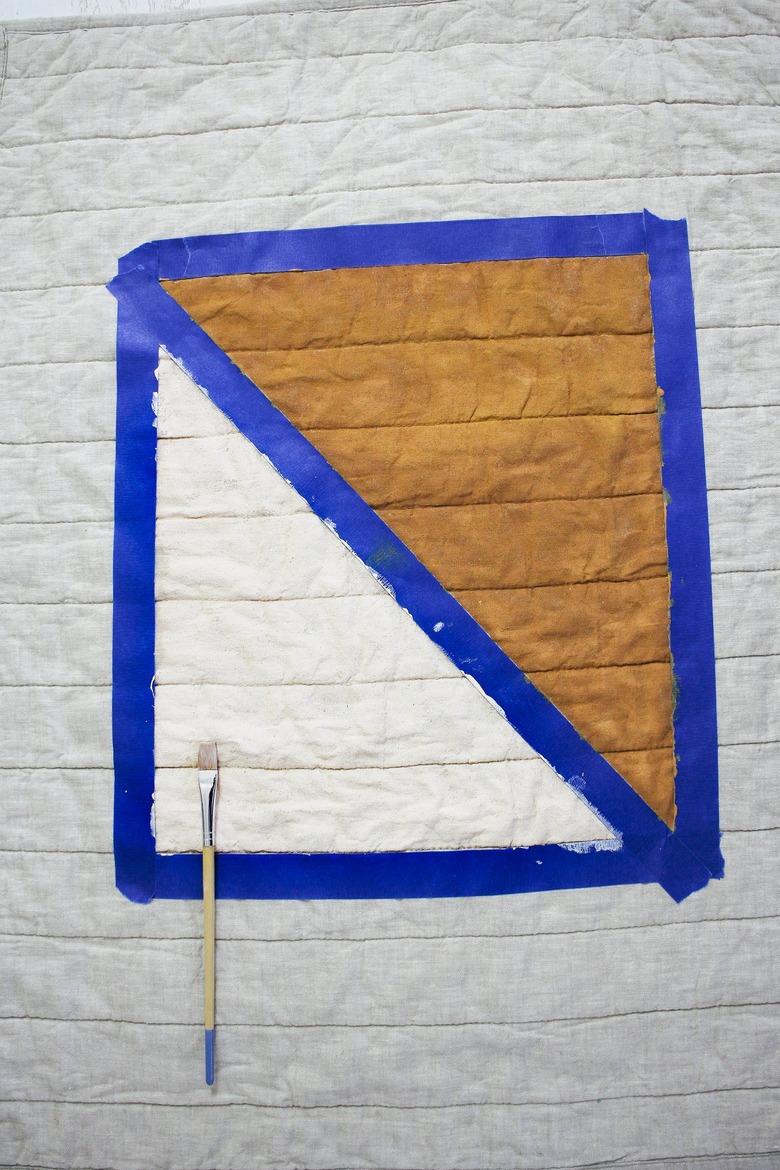
Use a flat brush to paint each side of the triangle with your desired shade of fabric ink/paint. We went with a nude color on one side and custom mixed yellow and wine shades at a 2:1 ratio to create a dark rust color on the other side. Be sure to hold the tape down as you paint near the edges to ensure the ink doesn't bleed outside of the lines.
 Trisha Sprouse for Hunker
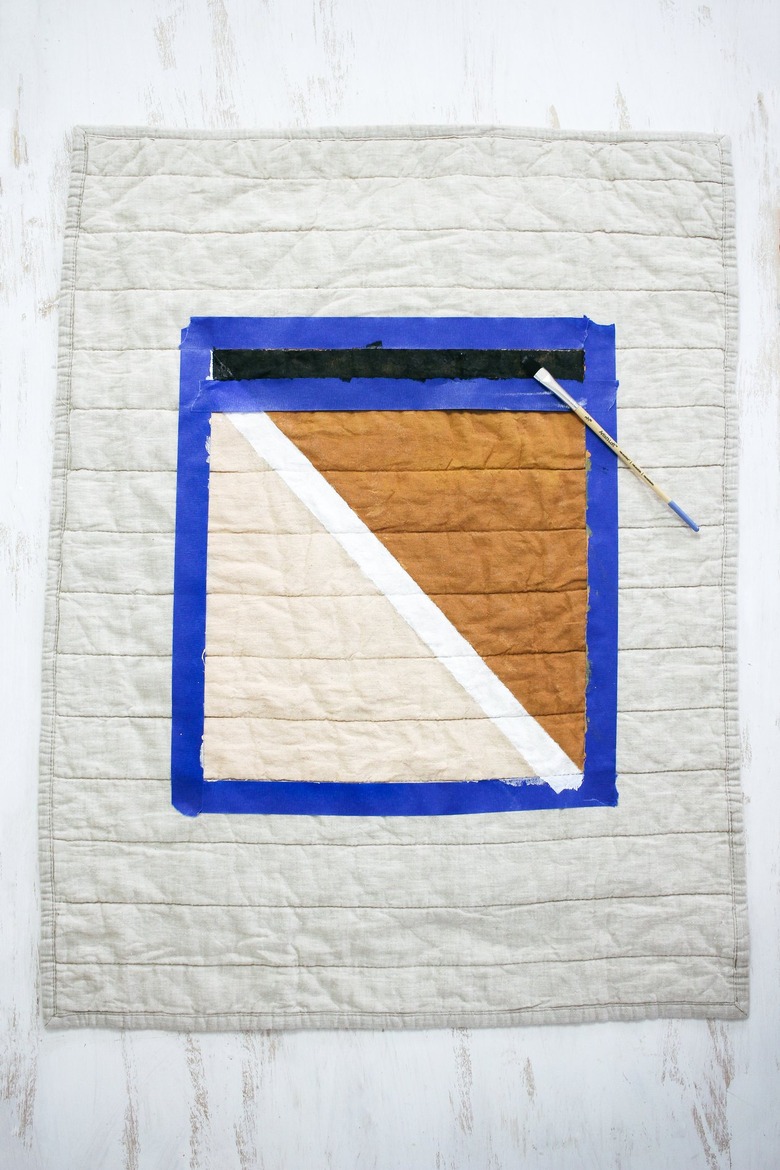
Let the ink dry about half an hour and then peel back the diagonal piece of tape in the center of the square. Place a strip of tape on each side of the unpainted diagonal line and paint the center line with your desired shade (we went with white). Allow the ink to dry about half an hour and then peel back the strips of tape on each side of the line.
 Trisha Sprouse for Hunker
Place a strip of painter's tape at the top of the square to create a 1-inch stripe and paint it in your desired shade (we opted for black). Let the paint dry about 30 minutes, and then remove all of the remaining tape strips. Touch up any areas if needed.
TIP: To make your design washable, you can heat set the paint by placing a white towel or cloth over it and ironing on top for a few minutes.
 Trisha Sprouse for Hunker
Part Two: Make the Quilt Hanger
Step 1
Attach a sawtooth picture hanger on the back of one of the 1x2 boards. This is what will secure the quilt hanger to the wall.
TIP: We had the 1x2 boards cut for free at the hardware store. For reference, we chose to have our boards cut two inches longer than the top edge of our quilt.
 Trisha Sprouse for Hunker
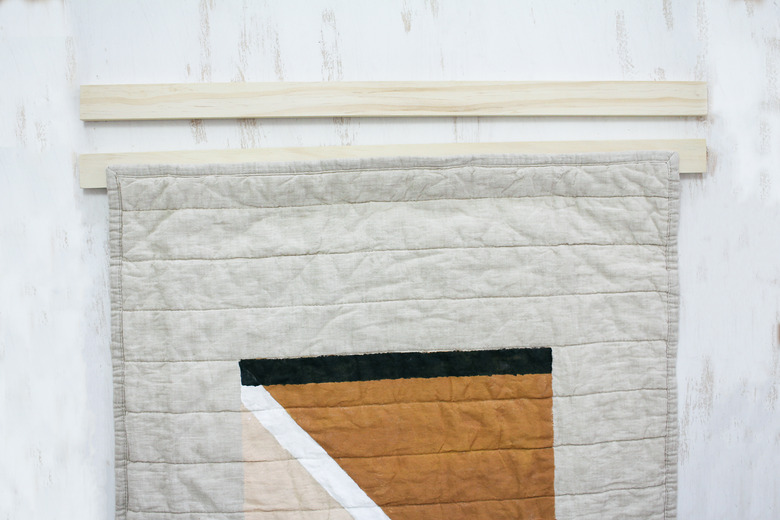
Center the pillow sham on the front side of the 1x2 that has the picture hanger attached.
 Trisha Sprouse
Place the second 1x2 on top of the first one, sandwiching the quilt in between the two boards. Mark three points along the top where you will drill screws to attach the two boards together, making sure the points are high enough above the quilt so you won't accidentally drill through the quilt.
 Trisha Sprouse for Hunker
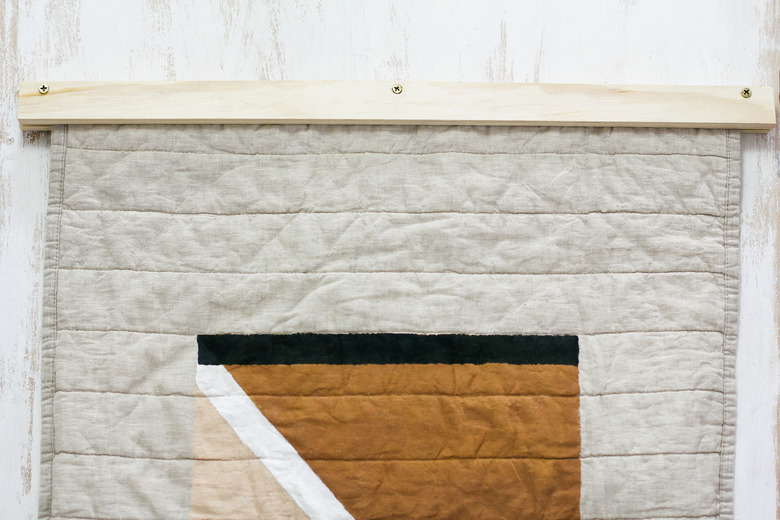
Drill pilot holes in each of the three points you marked, and then drill a brass screw into each hole, making sure the screws go far enough through both boards, but not all the way through to the very back. Your quilt is all set for hanging now.
 Trisha Sprouse
Such an easy, affordable way to create modern artwork to fill your blank walls — and you can take all the credit for making it without ever having to sew one stitch.
 Trisha Sprouse for Hunker
 Trisha Sprouse for Hunker