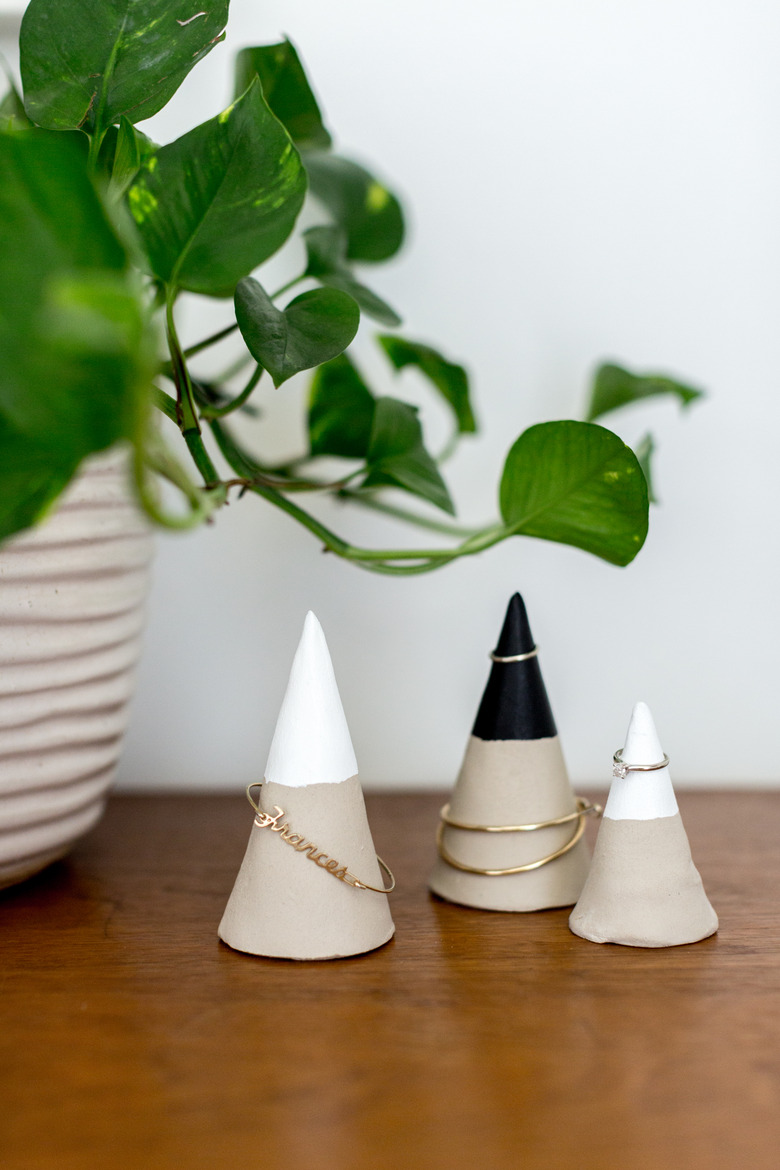
DIY Faux Concrete Jewelry Cones
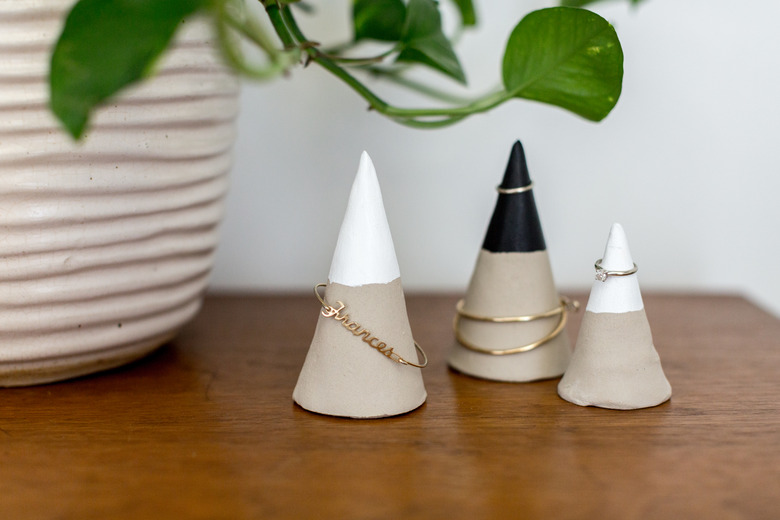
While we absolutely love a good DIY project involving concrete (see exhibits A, B, and C), we have to admit that sometimes it can get a little messy. So if using concrete is a no-go, we say go faux. (Trust us, no one will ever know.) To start, try making these minimalist jewelry cones — they're made with our new favorite DIY craft supply: air-dry clay. You'll still get the natural look and feel of concrete, while skipping the heavy clean up. (And if you find yourself with leftover clay, you gotta make these wall bells next!)
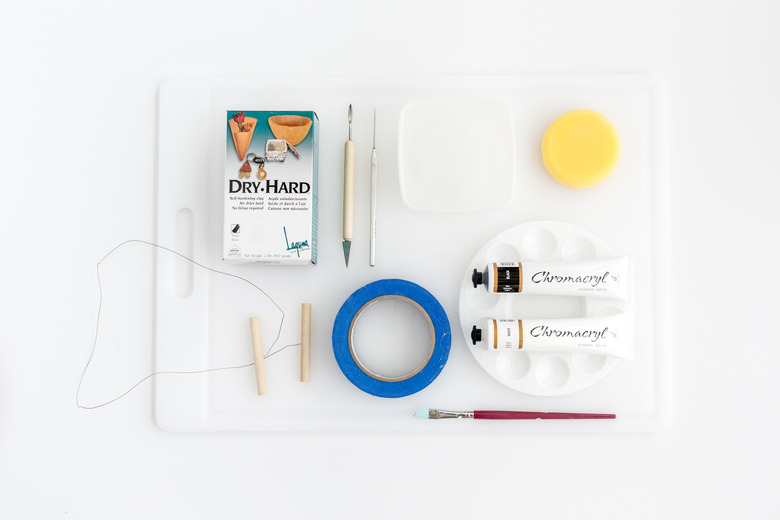
Things Needed
-
Plastic cutting board
-
Clay wire cutters
-
Rolling pin
-
Printer paper
-
Scissors
-
Needle tool
-
Dish filled with water
-
Sponge
-
Carving tool
-
Plastic wrap
-
Plastic palette
-
Paintbrush
-
Acrylic paint in your colors of choice
-
Painter's tape
 Carrie Waller
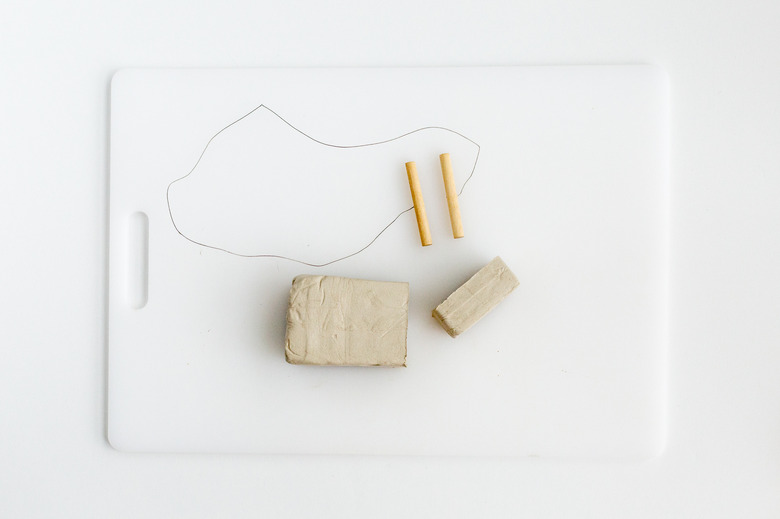
Step 1
Use clay wire cutters to slice a block of air dry clay into small chunks.
 Carrie Waller
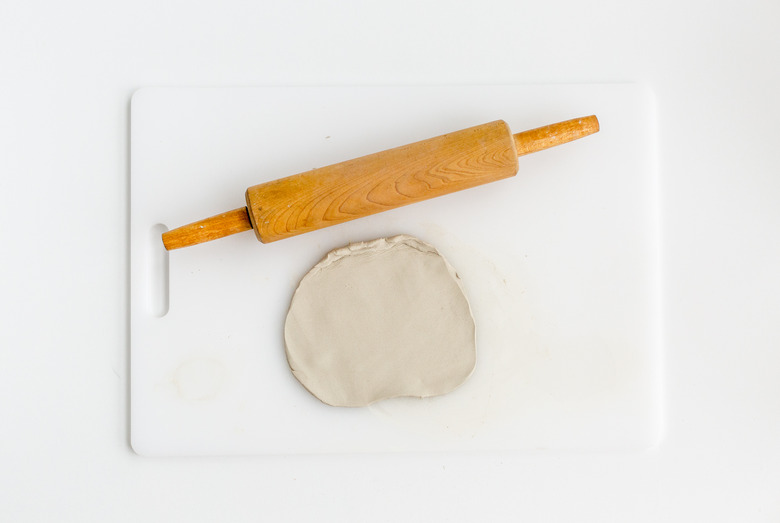
Step 2
Using a rolling pin, roll out the small piece of cut clay on a plastic cutting board. You'll want the clay to be about 1/4-inch thick.
 Carrie Waller
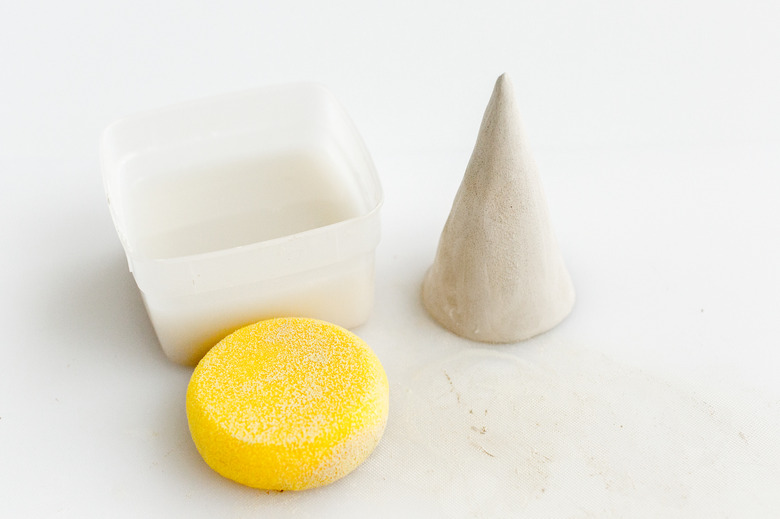
Step 3
Print and cut out the cone template. Lay it on the rolled-out clay, and trace around the template into the clay using a needle tool. Cut all the way through and discard the trimmings.
 Carrie Waller
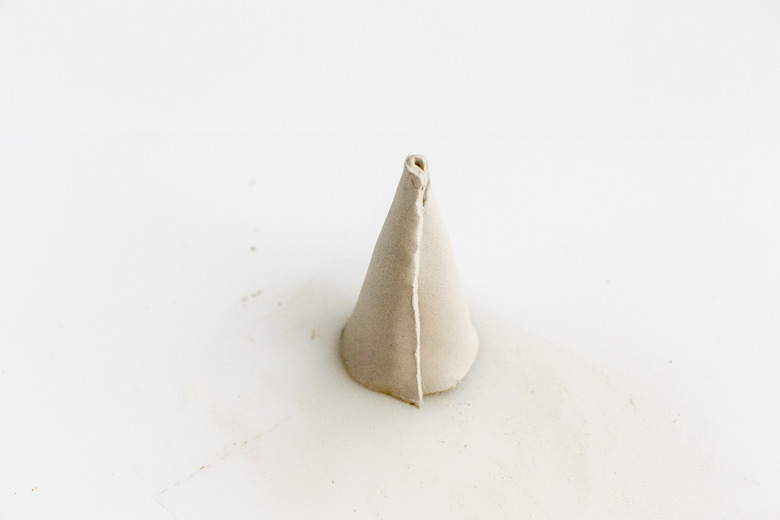
Strep 4
Carefully peel the clay shape off the board, and wrap it around itself to form the cone.
 Carrie Waller
Step 5
Smooth out the rough seam where the ends meet with water and a sponge. A clay carving tool can also be used to help even out the seam so it's no longer visible.
 Carrie Waller
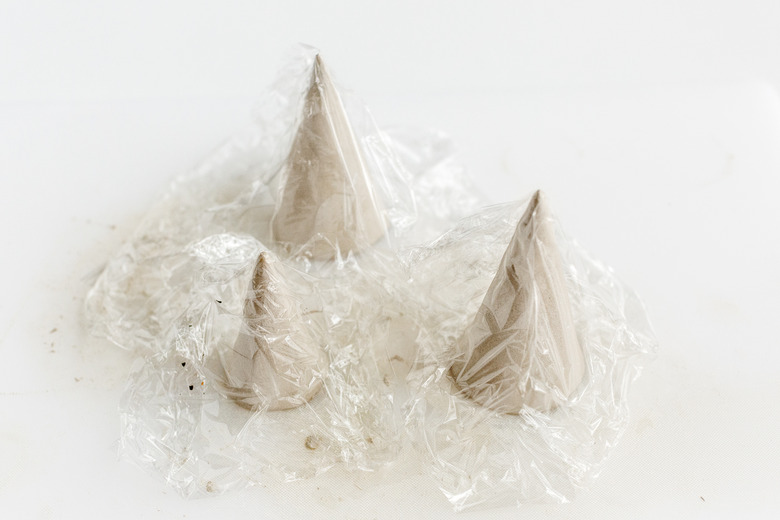
Step 6
Cover the clay cones with plastic wrap, and place them in a cool, dry place to fully cure overnight. The next day, remove and discard the plastic wrap. Let the clay cones dry for another 24 hours uncovered before handling again.
Note: In particularly humid areas you might need to give the clay extra time to fully dry. You'll want the clay cones to be hard to the touch before moving on to the next step.
 Carrie Waller
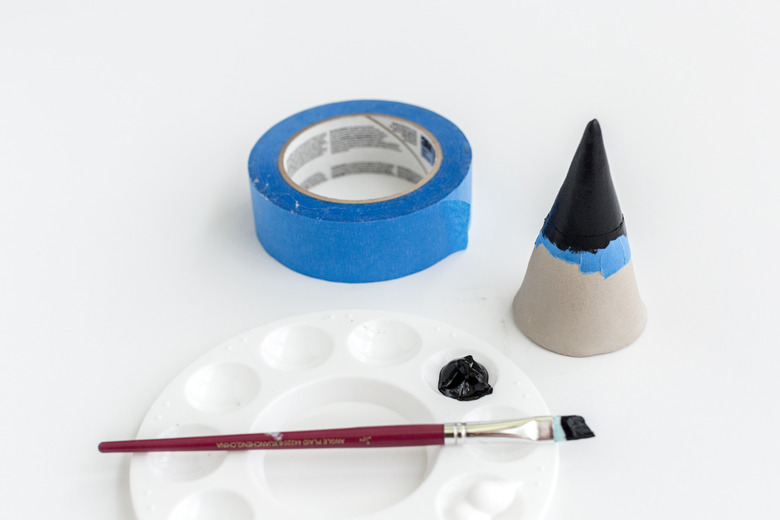
Step 7
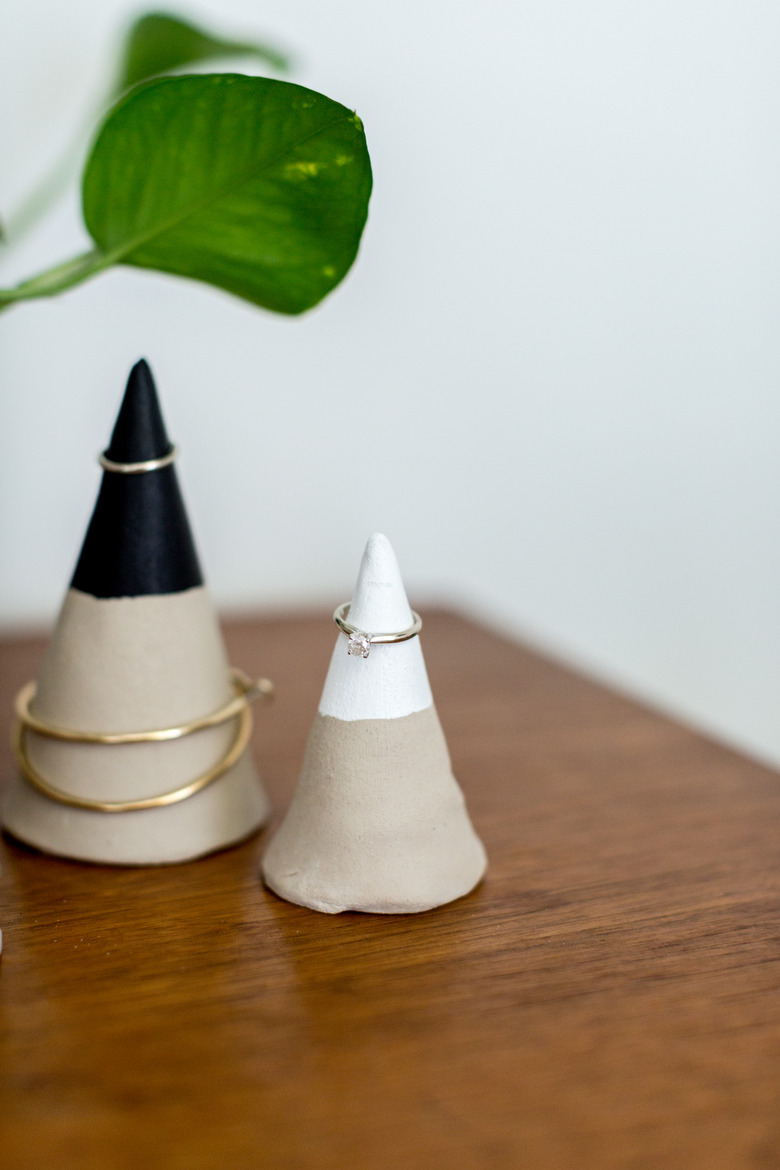
If you wish to give your jewelry cones a paint-dipped look, use painter's tape to mask off the top pointed section. Then, use a paintbrush to cover the masked area with acrylic paint in your colors of choice. We used black and white for a cool monochromatic look. Paint two to three coats of paint, then immediately remove and discard the painter's tape.
 Carrie Waller
Step 8
Allow the painted cones to dry for two to three hours, and then load them up with anything from traditional rings and dainty bracelets, to hoop earrings.
 Carrie Waller
 Carrie Waller