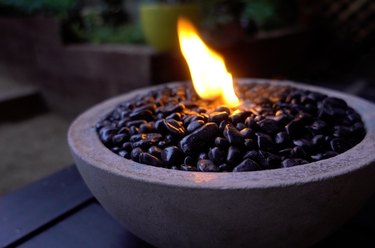
Concrete fire pits (actually, concrete anything) seem to be all the rage these days. Sure, they're super chic but not everyone has the space and/or the perfect spot in their garden to place one permanently. If you fall into this group, here's an easy DIY project for you. This tabletop concrete fire bowl is totally portable and it runs on easy-to-find, no-mess gel fuel. Plus, concrete is a super affordable material, so you can make one for every spot in your garden! This would also make a terrific housewarming gift for anyone who's into that modern industrial look.
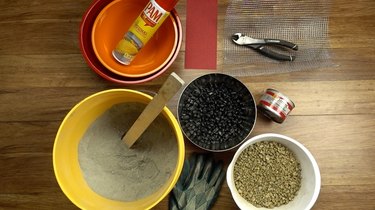
Things You'll Need
Video of the Day
- Two disposable bowls to use as molds (one larger than the other)
- Concrete mix (we used quick-setting)
- Non-stick cooking spray
- Sandpaper (optional if you want a smooth surface)
- Gravel
- Something heavy to use as a weight (e.g. rocks, hand weights, etc)
- Decorative fire-safe rocks or glass pebbles
- Canned gel fuel (that will fit completely inside your smaller bowl)
- Cutting pliers
- Hardware cloth, 1/4 inch - 1/2 inch grid
- Protective gloves
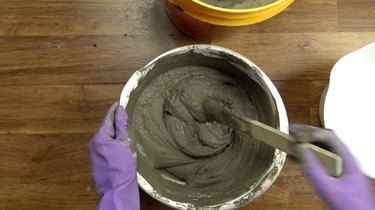
Step 1: Mix Concrete
Mix the concrete with water according to the manufacturer instructions.
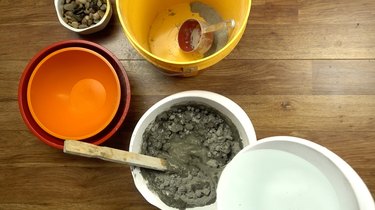
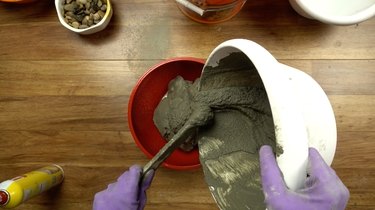
Mix enough concrete to fill your larger bowl around 80 to 90 percent, depending on how deep you'd like your concrete bowl to be. Remember that the cement level will rise once the small bowl has been inserted to form the cavity.
Step 2: Pour Into Bowl Mold
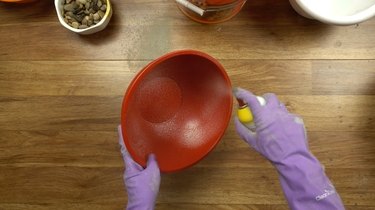
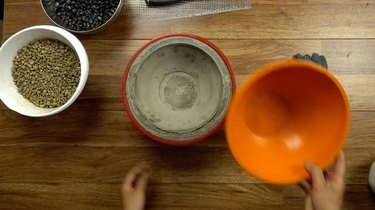
In this step, you'll use both bowls to create a mold. The larger bowl will form the outer portion of your fire bowl, and the smaller bowl will form the inner cavity.
Before pouring concrete into the larger bowl, spray it generously with non-stick cooking spray. This will act as a release agent so that the mold can be easily removed once the concrete is set.
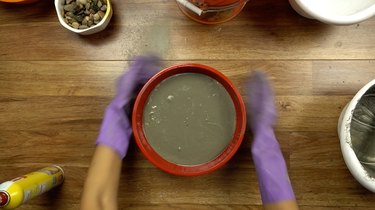
Step 3: Agitate Bowl to Release Trapped Bubbles
To force any bubbles that may be trapped within the wet concrete to rise and pop, hold the bowl at the edges and jiggle it vigorously. This will also level out the surface.
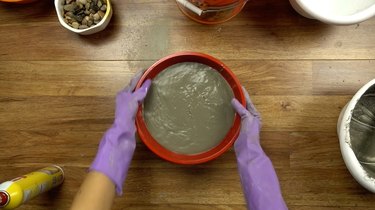
In addition to shaking the bowl, slap all around the sides of the bowl as well.
Step 4: Insert Second Bowl
Once you can no longer see bubbles rising to the surface, take your smaller bowl and spray the underside generously with cooking spray.
Push the second bowl straight down into the concrete mix to create a cavity and force the sides to rise.
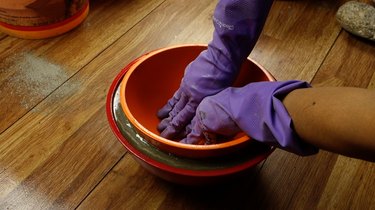
The concrete will have the tendency to push your second bowl back up to the surface, so place something heavy inside the smaller bowl to weigh it down. I've used a bowl of small rocks, as this allowed me to easily adjust the amount of pressure needed by simply adding or removing rocks.
Step 5: Let it Set
Now it's time to let your concrete set completely. If you use quick-setting cement it will take between 24 - 48 hours. You'll know it's set once the entire bowl has lightened in color and there are no darker patches that are still pliable.
Step 6: Remove from Mold
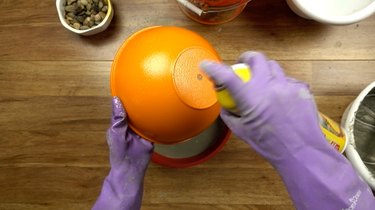
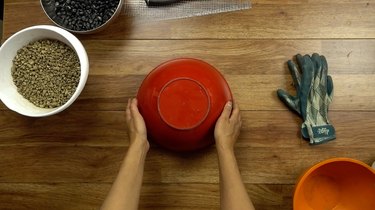
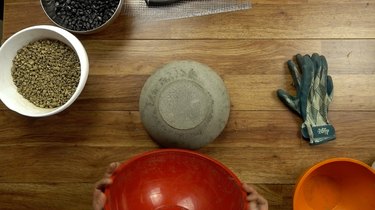
Once it's set, remove the inner bowl. If you've used enough cooking spray, it should come right out.
Now invert it and lift off the outer bowl. Again, if you've applied enough release agent, the outer bowl should be easily removed.
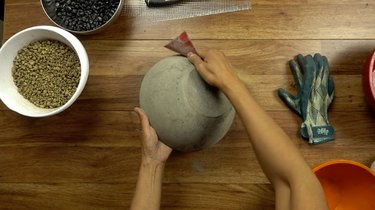
Step 7: Sand to Smooth the Surface (Optional)
You'll probably have some rough edges and a few crevices from bubbles that hadn't been released. You can embrace all these imperfections (it's all part of the industrial chic look!), or you can give your bowl a smoother appearance by sanding the surface.

Step 8: Make a Fuel Can Holder
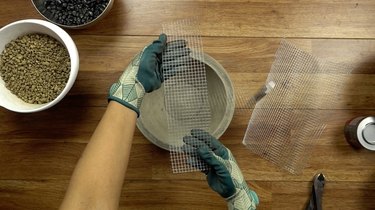
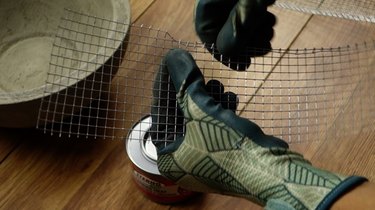
In this step, you'll create a wire mesh cylinder in which you'll insert your gel fuel can. Creating a fuel holder will also make it easier for you to replace your gel fuel when a can burns out. While wearing your protective gloves (the cut wire will be very sharp!), use your cutting pliers to cut a strip of hardware cloth that will fit around the gel fuel can, with a bit of overlap.
Bend down the sharp edges along the length of strip before forming the cylinder to prevent getting scratched when handling it.
Form it into a cylinder with the edges slightly overlapping (but leave enough room to easily insert your fuel can). To connect the ends together, slip one end underneath the bent edges of the other (see below), and pinch tightly to lock the ends together.
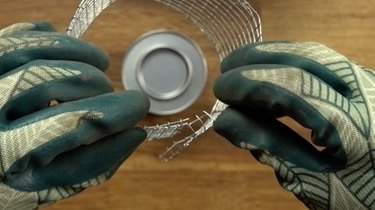
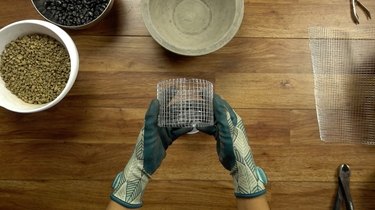
Check for fit by sliding the fuel can inside. It should easily slip in and out.
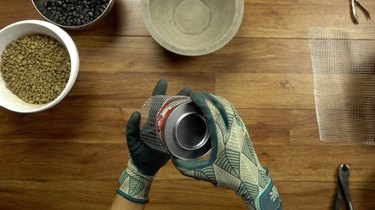
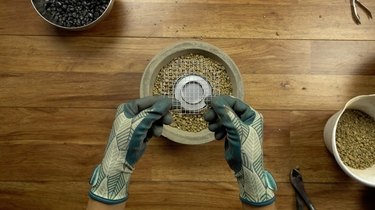
Step 9: Add Gravel and Gel Fuel Can
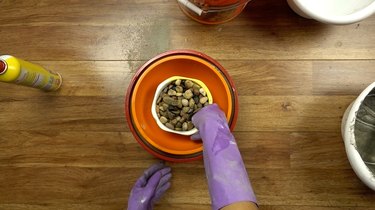
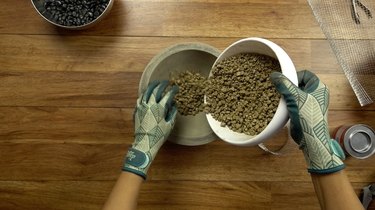
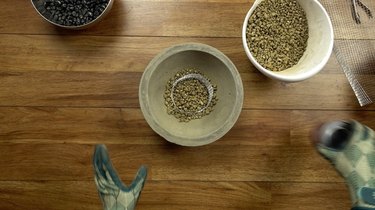
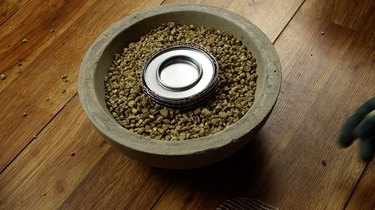
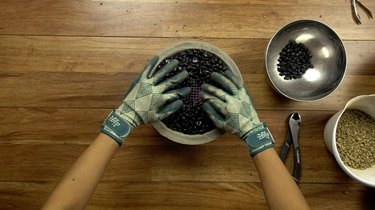
Add a thin layer of gravel to the bottom of the bowl and insert the wire mesh cylinder.
Place the gel fuel can inside the cylinder. The top of the can should be more-or-less flush with the top edge of the cylinder. If not, remove it and add/take away gravel underneath the gel fuel can to adjust the height.
TIP: Fire glass/rocks will also work in place of gravel to fill the entirety of the bowl, but gravel is a less costly alternative and it will all be hidden by the top decorative layer anyway. Save the pretty stuff to make more fire bowls!
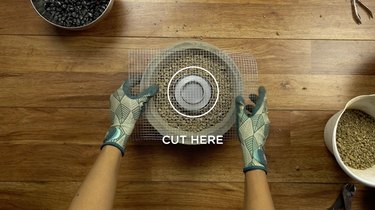
Step 1: Cut Mesh Cover for Fuel Can
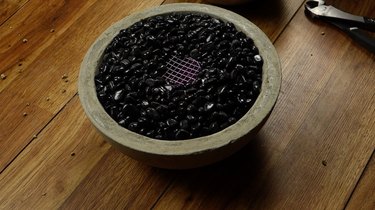
To prevent fire glass/rocks from falling into the gel fuel, cut out a circle of wire mesh slightly larger than the fuel can to act as a cover.
Remove the lid from the gel can and place the wire mesh circle on top of the opened can.
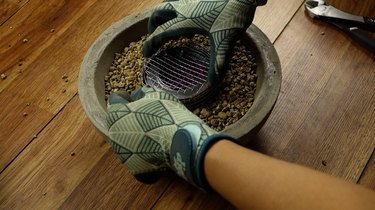
Step 10: Add Fire-safe Glass or Rocks
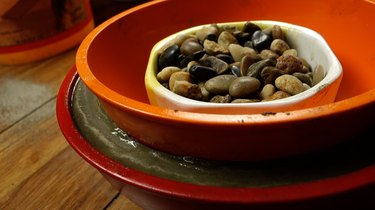
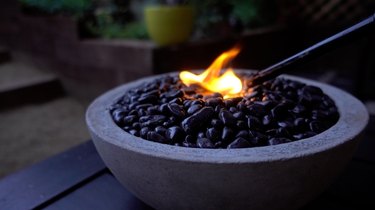
Now it's time to top off your fire bowl with the decorative fire glass/rocks. Holding the mesh cover in place, add a layer of fire glass/rocks.
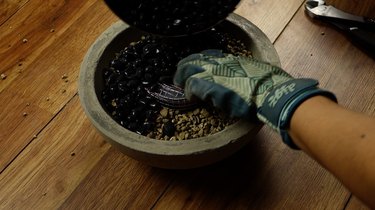
Clear any glass/rocks away from the gel fuel mesh -- and you're done.
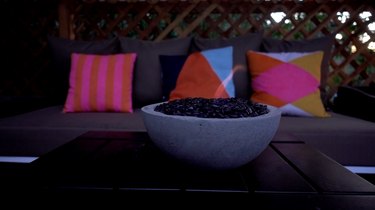
Your DIY concrete fire bowl is ready to be lit and enjoyed on your outdoor coffee table, bistro/dining table, side table -- or anywhere you please!

WARNING: Make sure not to place it under or too close to anything highly flammable and don't leave it burning unattended. Also, read the label on your gel fuel can and follow the given safety instructions.