
How to Make Sulfur Candles

You don't need experience to make simple sulfur candles, but attention to safety is a must. Sulfur candles are the old-school method of fumigating a greenhouse.
The chemicals expended from the burning candles make their way into the crevices and cracks chemical foggers do, but at little environmental cost -- sulfur candles are organic if you make them with organic beeswax. Although beeswax sulfur candles are better for the environment than pesticide foggers, they're just as harmful to your lungs and mucous membranes, so gloves, goggles and respirators are mandatory.
Things You Will Need
- Grill or portable stove
- Double boiler
- 1-pint canning jar for each candle, or a pre-wicked conical candle mold
- Filtered beeswax, 2 pounds per candle
- Wooden stirrer
- Square-braided number 10 wick
- Lab goggles
- Gloves
- Respirator mask
- Elemental sulfur, 1/4 pound per candle
Tip
One 1-pint sulfur candle fumigates a 1,500-square-foot greenhouse. Light the wick where it meets the top of the candle.
Warning
Close the windows and doors of the greenhouse before lighting the candle.
Wear a respirator and lab safety goggles when working with flowers of sulfur and when lighting the candle.
Place the candle on a metal or glass candle holder and away from anything that could ignite.
Open the windows and doors after the candle extinguishes, and let the greenhouse air out for 24 hours.
Don't allow people or pets in the greenhouse for 36 hours after the candle extinguishes.
-
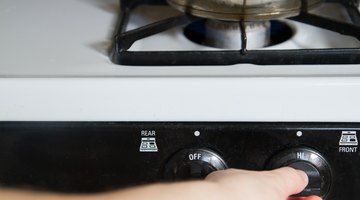
Light an outdoor grill or portable outdoor stove to operate with medium heat.
-
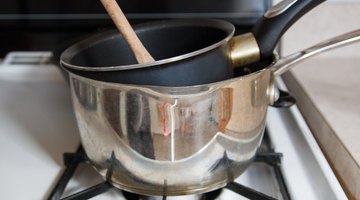
Set up your double boiler -- one stainless-steel saucepan nestled inside the other -- and place it on the stove. Use enough water to reach half to three-quarters of the way up the sides of the upper saucepan.
-
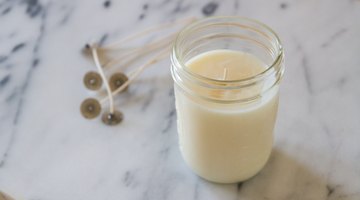
Cut the filtered beeswax into 1-inch chunks and add it to the double boiler. Place a 1-pint canning jar on a stable heatproof surface. Alternatively, you can use a pre-wicked conical candle mold.
-
Cut a square-braided number 10 wick from the roll; cut the wick so it measures about 4 or 5 inches longer than the depth of the jar or mold.
-
Tie one end of the wick around a pencil. Lower the wick into the center of the jar and place the pencil across the top of the jar mouth. You'll cut the wick and pencil away after the beeswax hardens.
-
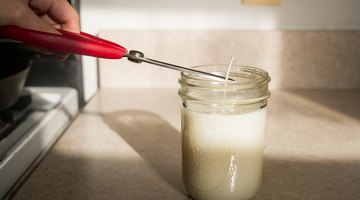
Stir the beeswax with a wooden stirrer. A paint stirrer works well. Sprinkle 1/4 pound of elemental sulfur into the beeswax and stir it vigorously until incorporated, about one minute. Wear lab goggles, gloves and a respirator mask when you work with flowers of sulfur.
-
Pour the wax into the jar or mold using a heatproof measuring cup, allowing 1/2 inch of headspace. Let the wax cool completely, about six to eight hours. If you used a mold, place it in the freezer for 24 hours after it cools, and then remove the mold.
-
Cut the top of the wick from the candle, leaving at least 1 inch extending from the surface.


The Drip Cap
- You don't need experience to make simple sulfur candles, but attention to safety is a must.
- Although beeswax sulfur candles are better for the environment than pesticide foggers, they're just as harmful to your lungs and mucous membranes, so gloves, goggles and respirators are mandatory.
- Set up your double boiler -- one stainless-steel saucepan nestled inside the other -- and place it on the stove.
- Cut a square-braided number 10 wick from the roll; cut the wick so it measures about 4 or 5 inches longer than the depth of the jar or mold.
- Cut the top of the wick from the candle, leaving at least 1 inch extending from the surface.
References
Writer Bio
A.J. Andrews' work has appeared in Food and Wine, Fricote and "BBC Good Food." He lives in Europe where he bakes with wild yeast, milks goats for cheese and prepares for the Court of Master Sommeliers level II exam. Andrews received formal training at Le Cordon Bleu.
Photo Credits
- Kelly Lawrence/Demand Media
- Kelly Lawrence/Demand Media
- Kelly Lawrence/Demand Media
- Kelly Lawrence/Demand Media
- Kelly Lawrence/Demand Media
- Kelly Lawrence/Demand Media
- Kelly Lawrence/Demand Media
- Kelly Lawrence/Demand Media
- Kelly Lawrence/Demand Media
- Kelly Lawrence/Demand Media
More Articles