
How to Paint Old Pressed Tin Ceilings

Pressed tin ceiling panels are often found in older homes and office buildings. These decorative panels are a reminder of the detail design trends that were used in the past. These tin panels can be removed and repainted to match any new color scheme you want to use in the room.
Care should be exercised when working with pressed tin panels. Use gloves when you are removing the panels to prevent injury to your hands from sharp or jagged edges.
-
Pull the nails out of each pressed tin ceiling panel to remove it from the ceiling. You can paint them while they are installed on the ceiling, but if you plan to decoratively paint the detail in the tin ceiling panels, then it is easier to remove them.
-
Clean the pressed tin ceiling panels with soap and hot water. It is not necessary to strip the present coat of paint off of the panel unless it is peeling in any places. Should you want to strip the panels first use an enamel paint remover. Apply the remover to a rag, and wipe the tin ceiling panel. Stripping the panels will take some time, and you will still need to clean the panels with soap and hot water when you are done. Allow the panels to dry overnight.
-
Use a two- to three-inch paint brush to apply the base coat to your pressed tin ceiling panels. This coat will be the first of two that you will apply. Use an enamel paint, not a latex paint because enamel adheres to metal where latex will not. Allow the base coat to dry, then apply a second coat.
-
Use smaller artists brushes if you choose to detail the raised portion of the pressed tin panels with other colors of enamel paint. These brushes are sized by number, and a “6” or “4” artist brush is a good size for this detail work. Allow the paint to dry.
-
Install the pressed tin ceiling tiles back to the ceiling, secure in place using a hammer and appropriate-sized nails.
Things You Will Need
- Two- to three-inch paint brush
- Artist-sized paint brush #6 or #4
- Enamel paint stripper
- Work cloths
Writer Bio
Since 2002 Mark Spowart has been working as a freelance writer and photographer in London, Canada. He has publication credits for writing and/or photography in Canada, The United States, Europe and Norway, with such titles as "The Globe & Mail," "The National Post," Canada News Wire, Sun Media and "Business Edge" magazine.
Photo Credits
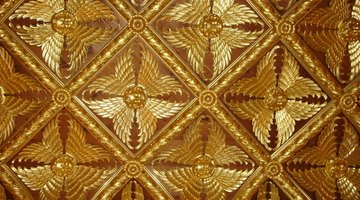
- Golden ceiling image by Leopold from Fotolia.com
- Golden ceiling image by Leopold from Fotolia.com
More Articles