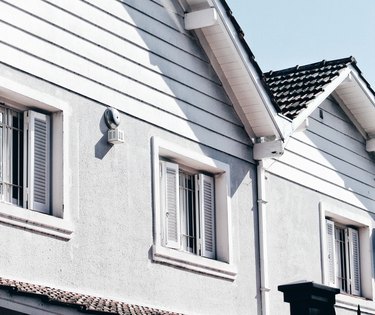
Its resemblance to mud and adobe gives stucco a timeless appeal, but stucco is so much more. A Portland cement product, stucco is waterproof, long-lasting and easy to maintain, and it looks as good by itself as it does in combination with other siding materials, such as brick and clapboard. For more than one reason, however, stucco is a challenging siding material to apply. A successful job depends on meticulous preparation of the substrate, as well on application skills that take a little practice.
Overview of the Process
Video of the Day
You can apply stucco over wood sheathing, masonry or brick. When applying it over sheathing, you first must cover the wood with a double layer of grade-D waterproof building paper and then fasten metal lath to the structure to support the stucco. You then apply three separate coats, respectively called the scratch coat, the brown coat and the color coat. When stuccoing over brick or masonry in good condition, you can usually skip the scratch coat. As the top coat, the color coat often contains one of about 20 available color-enhancing dyes.
Video of the Day
Preparing the Substrate
When applying stucco over an existing brick or masonry wall, you need to repair cracks with fresh mortar and wash the wall with a power washer or scrub it down with a solution of trisodium phosphate and water. Wet the wall thoroughly, immediately prior to applying the first stucco coat.
Preparation of plywood, OSB or cement-board sheathing is a little more complicated. Start by purchasing enough galvanized stucco lath and galvanized fasteners to cover the surface you're stuccoing.
Step 1: Hang a Double Layer of Building Paper
Start hanging the building paper at the bottom of the wall and overlap each successive layer at least 4 inches over the one below it. When you form vertical seams, be sure the sheets overlap by at least 6 inches. Extend the paper at least 16 inches around corners, and fasten it with galvanized roofing nails or staples.
Step 2: Install Trim Accessories
Fasten trim accessories, such as casing beads, with galvanized nails. One such accessory -- the weep screed -- is required along the bottom of each wall to allow moisture to drain from behind the stucco.
Step 3: Install Galvanized Lath or Netting
Fasten the netting to the wall, using galvanized nails or staples long enough to penetrate the studs by at least 1 inch. Space the fasteners by 6 inches. Overlap the horizontal seams of the lath or netting by 1 inch and the vertical seams by 2 inches.
Spreading the Stucco
Whether you're applying stucco in a two- or a three-coat system, you'll need two different types of stucco. The base coat formulation is suitable for undercoats, while a lighter finish coat formulation is best for the top coat.
Mixing stucco is much like mixing cement. Pour the contents of a bag into a wheelbarrow or mixing trough, and add water as you stir. The final consistency is important -- the stucco should be just moist enough to remain on your trowel without sagging when you hold the trowel sideways.
Step 1: Spread the Scratch Coat
Apply the scratch coat directly to the lath or netting, using a square trowel held at a 45-degree angle. Start at the bottom of the wall and work your way up, using enough pressure to force the material into all the gaps in the netting and applying more when needed to fill voids. Screed the material flat to a uniform 3/8-inch thickness with a straight-border darby or a straightedge. Wait for it to stiffen, and then scratch the surface with a raking tool to form 1/8-inch deep horizontal grooves. Let the scratch coat cure for 24 to 48 hours, keeping the surface moist by lightly misting it to prevent shrinkage and cracking.
Step 2: Apply the Brown Coat
Trowel another layer of base coat directly onto the scratch coat to a depth of 3/8 inch and scrape it flat with a darby. Fill any voids with extra material to produce a smooth, flat surface. The total thickness of material on the wall should now be 3/4 inch. Let the brown coat stiffen for a short time, and then float the surface with a sponge masonry float to smooth it. Let the stucco cure for 24 to 48 hours, misting as needed to keep it moist.
If you're stuccoing over masonry or brick, the brown coat is the first and only base coat, and its total thickness when you're done should be 3/8 inch.
Step 3: Finish With the Color Coat
Mix finish-coat stucco with water to the same consistency as the base coat, adding stucco colorant as needed to give the material the desired hue. Apply the stucco to the wall with a trowel to a thickness of 1/8 inch. Use long strokes, knife swaths and other techniques to give the stucco the desire texture. Flatten the final texture with a trowel. If you want a smooth finish, flatten the surface with a sponge trowel as soon as the stucco has stiffened enough to hold an impression of your finger. Dampen the surface for several days to prevent cracking while the color coat cures.