
How to Use a Stair Gauge

Stair gauges make the work of laying out the cuts for a set of stair stringers simple and precise, and with a set of stair gauges properly attached to your framing square, you can be confident that the steps you are building will be safe and uniform.

These inexpensive hex-shaped devices are sold in pairs and are easily attached to your square using simple hand screws.
Things You Will Need
- Framing square
- Set of stair gauges
- Sharp pencil
- Measuring tape
- 2-by-12 lumber
Installing the Gauges on the Framing Square
-
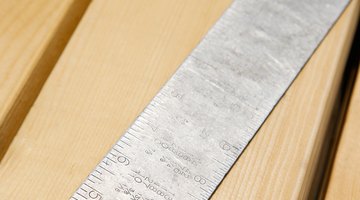
Locate the stair rise (the height of the desired stair cutout) on the measuring rule located on the outside edge of the short leg of the framing square. Locate the stair run (the depth front to back of the desired stair cutout) on the outside measuring rule of the long leg of the framing square.
-
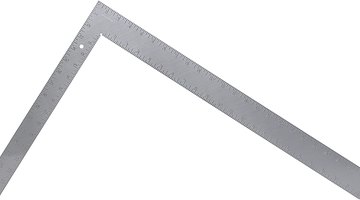
Position one of the gauges loosely on the short leg of the square near the measurement you located for the rise, and slide the slot of the gauge completely over the square until the back of the slot is tight against the edge of the square. Keep the square fully inserted in the slot and move the gauge into position by aligning the edge closest to the outside corner of the framing square directly on the measurement of the desired stair rise. Tighten the hand screw to hold the gauge in place. The edge of a properly installed gauge should be at a right angle to the edge of the square.
-
Repeat this process on the long leg of the square to install the gauge on the measurement for the stair run.
Using the Framing Square With the Gauges Installed
-
Place a 2-by-12 on a bench. With any crown (convex bow) toward you, starting from the left end, measure and place a mark equal to the stair rise on the face of the board at the closest edge, to give you a starting point for your layout.
-
Place the square on the board with the outside corner of the square pointed away from you, the long side toward your left and the gauges hanging over the edge of the 2-by-12 toward you. The square should lie flat on the board with the gauges pressed firmly against the edge of the 2-by-12.
-
Align the left side of the square where it crosses the edge of the board directly on the pencil mark you made in Step 1.
-
Trace along the outside edges (both the long and short leg) of the square with your pencil, creating a triangle between the pencil tracings and the near edge of the wood. This represents the material you will cut out.
-
Move the square to the right. Using the previous right tracing of the layout you created in Step 4 as your new left alignment, mark the next stair cutout. Repeat these steps until the necessary number of treads are marked on each stringer.


The Drip Cap
- Stair gauges make the work of laying out the cuts for a set of stair stringers simple and precise, and with a set of stair gauges properly attached to your framing square, you can be confident that the steps you are building will be safe and uniform.
- Locate the stair rise (the height of the desired stair cutout) on the measuring rule located on the outside edge of the short leg of the framing square.
- Place a 2-by-12 on a bench.
Writer Bio
Richard Dunnagan's interest in writing began in 1983 when he ventured into sales, where he learned to write compelling letters, marketing materials and presentations. His first article was published in 2001 and his first book appeared in 2005. Dunnagan holds a Bachelor of Music Education from University of North Carolina, Chapel Hill.
Photo Credits
- Jupiterimages/Photos.com/Getty Images
- Jupiterimages/Photos.com/Getty Images
- Jupiterimages/Photos.com/Getty Images
- Zedcor Wholly Owned/PhotoObjects.net/Getty Images
- Sam Royds/Photodisc/Getty Images
- Jupiterimages/Comstock/Getty Images
More Articles