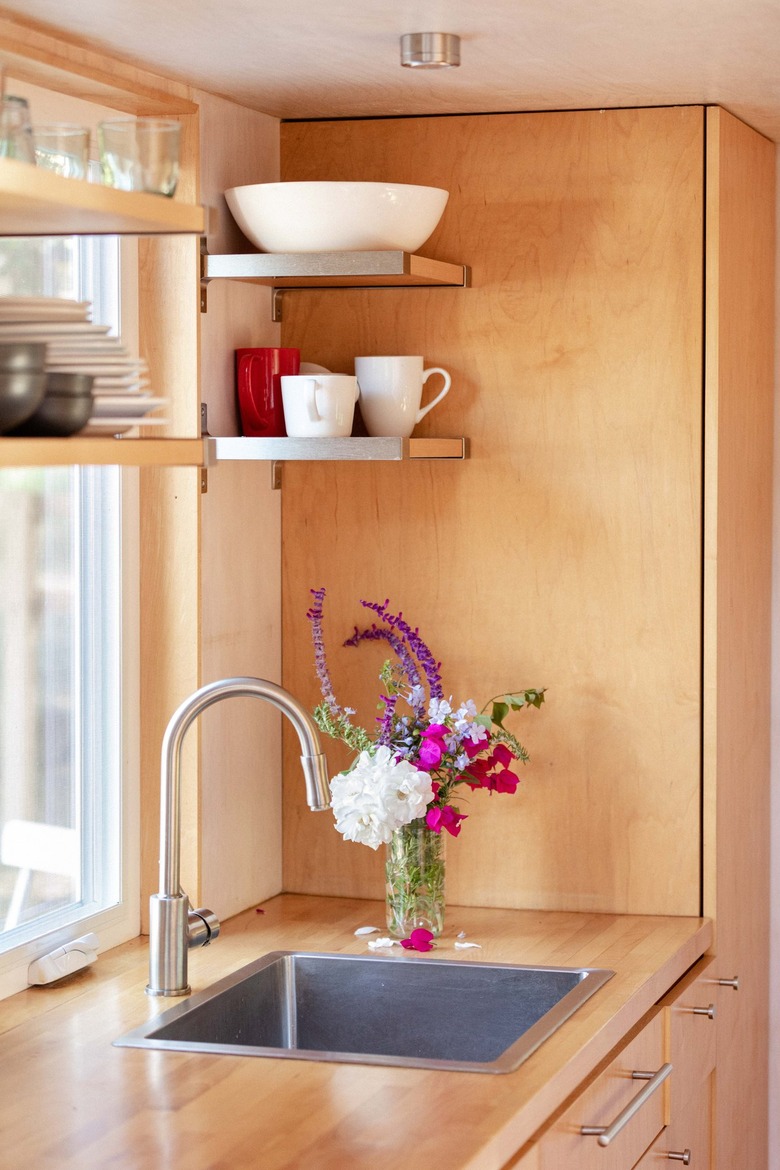
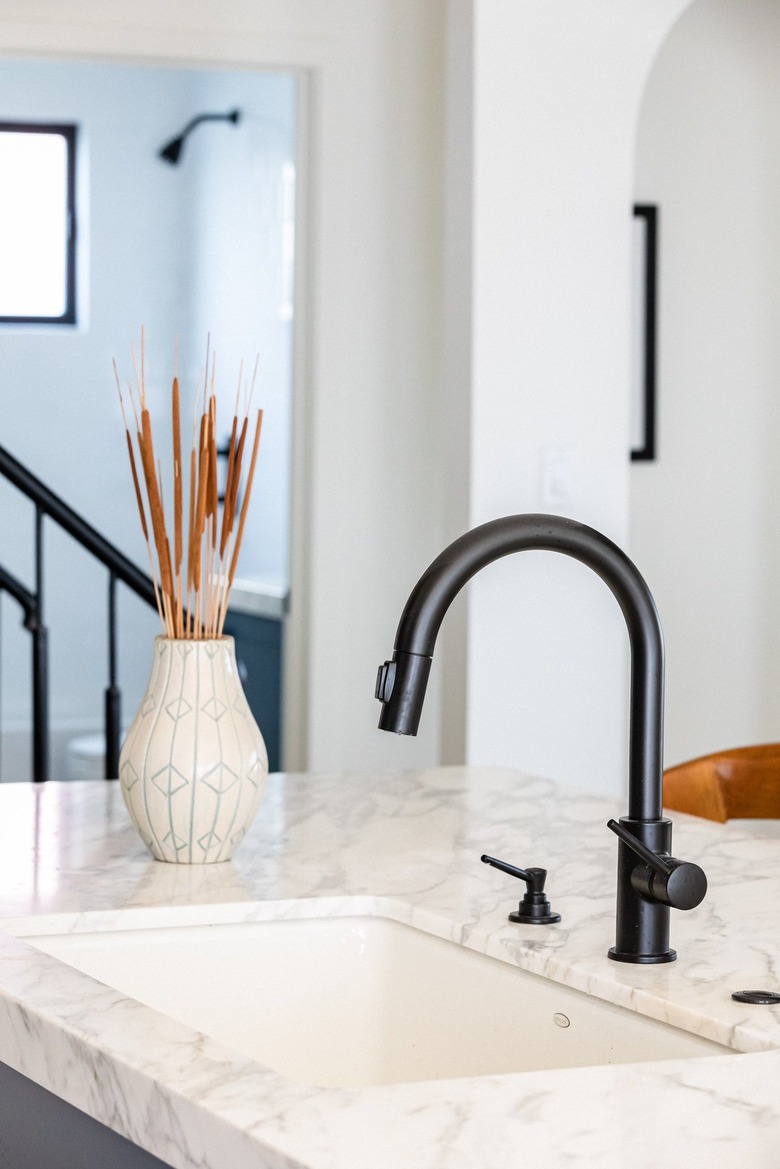
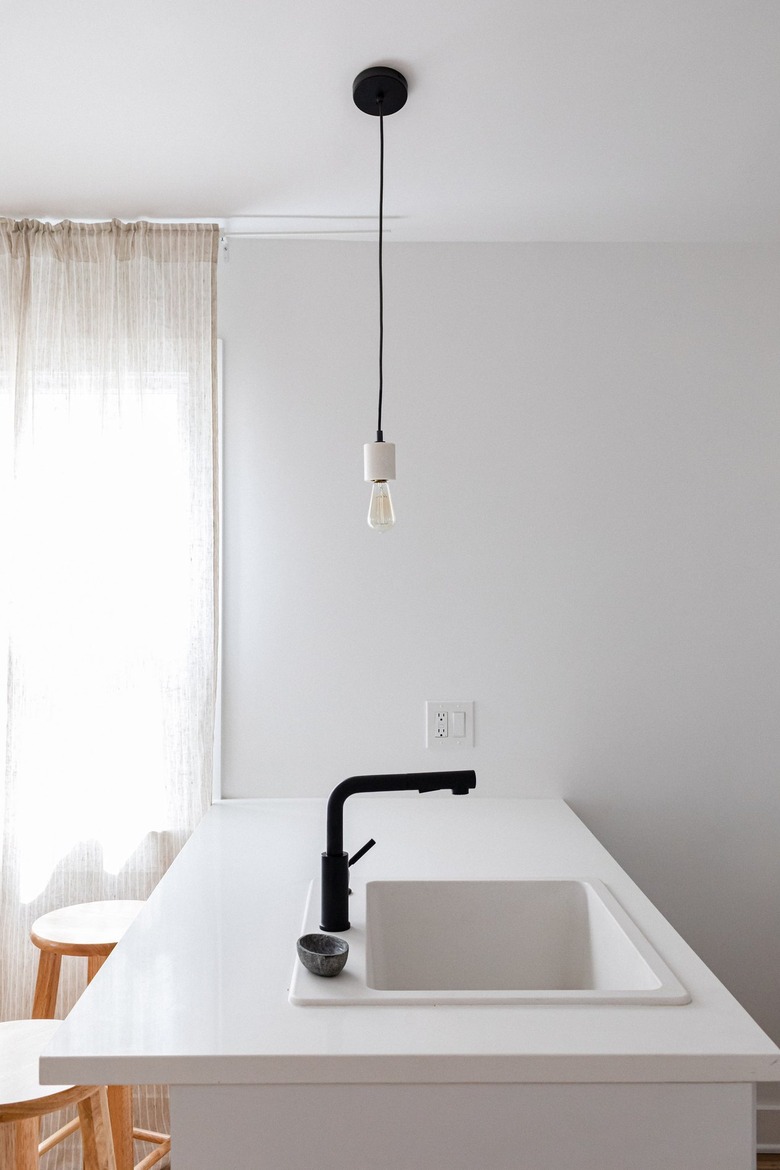
What Is A Self-Rimming Sink?
In the world of kitchen design, it seems there are endless choices to make. Aside from the obvious — countertop material, appliance selection, color palette, and layout, to name a few — there are even decisions surrounding the type of sink to purchase. As a utilitarian buy, sinks aren't given much consideration, despite their availability in numerous materials and styles, which include undermount, self-rimming, integrated, double bowl, single bowl, and apron front.
Self-rimming sinks (also known as top-mount or drop-in) are the most commonly used type of basin. As the name suggests, they're "dropped in" to a countertop through a pre-cut hole, leaving the sink's lip or edge exposed and resting on top of the counter, holding it in place.
Self-Rimming Sinks in General
While some people dislike self-rimming sinks for their visible lip and builder-grade reputation, they work with a range of countertop styles and materials, including thin laminate and fragile tile, because the sink's weight is supported by the counter, and because the visible lip hides any imperfections created by cutting the hole for installation. Drop-in sinks are commonly constructed out of cast iron, stainless steel, solid-surface resin, fireclay, or porcelain, and are also designed to accommodate deck-mounted or sink-mounted faucets. Part of their appeal is due to their ease of installation and relatively low cost. They range in price from $50 to $800, depending on the brand, material, and size. This cost does not include installation by a professional which averages around $400. However, if you feel confident in your DIY skills, you can save yourself some cash and tackle this project yourself.
As PlumbersStock describes, the vast majority of self-rimming sinks are secured to the countertop only with a bead of caulk, but stainless steel self-rimming sinks are also secured with mounting clips underneath the sink. Although self-rimming sinks enable the entirety of the basin including the lip to get clean, a common criticism is that countertop crumbs, dirt, and debris can't be easily swept directly into the sink — they get trapped along the sink's exposed edge.
Cutting the Countertop
You may be able to find a self-rimming sink that is the same size as your existing kitchen basin, in which case there is no need to expand the opening in the countertop. However, if that's not the case, the cutting template supplied with the new sink can be used to trace a line around the edges of the basin to cut an adequate opening into the countertop. Typically, a saber saw fitted with a blade that is specifically designed to cut through countertops will get the job done.
If the countertop is new and doesn't already have a pre-cut opening, start by drilling a hole anywhere inside of the template line and then begin cutting. It is important to support the underside of the countertop to prevent the cut portion of the work surface from breaking off and damaging the rest of the counter.
Installing the Sink
Whether you go the DIY route or you hire a pro, you'll find that the installation is relatively simple. Once a hole has been cut into the countertop, the installation process will vary slightly depending on whether the sink is made from stainless steel. For all sink materials, apply a bead of silicone caulk or plumber's putty around the countertop edge, then lower the sink into the hole and press the basin downward firmly. Clean away any caulk that squeezes out from under the sink's lip with a plastic putty knife.
Installing a stainless steel sink requires one more step. You must attach mounting clips (they should be included with the basin) to the underside of the sink. Position the clips within the grooves on the bottom, then tighten each clip's securing bolt to pull the sink tightly against the countertop.
Removing a Self-Rimming Sink
If you're removing an existing self-rimming sink in favor of a new sink, you must first disconnect the drain lines from the bottom of the sink. Have a bucket ready when disconnecting the lines, as they will probably contain a small amount of water. If removing a stainless steel sink, don't forget to unscrew the mounting clips from the underside of the sink.
Next, cut through the caulking seal between the top of the countertop and the edge of the sink with a utility knife and lift the sink out of the counter. If the sink will not lift out easily, you may need an assistant to push the underside of the sink while you lift the basin up and out.
Self-Rimming Sinks vs. Undermount Sinks
While it's hard to beat the price, ease of installation, and cleanability of self-rimming sinks, some people prefer the look of undermount sinks which are installed under the countertop so the sink's edges aren't on display. This leaves more precious counter space, minimizes unsightly visual clutter, and imparts an overall streamlined look. It also facilitates counter clean-up — making it easy to sweep crumbs and water directly from the counter into the sink without getting lodged into the sink's lip and caulk line. However, build-up can still occur along the caulk line where the bowl is secured to the counter.
Undermount sinks carry a higher-end cache and are often of better quality (and pricier) than self-rimming options, ranging in price from $75 to $1,000. In addition to the cost of the actual sink, expect to spend a couple of hundred dollars on installation as well. The process tends to be more complicated than installing a drop-in basin since undermount sinks need to be secured from below and don't have the added support of the countertop. Plus, the hole that is cut into the countertop needs to be clean and precise because unlike a self-rimming sink, the edges will be visible. Another factor to keep in mind is that undermount sinks won't work with thin countertops.
Deciding whether to go with a top-mount or undermount sink comes down to personal preference. Both are incredibly durable and should last at least 20 to 25 years.
Self-Rimming Sink Pros:
- Easy to install
- More affordable
- Easy to clean entire basin
- Available in a wide range of materials
- Will work with most countertop materials
Self-Rimming Sink Cons:
- Harder to clean
- Take up valuable counter space
- Create visual clutter
- Builder-grade association
Undermount Sink Pros:
- Allows countertop to remain the focal point
- Frees up counter space
- Easier to clean countertops
- Higher-end
Undermount Sink Cons:
- More expensive
- Installation is harder and pricier
- Grime can get lodged in caulk lines where the sink connects to the counter
- Not compatible with all countertop materials
Where to Shop for Self-Rimming Sinks
Before you commit to buying a kitchen sink, take your lifestyle and the size of your culinary headquarters into account. Do you have an expansive cook space and love to entertain? Opt for a large double bowl basin which will allow you to separate dirty and clean dishes with ease. If your kitchen is on the smaller side, a single bowl sink will hold lots of used dishes and platters without cluttering scarce counter space. Also, think about which material will work best for you. Stainless steel is durable but can be noisy. On the other hand, porcelain is timeless and works with a range of kitchen styles. Ready to go shopping? Luckily, self-rimming sinks are widely available at most big box retailers as well as specialty kitchen and bath stores. Here are a few of our favorites:


