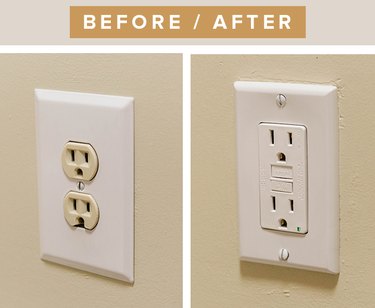
Whether you've been editing out an unsightly wall socket from your Instagram photos or you've simply been wanting to try your hand at basic home repairs, this tutorial is for you. We're showing you how to swap out an old outlet — step-by-tiny-step — and we promise that it's much easier than you might imagine. Once you learn the fundamentals of electrical upgrading, you'll be swapping out lights and sockets all over your house!
DISCLAIMER and WARNING: Contact a professional electrician if you have questions or concerns about your own personal electrical situation. Complete the process at your own risk, and always use common sense to maintain your safety and that of your home!
Video of the Day
Video of the Day
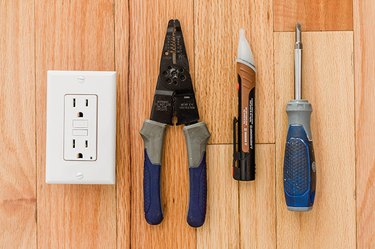
Things You'll Need
Wall socket (We used a GFCI outlet for this tutorial since it was going in a moisture-heavy bathroom)
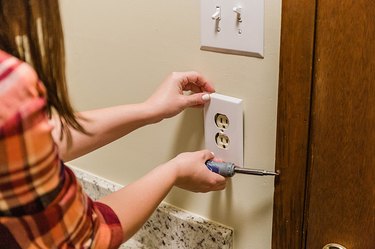
Step 1
Unscrew any hardware holding the outlet cover in place, and then remove it to expose the inner workings of your wall socket.
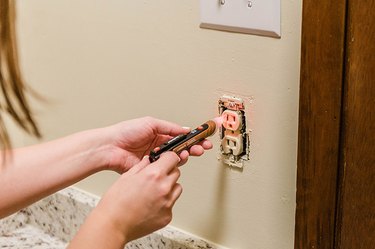
Step 2
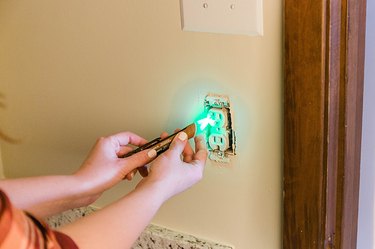
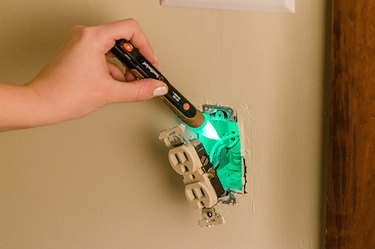
Use a voltage tester to check if power is running to the outlet. The red light on our tester meant that the power was still on. Turn off the electricity to that particular outlet on your breaker box, and recheck the power using your tester again. The green light on our voltage tester confirmed that power was no longer running to the outlet.
Step 3
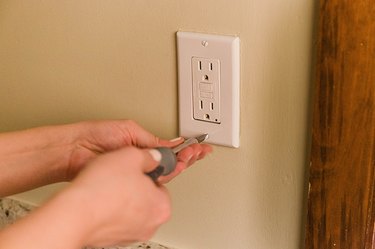
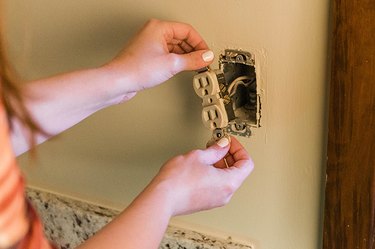
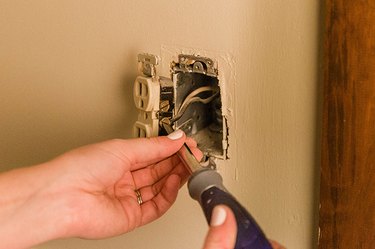
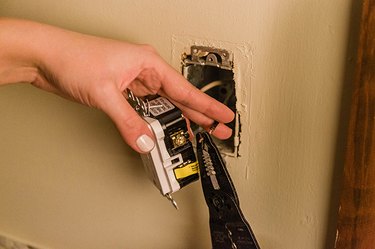
Unscrew any hardware that is holding the outlet to the electrical box in the wall. Pull it out, but don't entirely disconnect it just yet.
Step 4
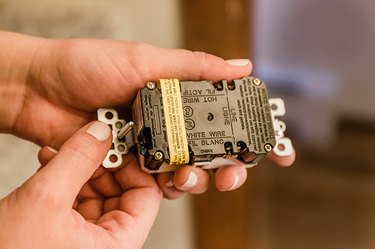
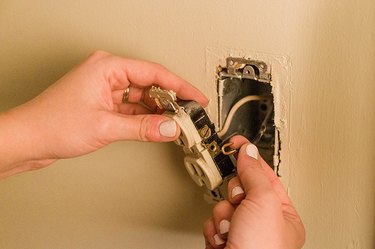
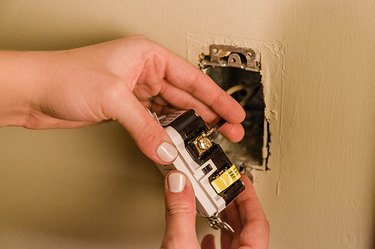
Get to know your wall socket by reading the instructions and labels. Our upgraded GFCI outlet had the backside labeled instructing which wire went where. You can also compare the new outlet to the old one to make sure everything goes where it needs to. This example shows a "like for like" outlet swap even though the outlets themselves look different. The wires went in on the same sides.
Step 5
Double-check that the power is off again using your voltage tester. Unscrew the old wires to fully remove the old outlet from the electrical box in the wall.
Step 6
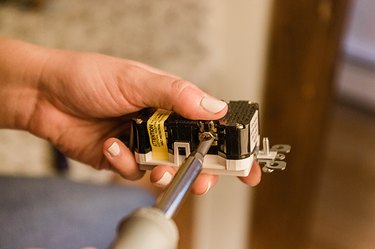
Loosen the screws on the sides of your new outlet using a screwdriver. You don't need to pull the screws out entirely — just loosen them enough so that you can fit the wall wires behind them in a later step.
Step 7
Our new GFCI outlet allows for wall wires to be inserted straight in from the back rather than hooking or curving them around the outlet screws. If this is the case for you, straighten out the curved wire tip using needle-nose pliers or a wire stripper. If that's not the case for your new outlet, simply leave the wall wires hooked.
Step 8
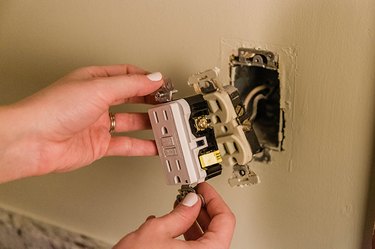
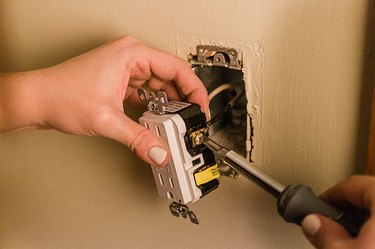
Insert the wires under the appropriately labeled screws in the sides of the outlet — white wire to the side of the outlet labeled "white," and black wire to the "hot" side of the outlet.
Step 9
Tighten both screws so that the wall wires are snug inside the outlet.
Step 10
Push the newly connected outlet back inside the wall, and screw it in place.
Step 11
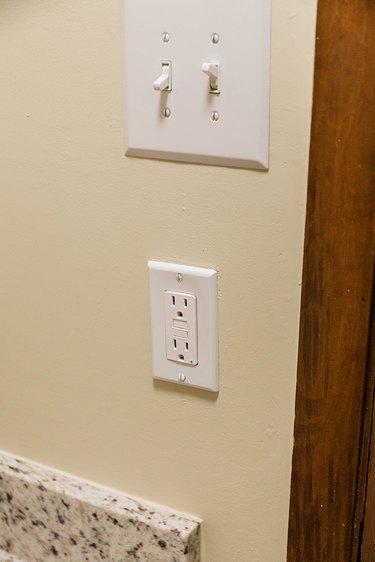
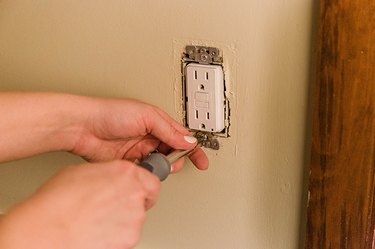
Screw on the outlet cover. Turn the electricity back on and test to make sure your new outlet works. See? We told you it's easier than you might think! That said, if you've read this tutorial, poured over the photos, and still feel uncertain, definitely call in the pros. A professional electrician can take care of these kinds of updates for you, once and for all, and typically at a reasonable rate since this job is a fairly small one. However you decide to get it done, just do it! You'll be so glad you did.