How To Remove And Replace A Bathroom Vanity Top
If your bathroom vanity is less than stunning, you can go a long way toward giving the vanity a complete makeover by simply replacing the vanity top. While you're at it, you may also want to replace the sink and faucet, but you don't necessarily have to do that as long as the ones you have are compatible with the new vanity top. However, if you're going to the trouble of updating your bathroom vanity top, it takes just a little extra effort and expense to make the transformation complete by replacing these fixtures, and if you go the extra mile and repaint the vanity cabinet, you have a whole new vanity.
Replacing a vanity top sounds like a complicated operation, but it's actually quite simple, and it doesn't take a lot of muscle or skill with power tools. The only power tools you might need are a drill and a jigsaw, and the jigsaw is only necessary if you purchase a wood or solid-surface top without precut holes for the sink and faucet. It takes skill and special tools to cut your own holes in a stone countertop, so if that's what you're seeking, you'll probably want to have it custom cut.
Options for a New Vanity Top
You can purchase a new countertop at the same building outlet from which you got the bathroom vanity, or you can have one custom cut. Some of the more stylish alternatives mentioned by HomeAdvisor, among other sources, include:
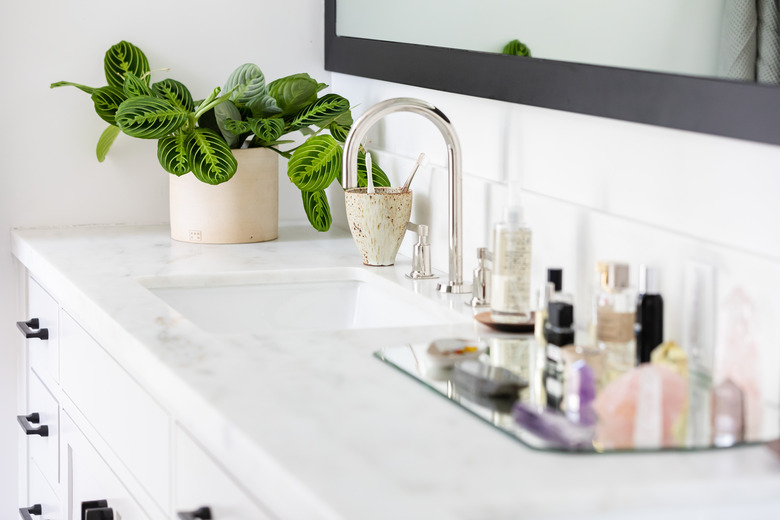
- Stone: Solid granite and marble, along with composite stone like quartz, lavish sumptuousness on any bathroom and work with an undermount sink and a contemporary faucet to turn an ordinary bathroom into an extraordinary one.
- Tile: Install a custom base made of plywood and cement board, and then tile it to match the décor. Tiling is a project all on its own, but installing the top is as easy as installing any other top.
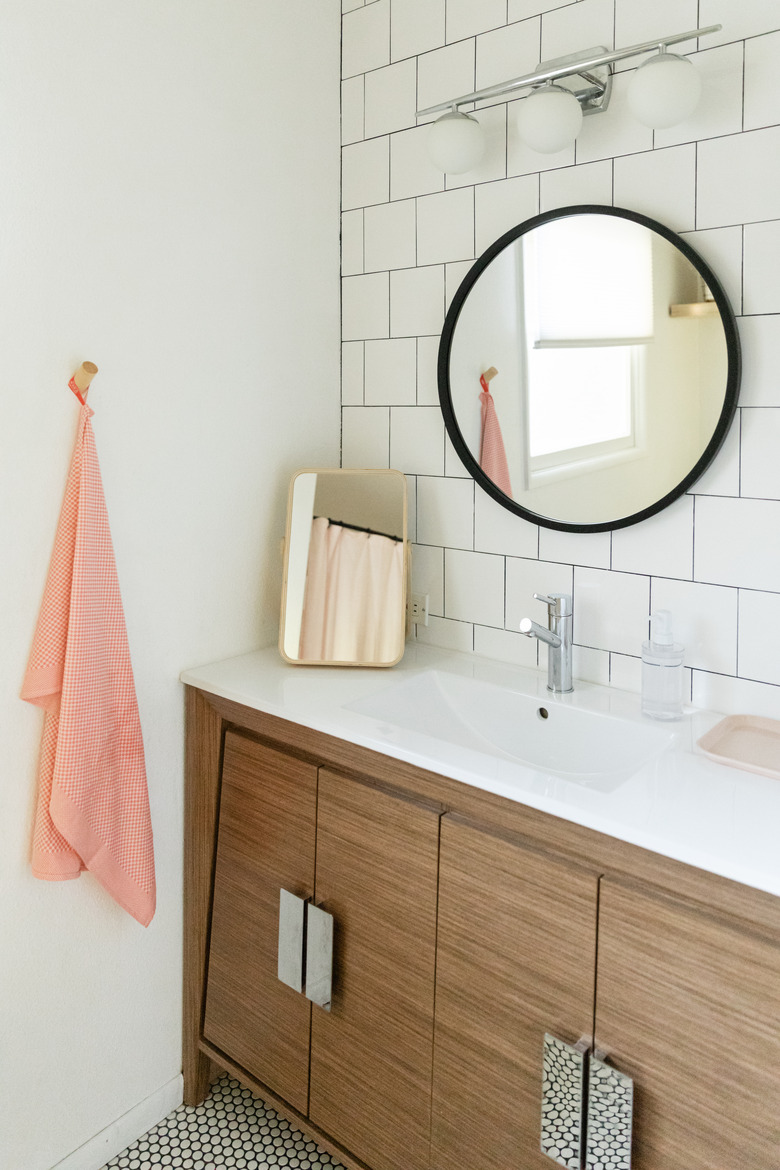
- Laminate: Replace your boring laminate top with a more colorful one.
- Solid surface: Corian and Silestone solid surface as well as cultured marble vanity tops are durable and attractive, and they can be furnished with integrated sinks that are easy to clean.
Things Needed
-
Caulk remover (optional)
-
Shims
-
Silicone caulk
-
Drain tailpiece
-
Tape measure
-
Screwdriver
-
Adjustable pliers
-
Adjustable wrench
-
Utility knife
-
Pry bar
-
Putty knife
-
Hammer
-
Chisel
-
Pad sander
-
Level
How to Remove and Replace a Bathroom Vanity Top
1. Measure for the New Vanity Top
Measure the dimensions of the existing vanity top using a tape measure. The new vanity top should have the same dimensions, but if you have more space available, you might choose one that's slightly larger. Don't overdo it, though, because you don't want the new top to overhang the cabinet by more than an extra inch or so in any direction, or it will look unbalanced and could interfere with access to the cabinet.
2. Disconnect the Plumbing
Remove the doors from the vanity cabinet, using a screwdriver, to make it easier to work inside. Turn off the water supply shutoff valves and open the faucet to relieve water pressure. Unhook the pop-up stopper by squeezing the clamp in the stopper lever in the sink tailpiece, sliding it back and disengaging it from the lever.
Disassemble the drain P-trap by unscrewing the compression nuts at both ends of the trap by hand or by using adjustable pliers. Pull the trap down, swing it away from the drain tailpiece and then pull the trap free of the waste inlet. Tip the trap into a bucket to empty it and set it aside. You can use it again.
Unscrew the faucet hoses from the shutoff valves using an adjustable wrench. You can leave the hoses attached to the faucet and remove them after taking the top off the vanity.
3. Cut the Caulk Along the Wall
Using a sharp utility knife, cut though the caulk around the edges of the vanity top that meet the wall. Do this carefully to minimize damage to the drywall. One you've removed the top, you can clean the caulk residue off the wall.
If a backsplash is attached to the wall independently of the bathroom countertop, you also have to remove that. Most are glued, and you can pry them with a pry bar. If you don't plan on replacing the backsplash, some drywall repair will be necessary.
4. Pry Off the Old Vanity Top
Look underneath the vanity top for any fasteners holding it to the cabinet and remove these with a screwdriver. In most cases, the vanity top is glued to the cabinet, and you have to break the glue bond by inserting a putty knife between the cabinet and the vanity top and tapping it with a hammer.
Work your way around the front and sides of the vanity and then insert a pry bar and pry the top upward. Once the vanity top is free, lift it off the cabinet with a helper. Set it upside down on the two sawhorses or other supports so you can remove the sink and faucet. It's a good idea to do this even if you're planning to discard everything.
5. Clean Up the Cabinet and Wall
Scrape all caulk and adhesive from the top edge of the cabinet using a chisel, or sand it off with a pad sander. Remove caulk residue from the wall by scraping with a putty knife and pulling off strings of caulk by hand. Silicone caulk can be difficult to remove; it often helps to soften it with a commercial caulk remover before scraping.
6. Install the Sink and Faucet
Use the hardware that came with the sink and faucet to secure these fixtures to the new vanity top according to the manufacturer's instructions. Install the sink drain assembly and screw the water supply lines to the faucet inlets so you don't have to do this from inside the cabinet.
7. Install the New Vanity Top
With a helper, lift the new vanity top onto the cabinet and set it in place. Check it with a level and insert shims as needed to level it from side to side and from front to back. Remove the top and lay a bead of silicone caulk on the top edge of the cabinet and on both sides of each shim. Reset the vanity top, being careful to adjust its position accurately before setting it down. Install any fasteners supplied with the top to secure it to the vanity cabinet.
8. Seal the Edges
Run a bead of silicone caulk along the edges of the vanity top or backsplash that meet the wall. If the top has a drop-in sink, this is also a good time to seal around the rim of the sink. If you're replacing an old backsplash that isn't part of the countertop or you're installing a new one, this is the time to glue it to the wall and seal it with caulk.
9. Connect the Plumbing
Screw a tailpiece onto the sink drain assembly if you haven't done that already. If you're installing a new faucet, be sure to use the tailpiece that comes with the faucet so you can hook up the pop-up stopper. Connect the P-trap to the tailpiece and to the waste outlet. It's fine to use your old P-trap if it fits.
Screw the faucet supply water lines to the shutoff valves and tighten them with an adjustable wrench. Turn on the valves and then turn on the faucet, fill the sink, let it drain and check for leaks in the faucet hoses and drain assembly.


