Concrete certainly is having a moment. Who knew this humble construction site staple would become a featured element in interior design and home decor? Despite its recent ascension in status, concrete, in its raw state, is still cheap as hell. Which means that there's no reason for the DIY-inclined to pay luxury prices for stunning concrete pieces — like these modern succulent planters. If you've never mixed and set concrete before, this simple project is the perfect way to get acquainted with the process. However, once you realize just how easy it is to work with this versatile material, you'll find it hard to stop. Consider yourself warned!
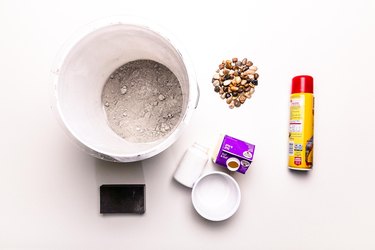
Things You'll Need
Concrete mix or quick-setting cement (like Quikrete)
Empty plastic or paper food containers
—
two for each planter, one larger than the other
Mixing tool (paint stir stick or wooden spoon)
Mixing container
Sandpaper or sanding sponge
Non-stick cooking spray
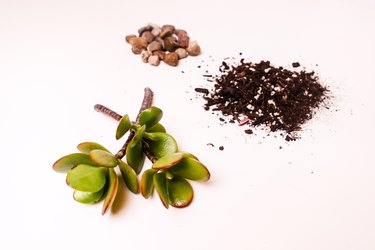
Small stones
Succulent plant or cutting(s)
Succulent potting mix
Optional: electric drill with masonry drill bit
Video of the Day
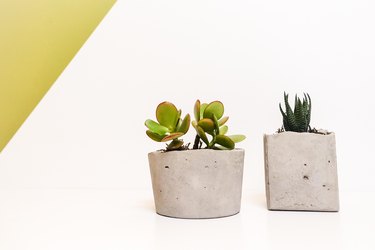
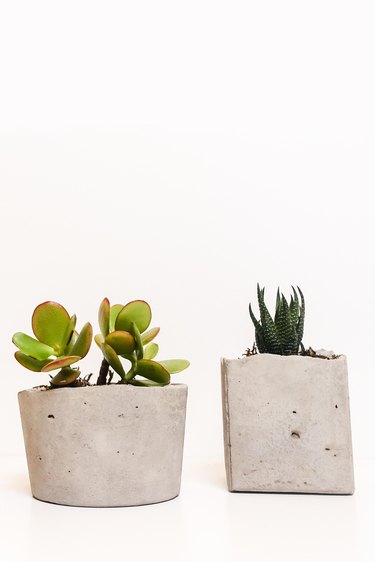
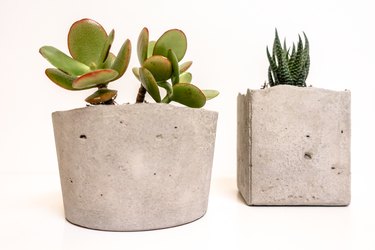
Note: I wanted smallish planters, so for my outer containers, I chose a 16-ounce sour cream tub and a pint-sized dairy carton. For inner containers, I used plastic nutritional supplement bottles.
Video of the Day
Step 1: Coat Containers with Cooking Spray
Spray the inside of the larger container(s) with non-stick cooking spray. This will make it easy to remove the concrete from the mold once it's set.

Then, spray the outside of the smaller container(s). Set containers aside while you mix the concrete.

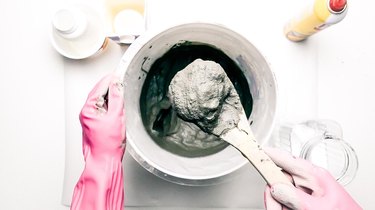
Step 2: Mix Concrete
Pour water, a little at a time, into your dry concrete or cement. Mix in between each pour.

Continue adding water until you get a thick cake batter consistency. Make sure it's not too runny! Too much water will make your planter prone to cracking.
Step 3: Mold Concrete
Working quickly (especially if using quick-setting cement or concrete), fill your larger container(s) about 3/4 full with the concrete mix.
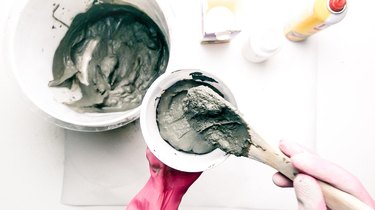
Still working quickly, agitate the container by simultaneously tapping on the sides and shaking the container from side to side in order to release trapped air. If you don't mind having some bubbles in your finished planter (I like the texture that a few bubbles add), you needn't agitate too much. If you want a perfectly smooth, bubble-free surface, agitate the container until you no longer see bubbles rise to the top.
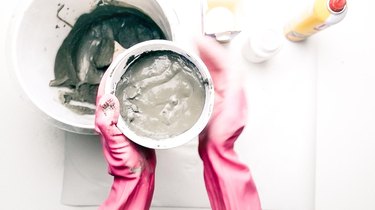
To finish molding, fill the smaller container with rocks (to weigh it down), then press it into the center of the concrete-filled container.
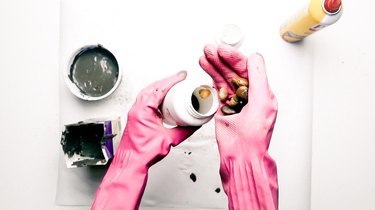
The sides will rise as you do so. Shake the container again to level out the surface, or leave the sides uneven (as I did) for an ever more raw, industrial look.

Step 4: Let Set
Let the concrete set, around 24 to 48 hours, depending on the type of concrete/cement mix you used as well as the size of your containers.
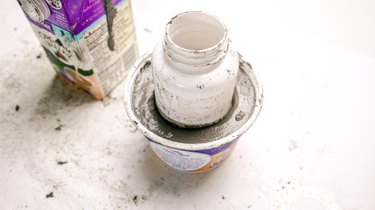
You'll know they're finished once they've completely turned a lighter shade.
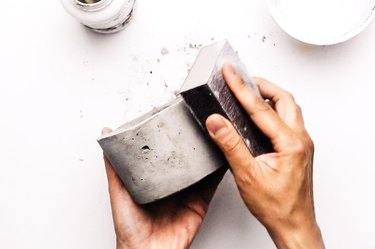
Step 5: Remove From Mold and Sand Down
Remove the inner container.
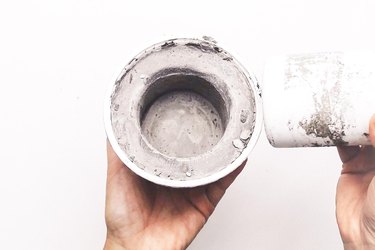
Carefully invert the container onto work surface. The planter should slip right out.
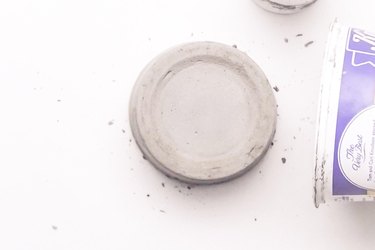
Sand the surface until you achieve your desired smoothness. I left mine on the rough side!
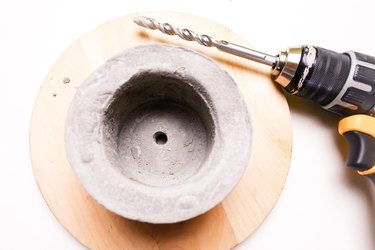
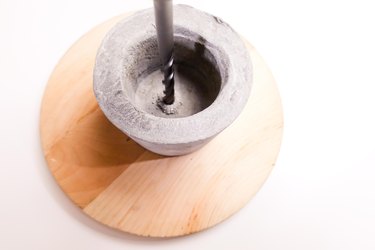
Step 6: Optional: Drill Drainage Hole
Succulents don't like sitting in pooled water, so it's important that your container have adequate drainage. If you have a power drill and masonry bit, drill one to three holes (depending on the size of your container) in the bottom of your planter. Once done, move on to step 8. If you don't have a drill and/or masonry bit, move on to step 7.
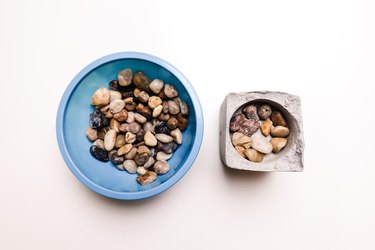
Step 7: Add Bottom Layer of Rocks
In lieu of drilling drainage holes, you can add a layer of rocks to the bottom of your planter which will create a reservoir for excess water beneath the soil.
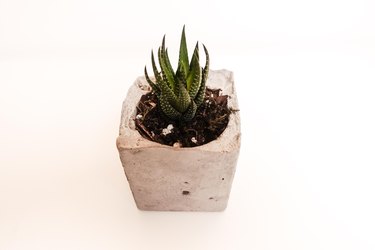
Step 8: Plant Succulents
Finally, add succulent potting mix to your container and plant your succulent plants or cuttings.
Done!