How To Glue Cast Iron Together
Things Needed
-
Lint-free cloths
-
Acetone
-
120-grit to 200-grit sandpaper
-
Steel-reinforced cold-weld-formula epoxy
-
Mixing palette or tray
-
Mixing tool (dowel rod, wooden paddle, etc.)
-
Application tool (putty knife, dowel rod, etc.)
Tip
As adhesives vary by brand, always read and follow any instructions or warnings provided by the manufacturer.
To ensure that the cast iron is degreased before applying your adhesive, allow a few drops of water to drip onto the iron's surface. If the water beads, the surface is still greasy; if it spreads, the iron is clean.
Warning
For your safety, do not glue vital or load-bearing cast iron parts that have broken, such as columns or support structures. Likewise, avoid gluing cast iron pieces that are regularly exposed to extreme heat, such as cast iron skillets or furnaces.
Avoid getting liquid weld on your skin or in your eyes, and wash your hands thoroughly immediately after use.
Ventilate the area thoroughly before using heavy-duty adhesives such as liquid weld.
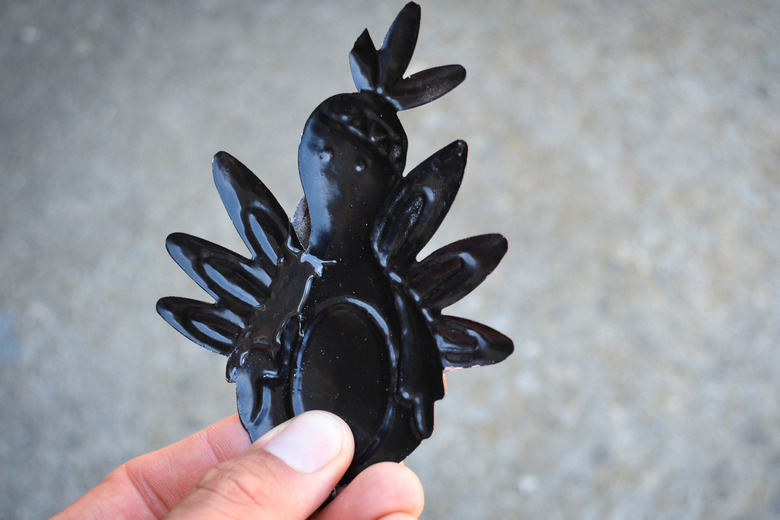
Cast iron's hard, nonmalleable qualities make it a powerful metal for household objects ranging from garden fixtures to cookware to decorative ornaments. However, this ferrous metal's crystalline structure makes it somewhat brittle and susceptible to breaks and fractures under tension. If you're dealing with a broken bit of non-load-bearing cast iron around the house, the basic process of gluing the metal back together doesn't differ much from gluing other types of materials. Choosing the right kind of adhesive and properly preparing the surface make all the difference for a long-lasting bond.
Step 1
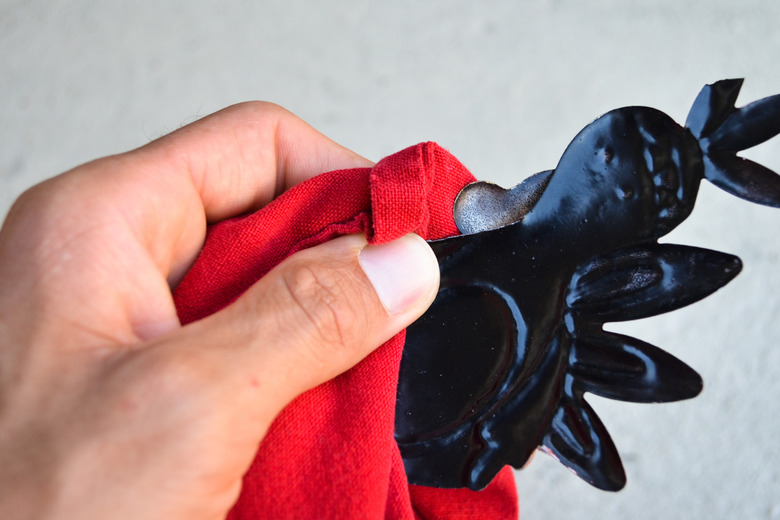
Wipe the cast iron surface free of dust, dirt and grime with a clean, lint-free cloth. Dampen another cloth with acetone and wipe down the entire surface of the cast iron object to be glued. Wipe the iron with this solvent until it has been thoroughly degreased.
Step 2
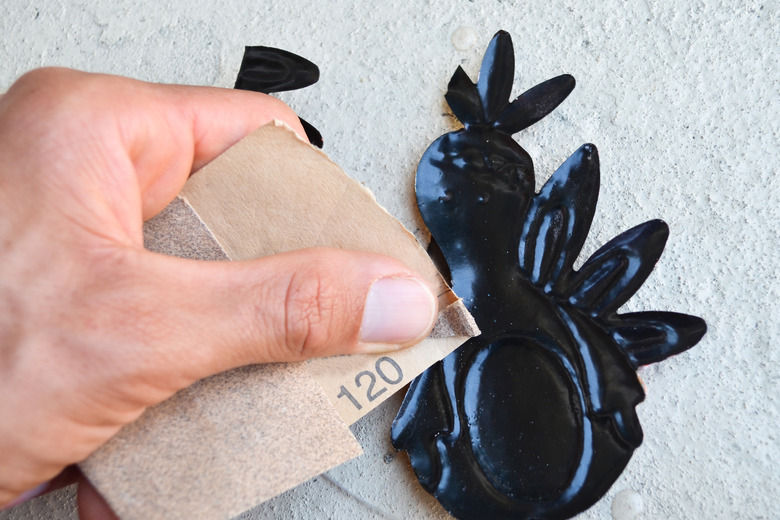
Sand the broken surfaces of the cast iron with 120- to 200-grit sandpaper. This abrading process removes surface film and encourages adhesion. Sand lightly — do not alter the shape or structure of the iron; sand just enough to remove the top layer of collected film, paint, primer or oxidation matter. After sanding, rub the surfaces you're going to glue with acetone once again.
Step 3
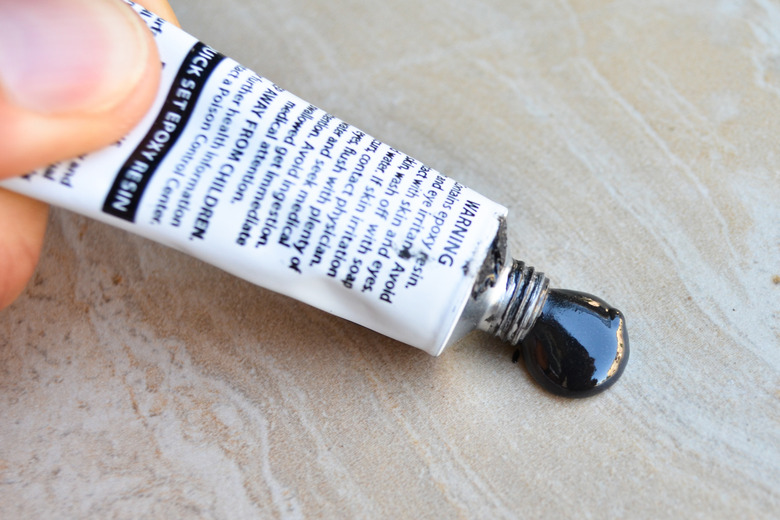
Choose a cold-weld type of steel-reinforced epoxy — commonly known as liquid weld — for your bonding adhesive. This type of adhesive typically includes two separate tubes: a hardener and a resin. Check the recommended bonding substrates listed on the adhesive and, for the best results, select a product that specifically lists cast iron as a compatible substrate.
Step 4
Mix equal parts of the epoxy's hardener and resin on a disposable mixing palate or tray, combining them with a dowel rod, wooden paddle or similar tool. Apply the adhesive to the cast iron surface with a putty knife, dowel rod, spoon or similar tool appropriate for the size of the job. Create an even coat of adhesive on one cast iron part and press it into the other cast iron piece.
Step 5
Allow the glue to set for about 20 to 25 minutes or according to the manufacturer's instructions. Consult the directions for specific curing times. As a general rule of thumb, let the object set for at least 24 hours before using it.
References
- U.S. General Services Administration: Historic Preservation – Technical Procedures, Spectitle: Cast Iron: Characteristics, Uses and Problems
- MasterBond: Surface Preparation for Bonding Metals
- L.P.R. Toolmakers: J.B. Weld Liquid Weld Suits All Steels and Cast Iron
- J-B Weld: Products: J-B Weld Original Cold Weld Formula Steel Reinforced Epoxy
