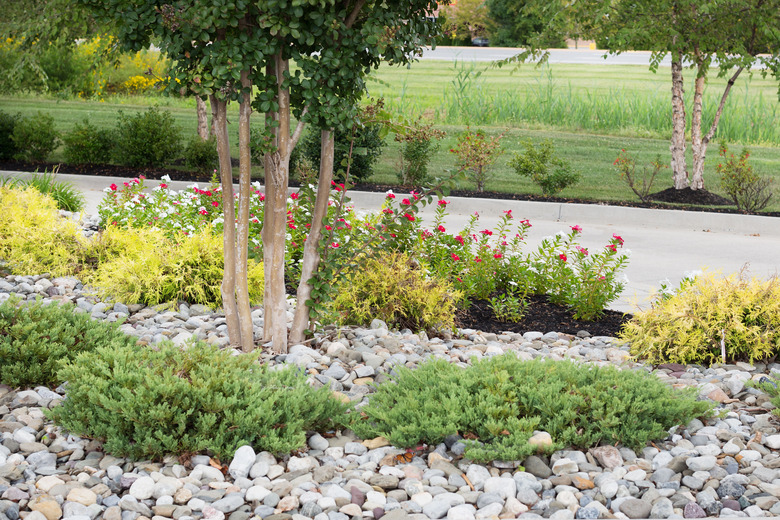
How To Put Down Landscaping Rocks
When you put landscaping rocks down, you create a more permanent ground covering than bark mulch. Rock mulches work better in areas without plants or where perennial heat-loving plants grow, such as in a desert landscape, rock garden or xeriscape. Migrating rocks can permanently compromise the quality of the soil beneath, or become a danger if they get into the path of a lawnmower. Lining the bed properly and installing the rock mulch correctly help minimize these concerns.
Prepare the Site
Any weeds, grass or plants under the rock mulch will grow through if you don't remove them before you put landscaping rock down. Pulling up the weeds, roots and all, keeps them from growing back. This also allows you to dig out the soil in the area 3 inches down so the rocks are level with the surrounding landscape or paved areas.
Landscape fabrics, also called geotextiles, prevent weeds from growing through the rocks and they also keep the rocks from sinking into the soil. They also allow water and air to penetrate into the soil. Digging a 6-inch-deep trench around the perimeter of the bed and pushing the edges of the fabric into the trench anchors it so the fabric doesn't pull up.
You can also install a strip of rubber or plastic landscape edging in the trench to keep the rocks from working their way out of the bed. Overlap the seams between fabric strips by 3 to 6 inches, and anchor them down with U-shaped garden staples at 6- to 8-inch intervals so the fabric doesn't pull up easily.
Plant Wisely in the Area
If you have plants in the area, you'll need to take an extra step with the landscape fabric. Cut a large X in the fabric and then work it over the top of the plant, then fold back and pin the fabric flaps so they don't rest against the stems of the plants. For trees or large shrubs, arrange or cut the fabric strips around the trunk as you lay them.
If you want to plant a few perennials in the landscaped area, cut an X in the fabric and fold the flaps back before planting into the soil beneath. Keep in mind that weeds may grow around the bases of the plants, and you'll need to pull them as soon as you see them so they don't gain a foothold and work their way through the landscape fabric.
Put Down Landscaping Rocks
After lining the bed and planting any new plants, it's time to put landscaping rocks down in the area. Smaller rocks, like pea gravel, work well for areas without plants, such as rock patios and pathways. Larger, more decorative rocks, like river rocks, are used in areas both with and without plants. Light-colored rocks reflect heat, while darker rocks absorb it and can make the area unbearable during the hottest days of summer or cook delicate plant roots.
When laying the rock, spread it in an even 2- to 3-inch-thick layer. Eventually, dirt and sediment will settle between the rocks and the fabric layer. The rocks may also need annual raking and replenishing to keep the area groomed and to cover any bald patches from shifting rocks.
A Few Additional Considerations
When using rocks as a mulch, consider whether the rocks are made from limestone and if the plants are acid-lovers. Limestone chips will raise the soil's pH and can be detrimental to the health of plants that prefer acidic soil conditions. One of the benefits of using rock mulch is it doesn't harbor diseases that organic mulches can and the soil is not depleted of nitrogen. When weeding rock flower beds by hand, it's best to wear work gloves because the roughness of the rock can cut your hands.
If adding new plants like annuals to flower beds already covered in rock, rake the rocks away from the planting site and cut an X in the landscaping fabric that is just large enough to plant the new plant's root ball. Try to disturb the landscaping fabric as little as possible so weeds do not root into the cut openings. Once finished, rake the rocks back in place.
