How To Root Ivy In Water
When it comes to propagating, numerous plants root well from cuttings placed in water, and this includes some popular ivies. English ivy (Hedera helix, U.S. Department of Agriculture plant hardiness zones 4 through 11) and Swedish ivy (Plectranthus parvifloris, zones 10-11) are two common ivies that are easily started in water. Both grow well when planted outdoors within their hardiness zones and are also popular houseplants because they can thrive in pots.
English and Swedish Ivy Characteristics
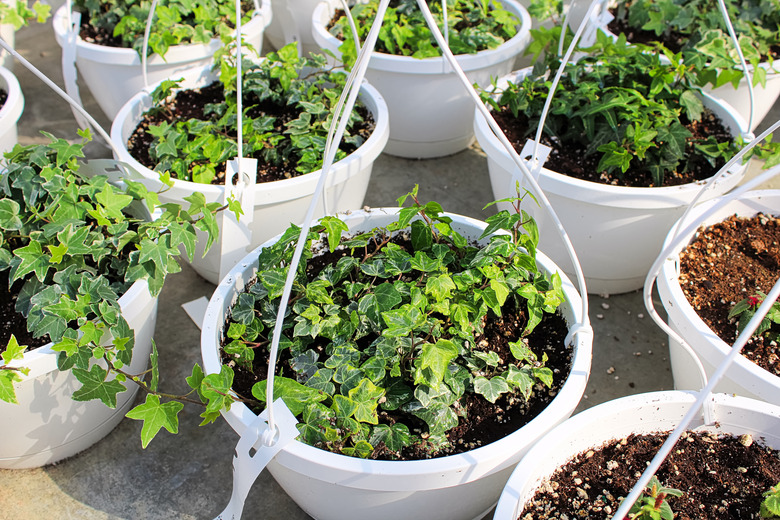
English ivy is a woody perennial vine that is often used as a ground cover, in hanging baskets or to add greenery to a trellis. This fast-growing, aggressive evergreen produces vines growing around 80 feet long. In fact, its growth is so aggressive that the ivy has been labeled an invasive plant in many locales, so it's best to propagate this plant only if you plan to grow it in a container or hanging basket where it cannot escape into the landscape. Immature plants produce three- to five-lobed, dark-green leaves that grow up to 4 inches long, and, once mature, the foliage loses the lobes and develops a more oval shape. In fall, umbrella-shaped flower clusters bloom in greenish-white with blackish-blue berries following the blooms.
Swedish ivy doesn't have the same invasive qualities as English ivy, primarily because it's a perennial only in the very warm, frost-free climates of USDA zones 10 and 11. This ivy grows well in containers or hanging baskets with the lushly leaved stems hanging over the sides. It also works well as a border plant within its hardiness range. Branching stems typically grow around 2 to 3 feet long and are covered in glossy green leaves that are broad and ovate with scalloped edges. Year-round, 8-inch racemes fill with white or purplish flowers.
Things Needed
How to Root Ivy in Water
Both ivies readily root in water if given proper care while the rooting takes place. It's an easy way to get additional plants without a fuss or the cost.
1. Clean Your Pruning Tool
Clean the blades of your pruning tool before taking the ivy cuttings. Wipe the blades off with alcohol to remove any unwanted disease pathogens you may accidentally transfer to your cuttings.
2. Take Ivy Cuttings
Prune off a cutting around 5 inches long. Make sure the cutting has leaf nodes.
3. Prepare the Cutting
Trim off all of the leaves on the cutting other than the top two or three. The cutting will then put its energy into developing roots instead of foliage.
4. Prepare the Container
Use a container that is deep enough to hold water. The container should also be deep enough so the cutting remains upright and won't tip over when filled with water.
5. Fill and Insert Ivy Cutting
Fill the container about one-third to one-half full of water. Insert the cuttings into the water, being sure at least one leaf node isn't submerged as well as no leaves.
6. Place Container in Suitable Location
Place the water-filled container of cuttings in a bright, warm location where temperatures are around 70 degrees Fahrenheit. An area receiving bright light and indirect sunlight is good.
7. Clean the Water
Check the water for cloudiness and replace it with fresh water. You might have to change the water several times weekly. Dirty water promotes rot.
8. Check for Roots
Keep an eye on your ivy cuttings because you might start seeing root development in several weeks. Once the cuttings have developed an extensive root system, you can plant them in a pot.
